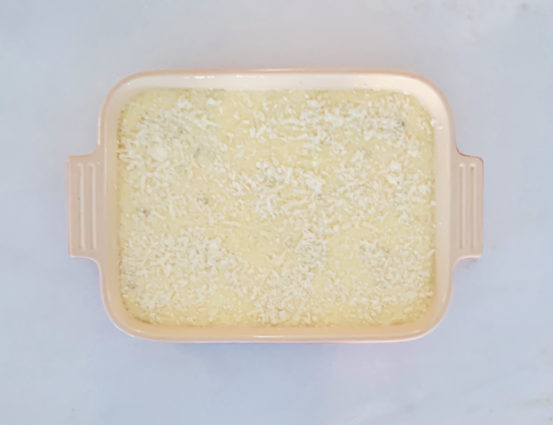
As a child, my immediate family celebrated Chanukah, but my friends taught me about the Christmas spirit. They would invite me to decorate their trees, and I would go to midnight mass with them. I always thought the lights on the homes in my neighborhood were so beautiful and festive. The Christmas trees were enchanting, and I knew all the words to every Christmas song. How lucky I was to relive that this year on our vacation, when our hotel lit up the trees that lined their long driveway. What a magical enchanted forest it was!

I really felt like I celebrated both holidays growing up. I still do. Every Christmas I make dinner for my friends and family. My husband invites some colleagues from work and we all get together and celebrate. It’s kind of my Friendsgiving too. I use all the decorations from Thanksgiving and try to make it festive and beautiful. It gives me a chance to show them how much I love them and how important they are.  It also gives my husband his chance at a very important job– bartender!

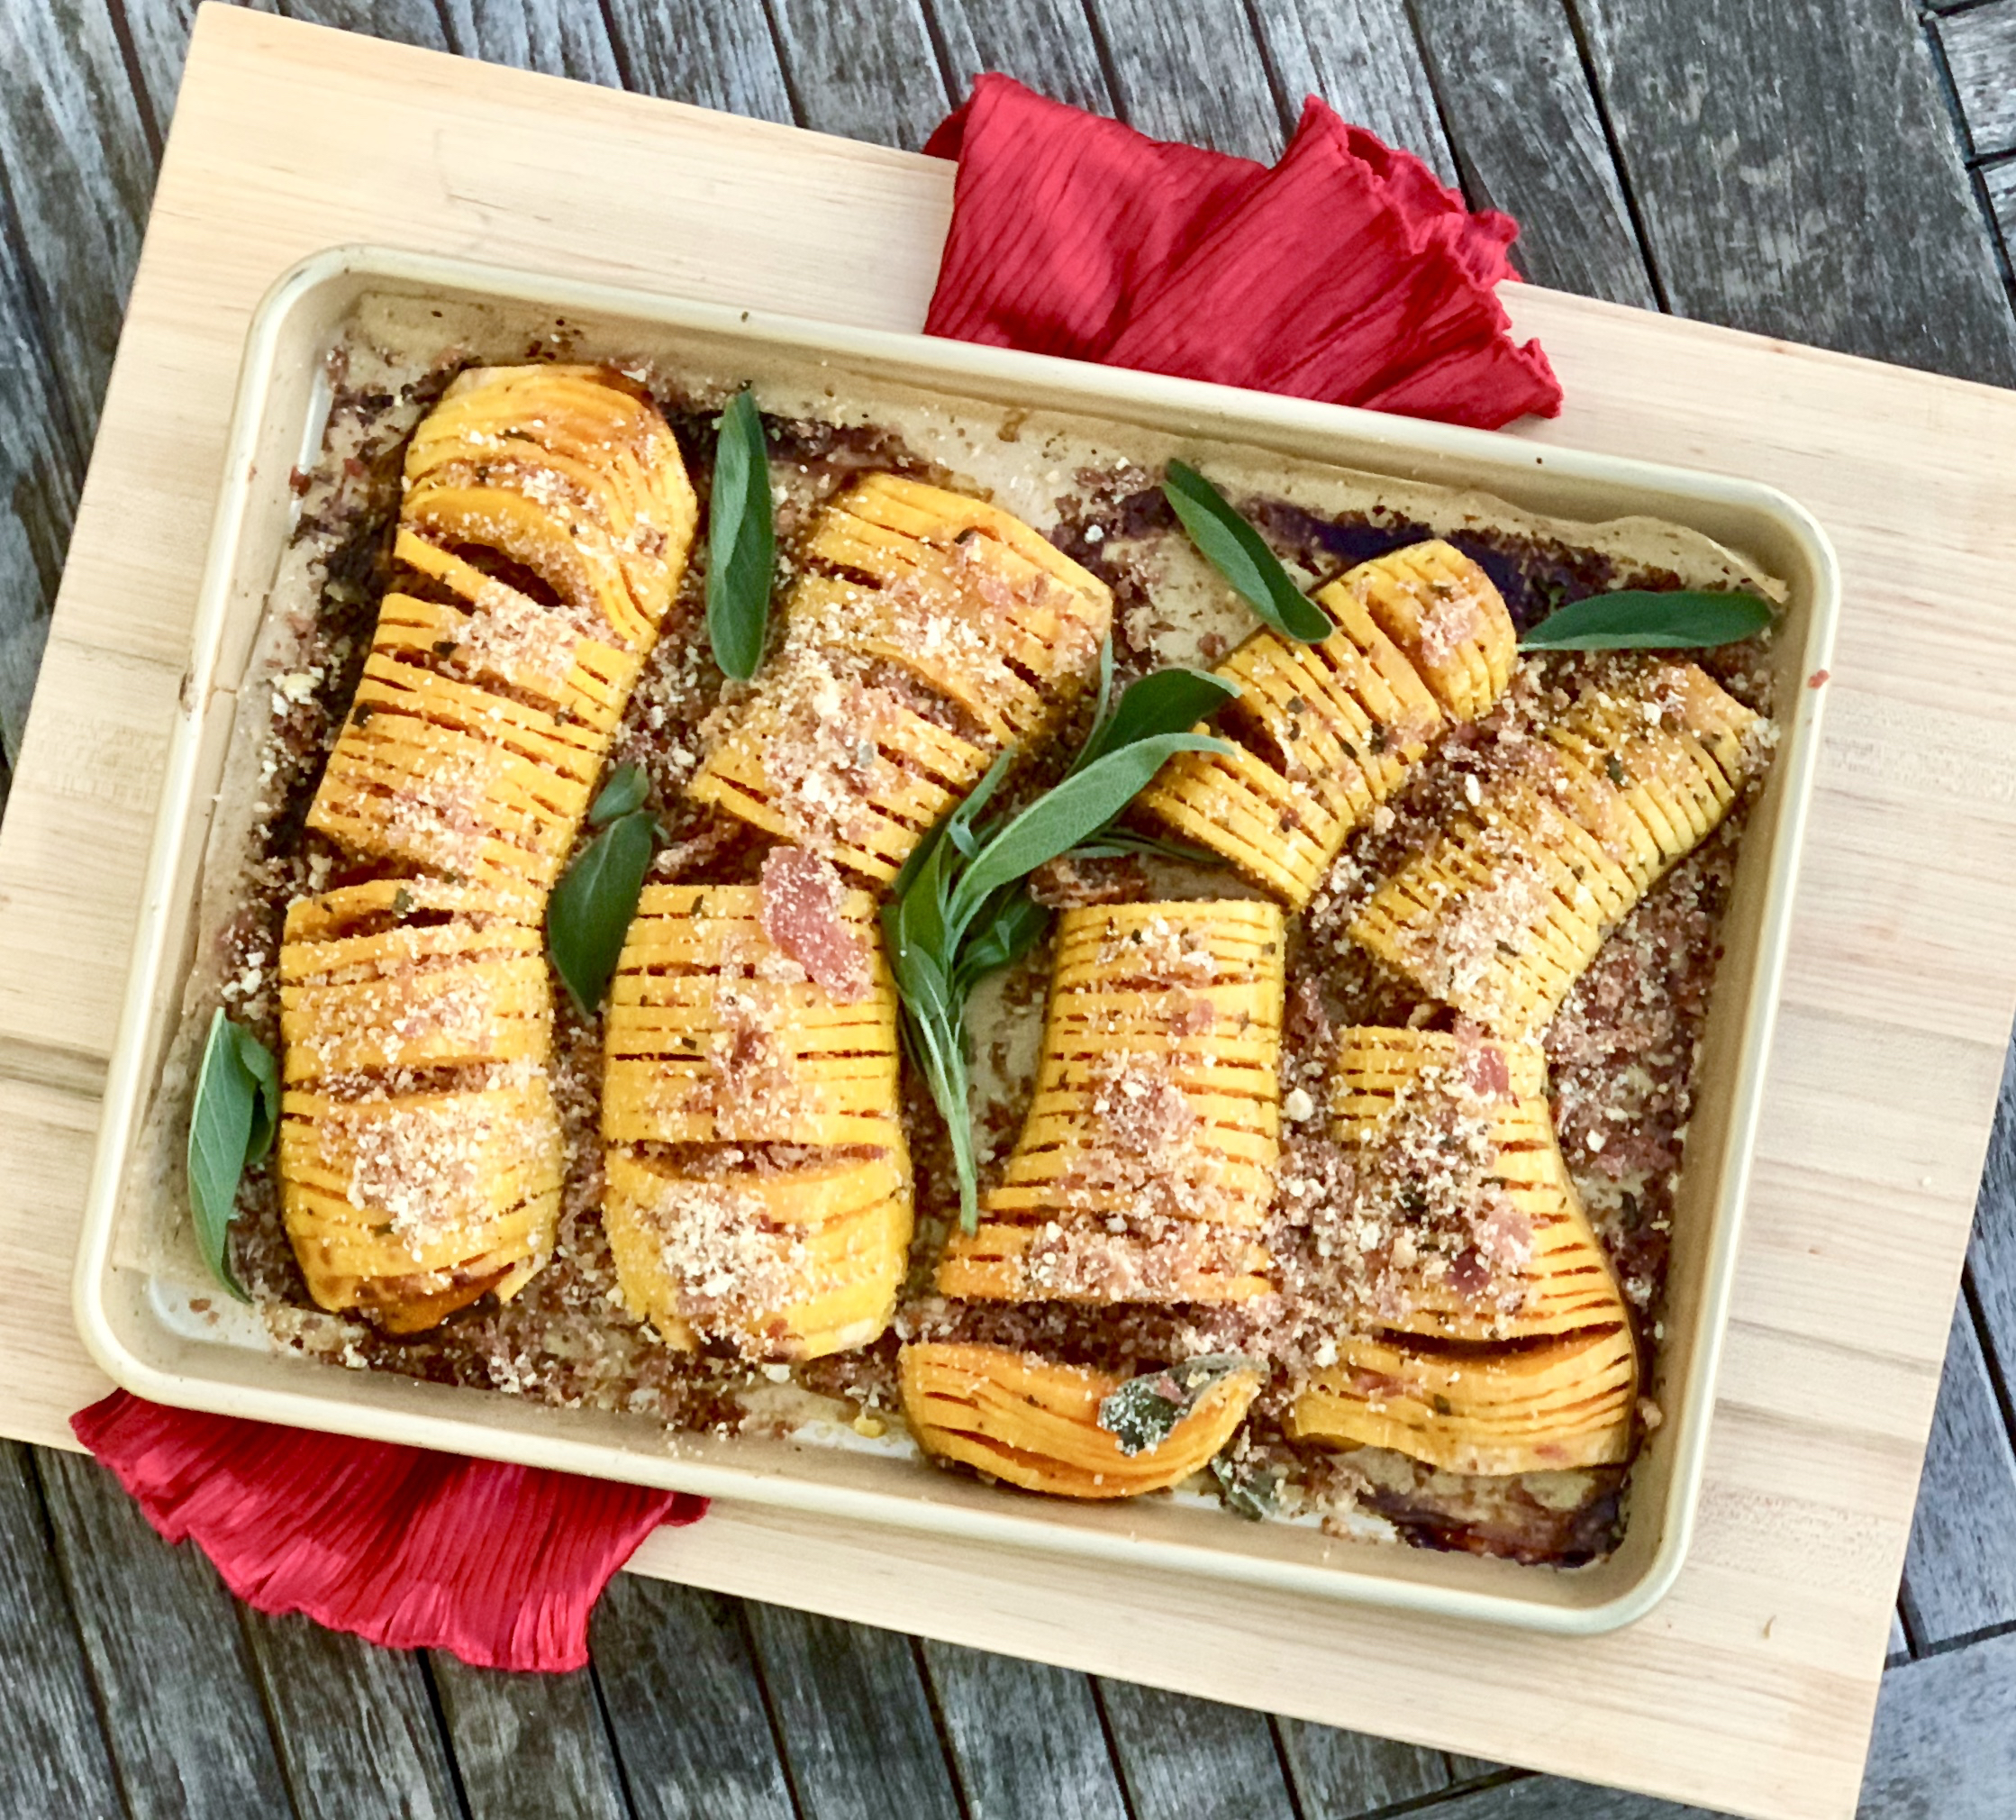
Working on my menu, I found this terrific side dish that looks much harder to prepare than it actually is. Lucky you!  Half Baked Harvest suggests that if you cut the butternut squash in half and take out the seeds, each side will be easier to peel. She also recommends that you put two wooden spoons on each side of the squash so you do not cut through it.

This dish would be perfect for any holiday meal. The squash is roasted to perfection. The butter, maple syrup and chopped sage make a luscious dressing for the squash. Then it is topped off with a perfection combination baked breadcrumbs, sage and prosciutto which give an umami flavor that makes each bite perfection. It makes a beautiful presentation and tastes as good as it looks. 

This recipe is courtesy of Half Baked Harvest and will serve 8 people who will of course want to compliment the chef on this festive and beautiful dish.

Ingredients for Hasselback Butternut Squash Potatoes:

2 small to medium butternut squash
4 tablespoons extra-virgin olive oil
kosher salt and black pepper
1 stick (8 tablespoons) butter, at room temperature
3 tablespoons maple syrup
2 teaspoons chopped fresh sage + 8 sage leaves
1 cup finely torn ciabatta bread (I used fresh breadcrumbs)
3 ounces prosciutto

Preheat the oven to 425 degrees F.

Halve the squash lengthwise and scoop out the seeds with a large spoon. Using a peeler, remove the skin.
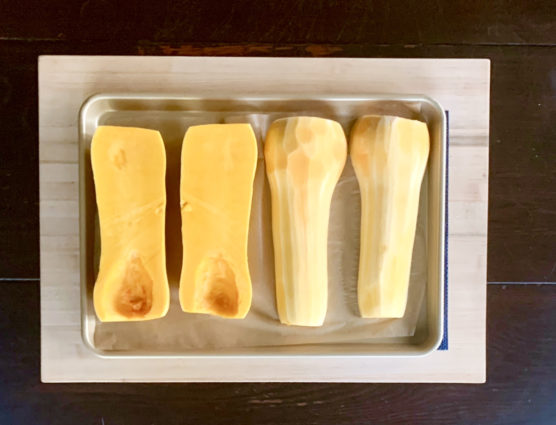
Rub with 2 tablespoons olive oil, season with salt and pepper.

Place on a large baking sheet and roast until the squash begins to soften, 15 minutes.

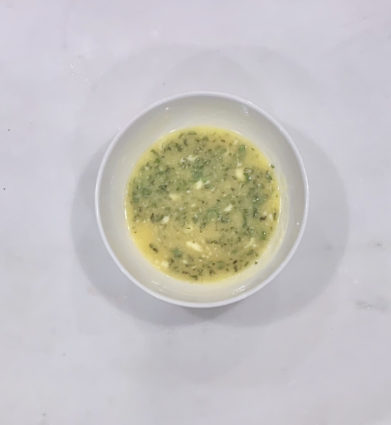
Meanwhile, in a small bowl, stir together the butter, maple syrup, and chopped sage until combined.
Grab the squash from the oven and transfer to a cutting board.

Using a sharp knife, slice through the rounded sides of squash halves, crosswise, going as deep as possible but without cutting all the way through.
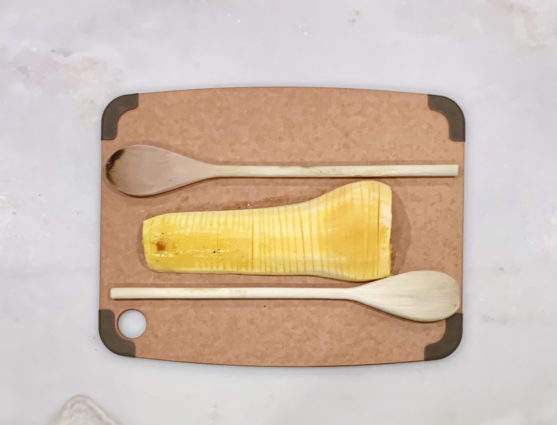
Half baked Harvest suggests to position 2 spoons on either side of the squash to help prevent cutting all the way through (see above photo). It worked perfectly!

Return the squash to the baking sheet, scored sides up.

Spread half the maple butter over the squash, allowing it to drip into the slices.

Season with salt and pepper.

Roast the squash for 30 minutes, then spread with the remaining maple butter, spooning any melted butter in the pan over the squash.

Return to the oven and roast another 15-20 minutes, until the squash is tender.
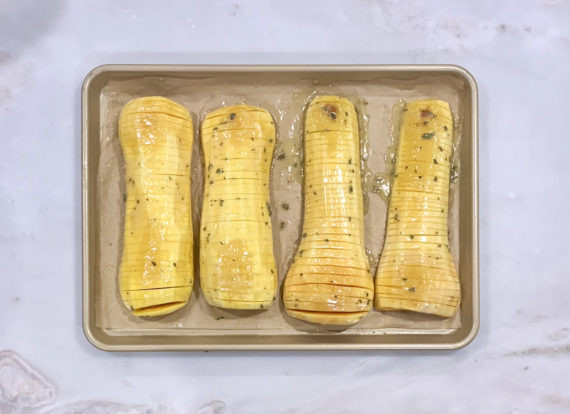
At the same time, toss together the bread, 2 tablespoons olive oil, the sage leaves, and a pinch of salt and pepper on a separate baking sheet.

Lay the prosciutto around the bread.

Transfer to the oven and bake for 10-15 minutes or until toasted.
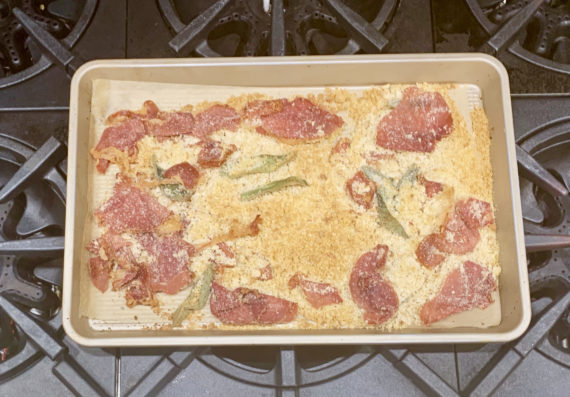
Crumble the prosciutto into fine crumbs or pulse the mix in a food processor.

Remove the squash from the oven and transfer to a serving plate.

Drizzle over any maple butter left on the pan.

Top with breadcrumbs and sage.

Serve warm!

It’s that simple!


signature

[recaptcha]


Fall has ended and Winter is now here… for most of us. Every year after Thanksgiving, my husband and I fly to our go-to island in the Caribbean for some much-needed rest and relaxation. 

With many regrets, we arrived home just this week. We always try to take as many days as we can, but how many exactly depends on my husband’s work. This time we got to take eight days. When you take two travel days off, it is not much time, but we make the most of it. The island we go to is so beautiful and the people are just lovely. Many know us personally, which makes the week even nicer.

We had an exciting run in with Mother Nature while we were there.  We took a sail on a very, very small catamaran, piloted by the water sports specialist at our hotel. It was beautiful and sunny when we first left. The catamaran only had a sail, no motor, and the wind was perfect. After about 20 minutes, the sun had gone in and as our guide pointed out, it started raining where we left off. We stayed out an extra 15 minutes, thinking the rain had passed, before making our way back.

We actually sailed right into a huge rainstorm! That was not even the worst part. There was no wind at all, so there we were for about 30 minutes, sitting in a huge Caribbean rainstorm in the middle of the ocean! The wind started to come back slowly, but were barely moving. A 20-minute trip turned into an hour and a half nightmare. We were soaked from head to toe and freezing too. Have you ever heard how it rains for 5 minutes in the islands, then the sun comes out? Not this time. We were laughing about it the whole time, even though we were cold and wet. This was definitely an experience we will never forget.

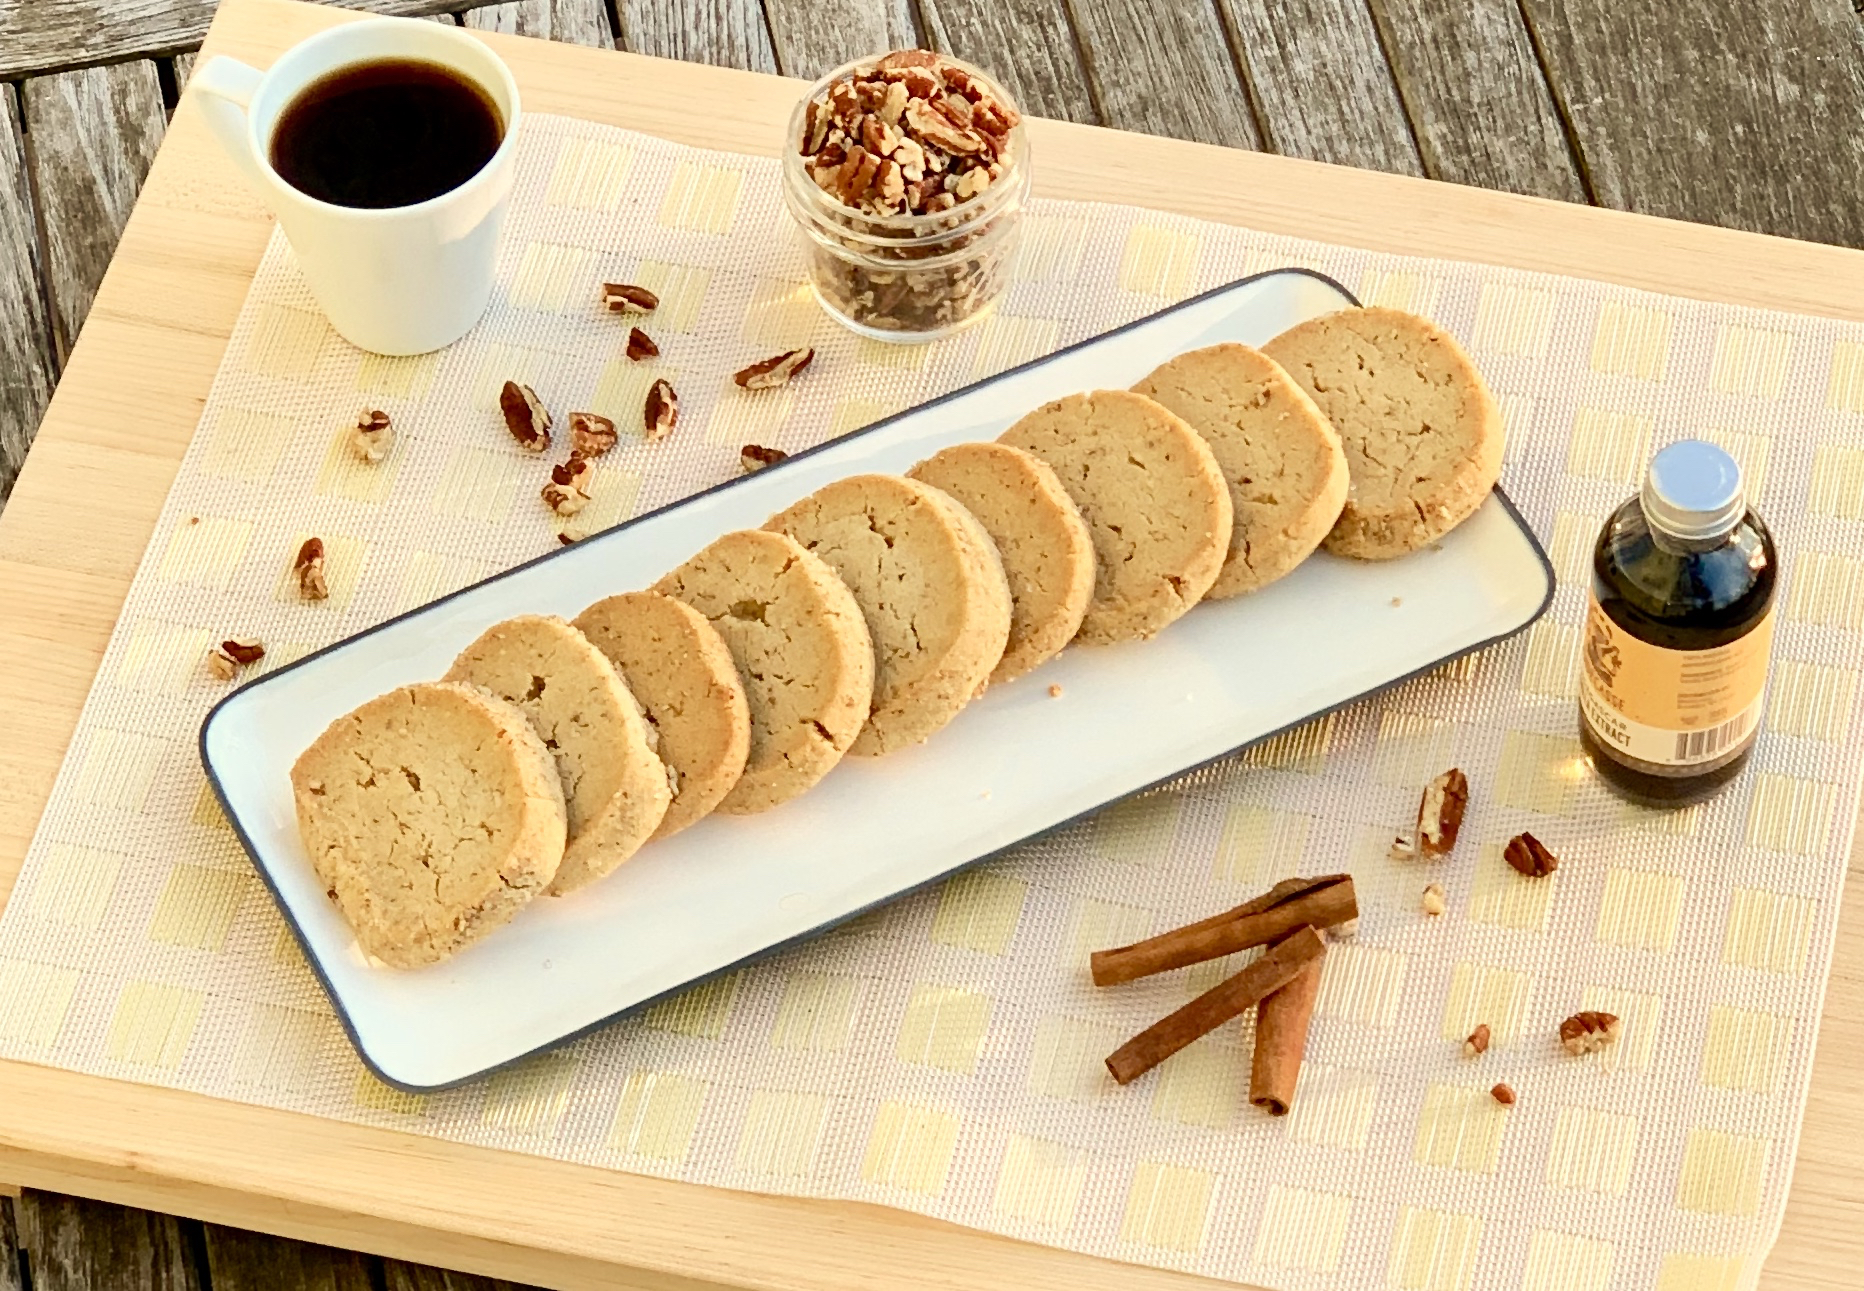
Now our vacation has ended, and my thoughts are on Christmas and menus and shopping lists. This is one dessert that will be on my menu this year. It is a simple recipe that packs a huge amount of flavor. The shortbread has such perfect crumbly edges. The sugars make it sweet (but not too sweet), and the vanilla, cinnamon and salt are savory perfection. The pecans offer a welcome crunch and a different texture. I hope you add them to your holiday menu, your guests will be delighted.

Note:  Baked cookies freeze well up to 3 months. Thaw overnight in the refrigerator and bring to room temperature before serving.

The recipe is courtesy of Sally’s Baking Addiction and will make about 24 pieces of shortbread that will offer your guests the perfect holiday morsel.

Ingredients for Pecan Shortbread Cookies:

1 cup unsalted butter, softened to room temperature
3/4 cup packed light or dark brown sugar
1/2 cup granulated sugar 
1 and 1/2 teaspoons pure vanilla extract 
2 and 1/4 cups all-purpose flour
1/2 teaspoon ground cinnamon
1/4 teaspoon salt
3/4 cup (100g) finely chopped pecans

For rolling:

1/4 cup coarse sugar 
1/4 cup finely chopped pecans

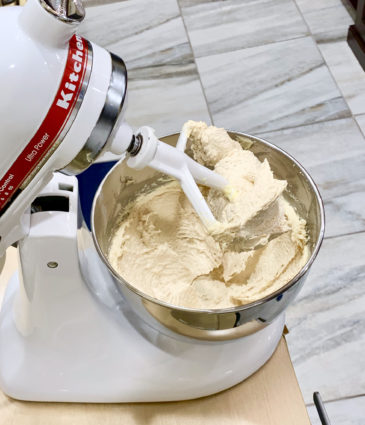
In a large bowl using a hand-held mixer or stand mixer fitted with a paddle attachment, beat the butter, brown sugar, and granulated sugar together on medium-high speed until combined and creamy, about 2 minutes.

Beat in the vanilla extract on high speed.

Scrape down the sides and bottom of the bowl as needed.

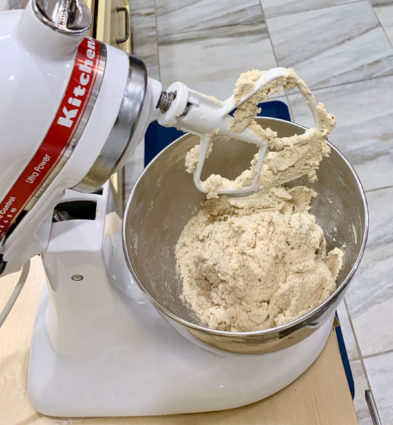
Add the flour, cinnamon, and salt, then beat on low speed until combined.

Beat in the chopped pecans.

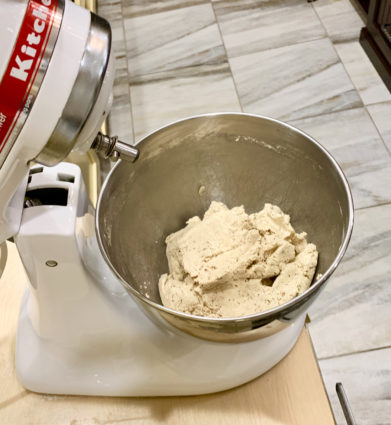
The cookie dough may look like it won’t come together, but keep beating, it will come together.

The cookie dough will be thick.

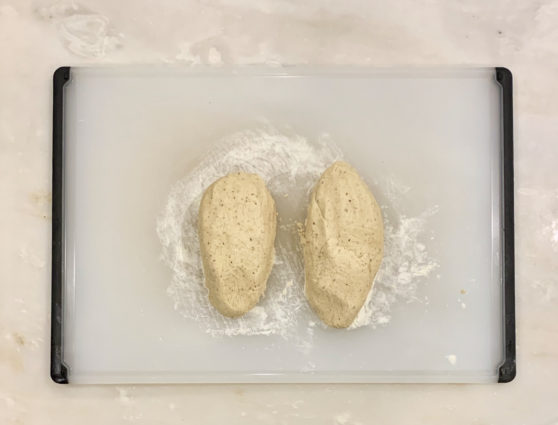
Turn the dough out onto a floured work surface and, with floured hands, divide or cut into two.

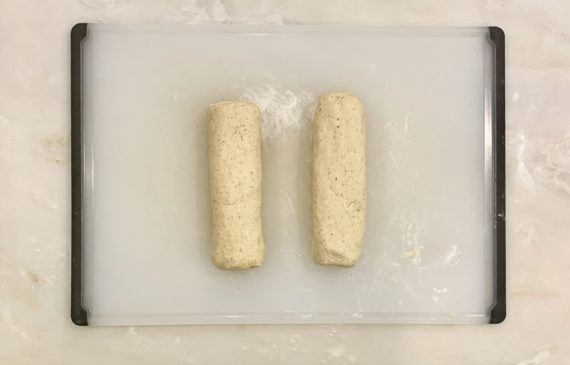
Shape each half into an 8-inch log, about 2.5 inches in diameter.

The measurements don’t have to be exact.

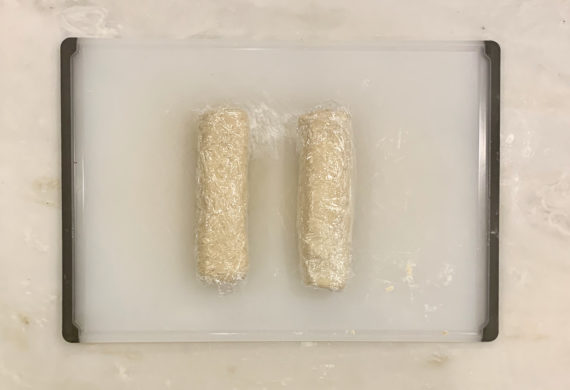
Tightly wrap the logs in plastic wrap and chill in the refrigerator for at least 3-4 hours and up to 5 days.

Chilling is mandatory for this cookie dough. The author prefers to chill hers for 4 hours or even overnight– the colder the dough, the thicker the cookies. (I would also roll the dough into the pecan-sugar mixture before I chilled it. It was hard to get it to stick after it was chilled.)

Preheat oven to 350°F.

Line two large baking sheets with parchment paper or silicone baking mats. 

Set aside.

For Rolling:

You can actually roll the logs before or after chilling them.

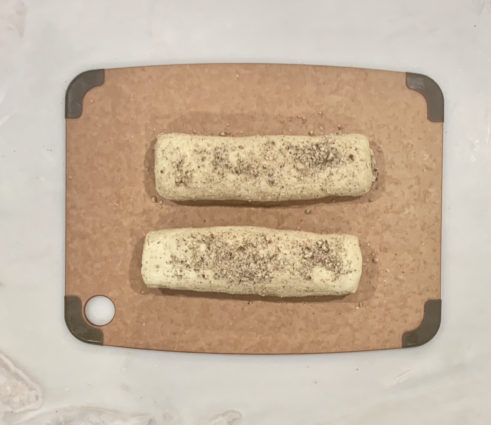
Mix the coarse sugar and chopped pecans together on a large plate.

One at a time, roll the log into the mixture.

Press it down so the nuts and sugar stick to all sides.

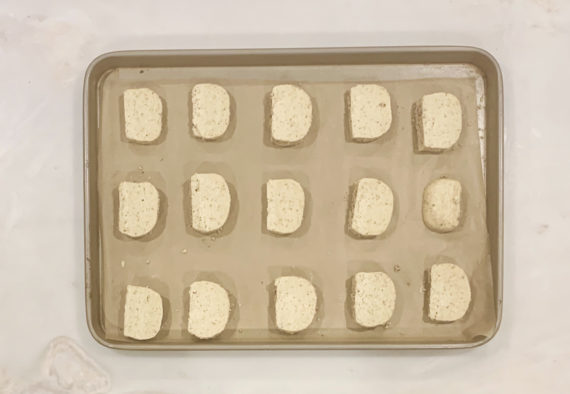
Slice each log into 12 equally thick cookies and place cookies on baking sheets about 2 inches apart.

Bake the cookies for 12-14 minutes or until brown around the edges. 

Remove from the oven and allow cookies to cool on the baking sheet for 5 minutes before transferring to a wire rack to cool completely.

These cookies come out of the oven very soft. Don’t be fooled, they are cooked through and will harden as they cool.

Cookies will stay fresh covered at room temperature for 1 week.

It’s that simple!

I wish you all a very

signature

[recaptcha]


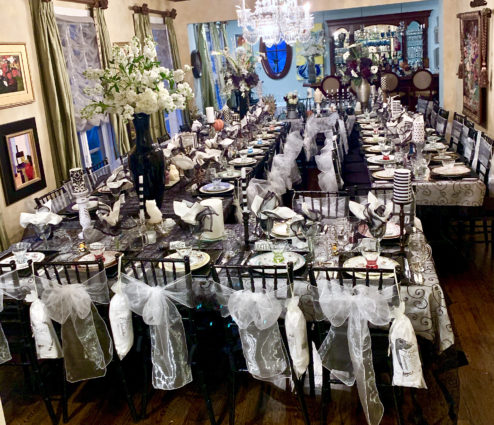
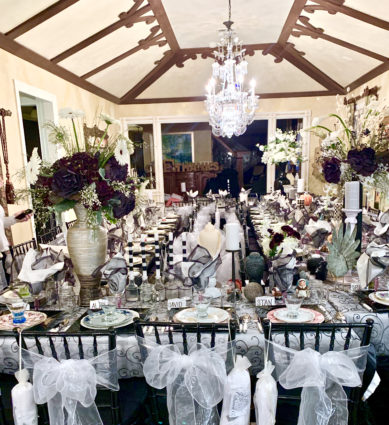
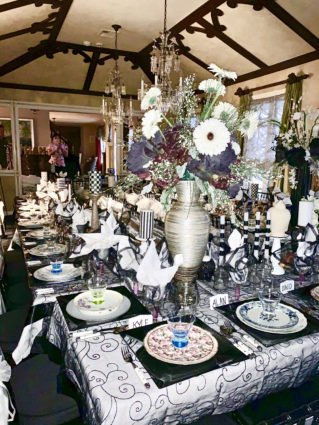
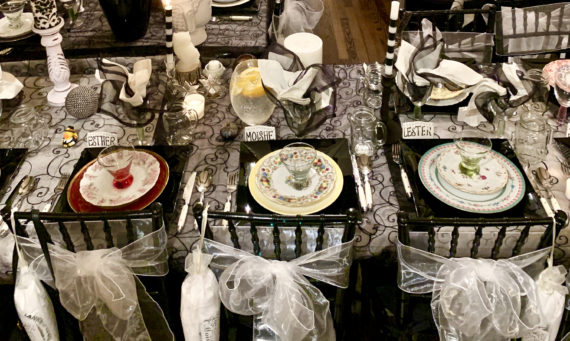
Thanksgiving 2019 was one of the most elegant holidays I have ever done. It was simple, yet classic. Table for 46 please!

I used a black and white theme, and I asked all my guest to wear something black and white as well. This made them all feel that they were an important part of the celebration. And they sure were.

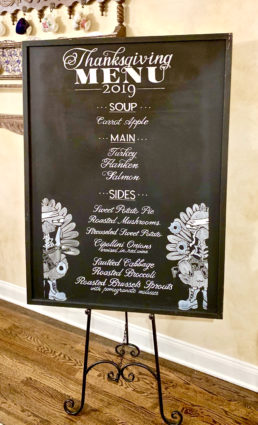
I carefully plan the menu for the evening, and believe the presentation of the menu is almost as important as the presentation of the food. I display it on a large chalkboard and have a calligrapher write the menu on it so everyone would know what was being served.

How fun is this?

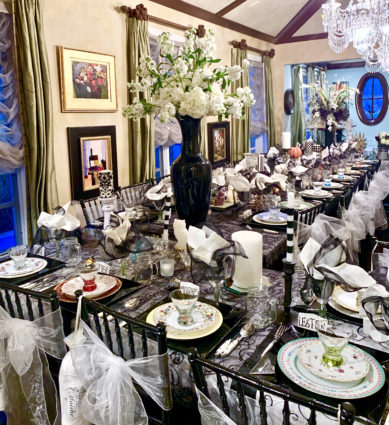
The tables had white tablecloths with black overlays. I also ordered black banquet chairs and tied white bows around the back of each chair. 


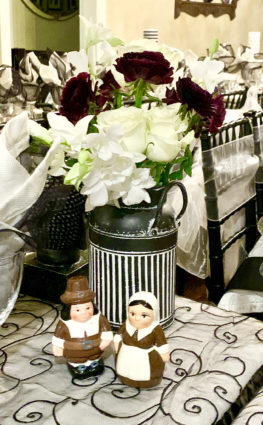
The flowers were especially elegant this year.

Including this beautiful vase on the bar.

Throughout the years, my husband and I have collected antique china plates, each one with a different pattern. I love setting the table with them each year.

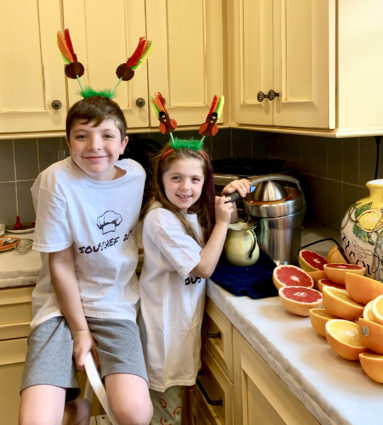
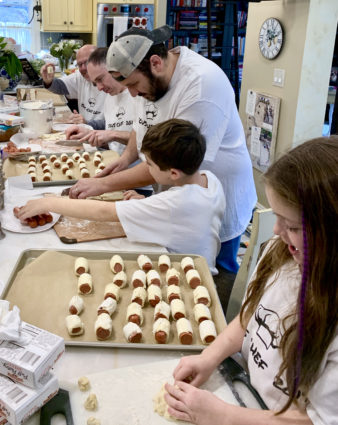
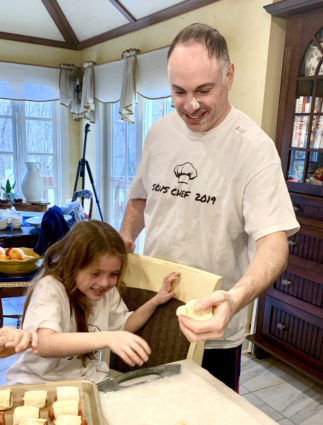
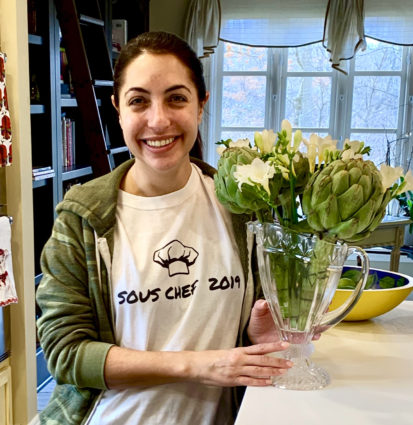
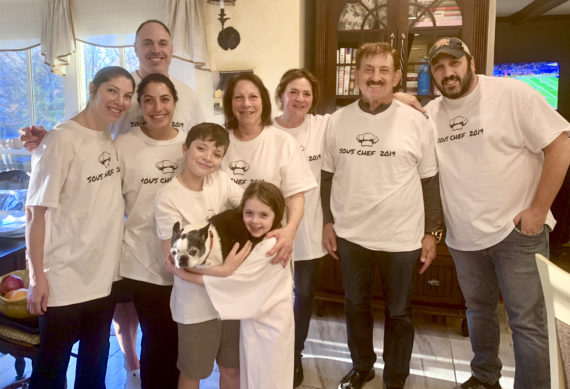
Here are my sous chefs for 2019, without whom this would not be possible. They come the day before and that is when the major cooking (and fun) begins. Thanksgiving morning we wake up early and we get right to work. My great-nephew Aaron, (the small guy in front) and my great-niece Jenna, are very big helpers and here they are holding Macy.

Jenna and Aaron do all the juicing for the bar.

Making the pigs in blankets have become a very important part of our Thanksgiving tradition. They guys have so much fun making them, and they are definitely the favorite appetizer of the night.

And of course there are a few dough fights!

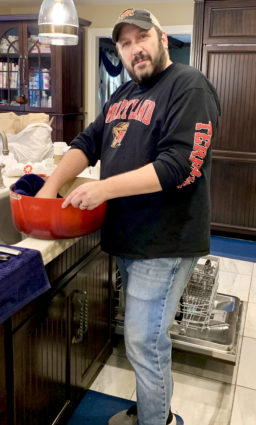
Everyone helps washing and drying the dishes.

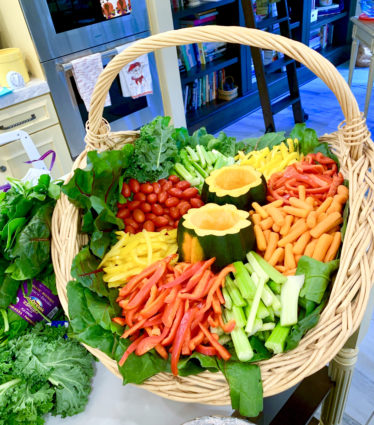
This year I thought the crudite platter my niece Leslie made came out beautiful! I took this picture before everyone came, that’s why there is no dip in it yet.

I found these beautiful artichokes in the grocery store. My niece Lara made a beautiful bouquet with them.

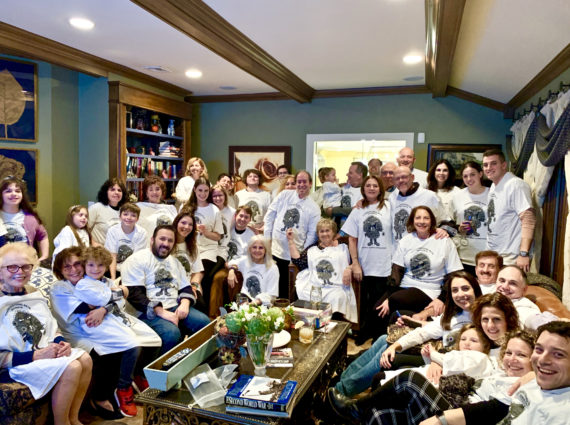
I purchase tee-shirts for everyone who attends that has the logo of the charity on it. My friend and I have so much fun designing it every year. Of course, there is the yearly picture taken of everyone wearing it. It has become a great tradition and all of our friends look forward to seeing it on Facebook.

As always, all the fun comes to an end.

We are already looking forward to next year!

It’s that simple! (uh, not really)

signature

[recaptcha]


If you’re at all like me, you want to get everything done faster.  I’m always looking for a better way to do everything. Time is precious, so why spend it poorly?  I’ve learned so much from looking at tips in cooking magazines, so I thought I might share a few of the best with you.  I know the holidays are stressful, but perhaps these shortcuts will help to make it easier on you.

Make your shopping list early and look at it often so you become familiar with it. This will help you not to forget something at the store (who among us hasn’t done a last minute grocery run?), but also make sure that you have a chance to add items you need as they pop up.

Prep, prep and more prep. Cut up anything you can (especially veggies) before you begin cooking. Place them in reusable storage containers or bags. Then put all the ones you need for the recipe into one large container and label it with masking tape. This way when you are ready to prepare the dish, you have all the ingredients you need right there, cut and ready to go.

Make as many dishes you can in advance and freeze them. Many sauces can also be prepped and frozen a week or so before– if they’ve separated upon thawing, be sure to stir or blend as necessary.

Set a trashcan right next to you or set up a bowl on the counter for food scraps.

Always take your meat and poultry out 10 degrees before the time the recipe tells you to. The FDA requires recipes to tell you the exact temperature that the meat should be, but the food always, always cooks another 8 to 10 degrees after it has come out of the oven. You do not want anything overcooked.

Read and re-read your recipes before you prepare them. It helps to become familiar with them, so you don’t forget to add an ingredient, or add something that should go in later in the recipe.

Last but not least, try to enjoy the process so that you can actually enjoy the holiday.

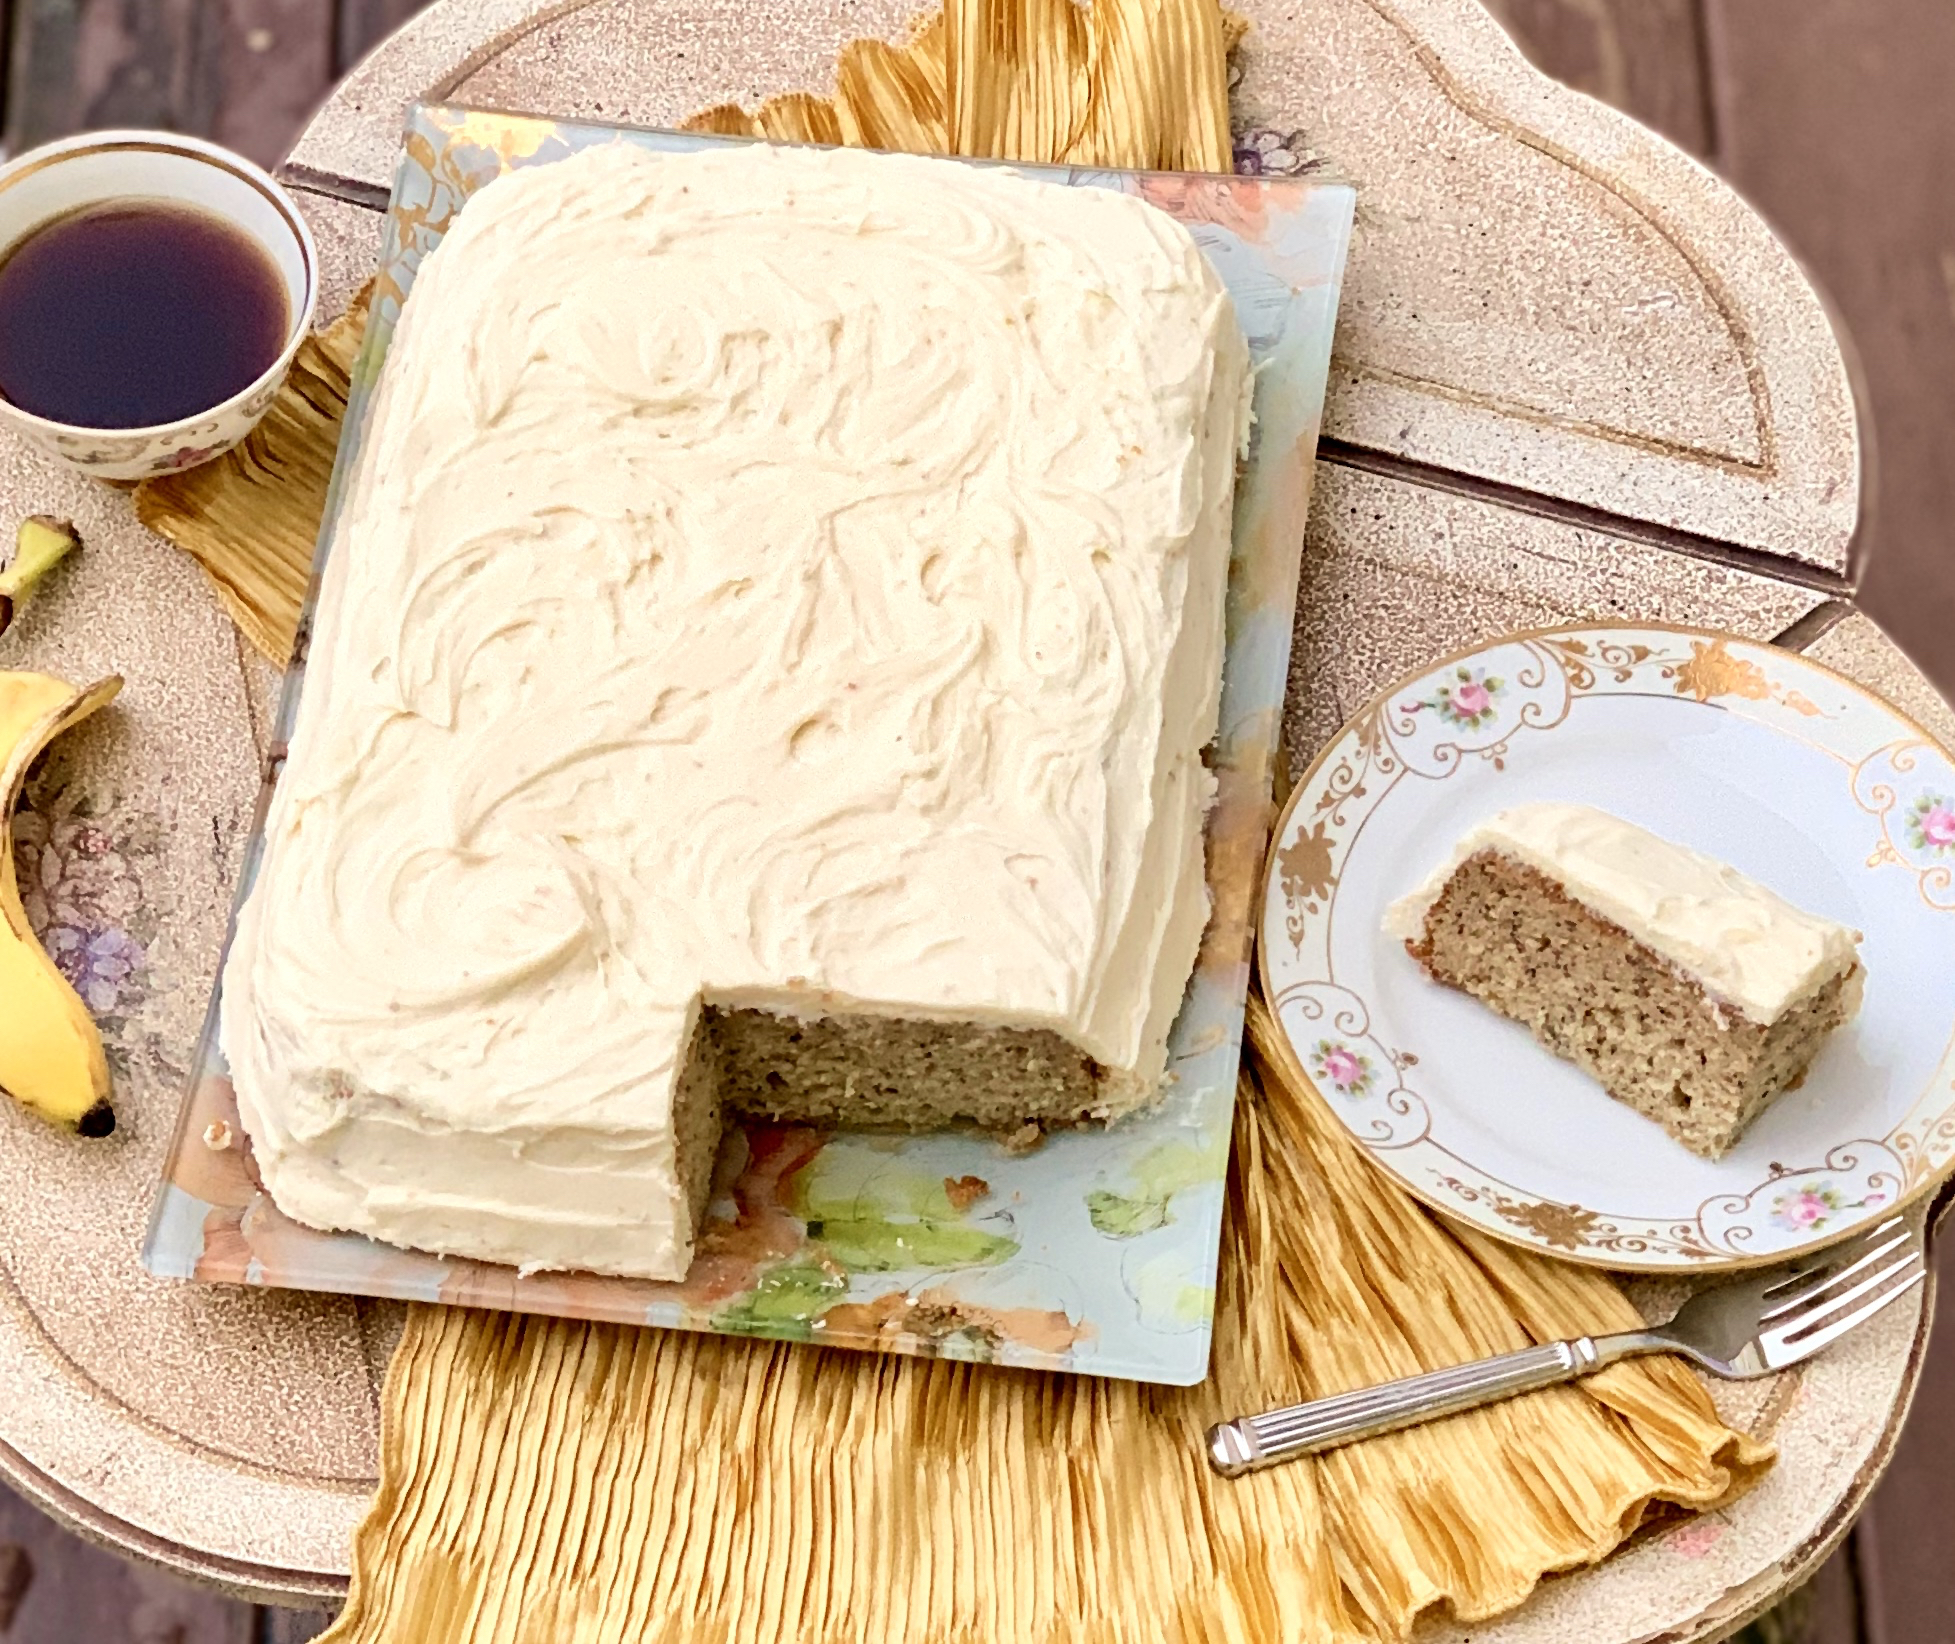
After reading this recipe, I was so eager to try it. The recipe calls for you to take the cake out of the oven and put it straight into the freezer. I have never heard of preparing a cake this way. The reason they give is that it makes the cake extra moist. I do not know if it actually does, but I have to say, this was one very moist cake indeed. 

This is one dessert that will shine on your holiday table. The buttermilk makes this cake so moist and delicious and who knows, maybe freezing it helped as well. The lemon juice adds a nice tang. The vanilla is that savory goodness, and the cream cheese frosting is the perfect topping for this luxurious cake. This is one dessert that will make everyone at your holiday happy, happy, happy!

This recipe is courtesy of Allrecipes and will serve 18 people who will love the easy prep for this delicious cake!

Ingredients for Banana Cake VI

1/2 cups mashed bananas
2 teaspoons lemon juice
3 cups all-purpose flour
1 1/2 teaspoons baking soda
1/4 teaspoon salt
2  cups sugar
3/4 cup butter, softened
3 eggs
2 teaspoons vanilla extract
1 1/2 cups buttermilk
1 recipe Cream Cheese Frosting

Make the cake:

Preheat oven to 275 degrees F (135 degrees C). 

Grease and flour a 9×13 inch pan. 

In a small bowl, mix mashed bananas with lemon juice, set aside.

In a medium bowl, mix flour, baking soda and salt. 

Set aside.

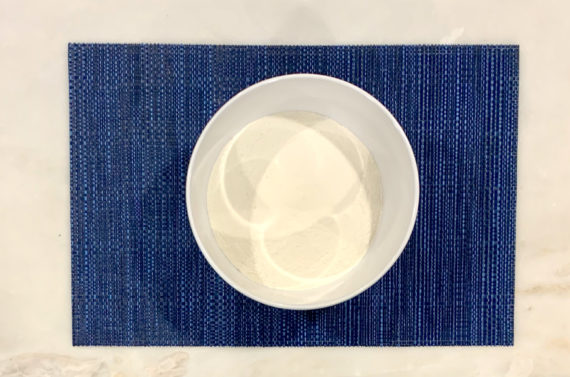
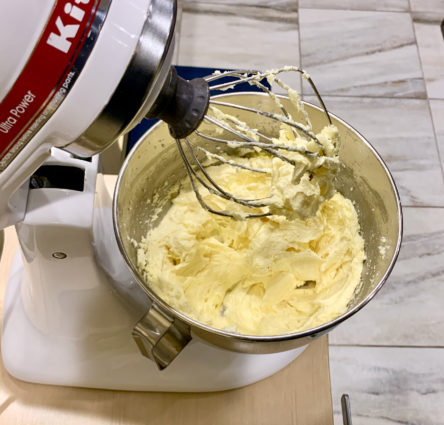
In a large bowl, cream 3/4 cup butter and 2 1/8 cups sugar until light and fluffy. 

Beat in the eggs one at a time, then stir in 2 teaspoons vanilla. 

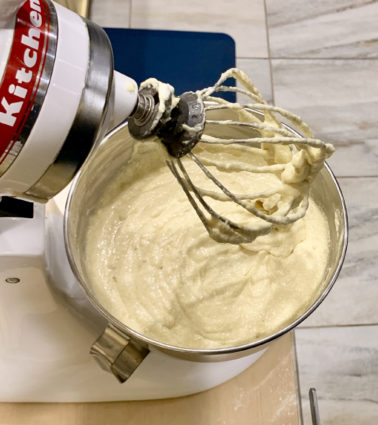
Beat in the flour mixture alternately with the buttermilk. 

Stir in banana mixture. 

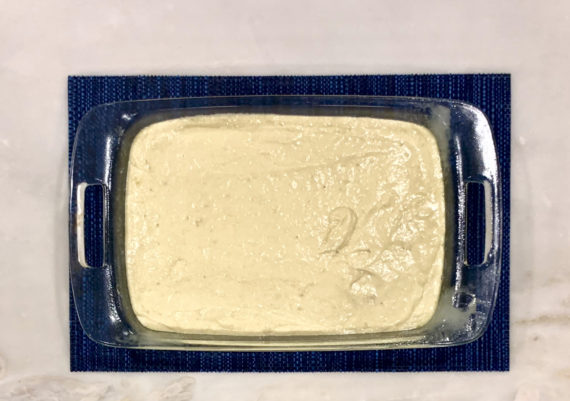
Pour batter into prepared pan.

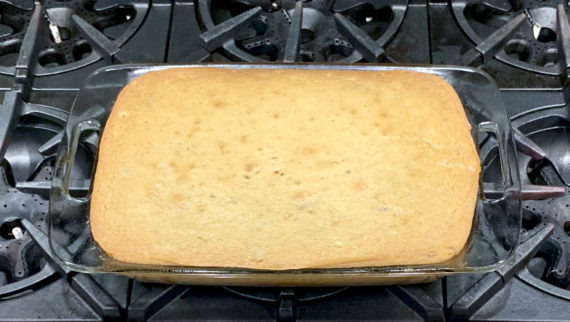
Bake in preheated oven for 1 hour, or until a toothpick inserted into the center of the cake comes out clean. 

Remove from oven and place directly into the freezer for 45 minutes. 

This will make the cake very moist.

Make the frosting: 

In a large bowl, cream 1/2 cup butter and cream cheese until smooth. 

Beat in 1 teaspoon vanilla. 

Add confectioners sugar and beat on low speed until combined, then on high until frosting is smooth. 

Spread on cooled cake.

It’s that simple! ( it really is!)
Mitzie and Macy
Macy will be turning 13 this month, yikes!
Where does the time go?

signature

[recaptcha]


As you may have seen on the news, it snowed here in the Northeast. I love to watch the trees become magically dusted, turning into a true winter wonderland. I love the quiet of the beautiful white snow falling. Everything seems to come to a standstill. Normally bustling streets become still as the snow gives us an excuse to pause and breathe and enjoy the moment. Usually I keep some comfort food in the freezer,– a brisket, maybe– and take it out the night before I know it is going to snow, just to have something warm to eat when we’re all at home together.

I stay home when it snows. I hate driving in it. It always seems to be such a nightmare on the road. I remember being in college and having to drive about half an hour to get to work. The parkway would be so treacherous. I was driving a very old car and I distinctly remember the fear of the car getting stuck or slipping into another car. Or even worse someone slipping into my car, causing me to crash. Last year, I got stuck on my way home from the grocery store. There were so many accidents on the road, an 8-minute drive took me four hours. So, from now on, when it snows, I stay home and look out the window and enjoy the beauty of it from there.

When the clouds loomed over my house this weekend, instead of making a meat dish, I choose to make a comfort breakfast. I had so many eggs left over from Thanksgiving, so I used them up. Who doesn’t love eggs any time of the day?

This dish has comfort food written all over it. This buttery, easy casserole is packed with cheesy, savory goodness. The cottage cheese adds another depth of flavor that combines beautifully with the other cheeses. It is also a very versatile dish. You can add sausage, chives, Italian seasoning or any vegetables you have on hand. It has become a family favorite and they love eating breakfast for dinner. It sounds strange, but once you have tried this dish, you will too.

This recipe will serve 8 people who will love a hearty breakfast meal for dinner!

Ingredients for Cheesy Baked Eggs with Bacon:

1 Tbsp. butter
12 eggs
½ tsp. salt
Pepper to taste, freshly ground
1 (16-ounce) container cottage cheese
1 cup sharp cheddar cheese, grated
1/2 cup flour
1 teaspoon baking powder
1/4 cup Parmesan cheese
1 lb. bacon, cooked and crumbled into small pieces

Preheat oven to 350 degrees F.

Brush melted butter on the bottom and sides of the pan.

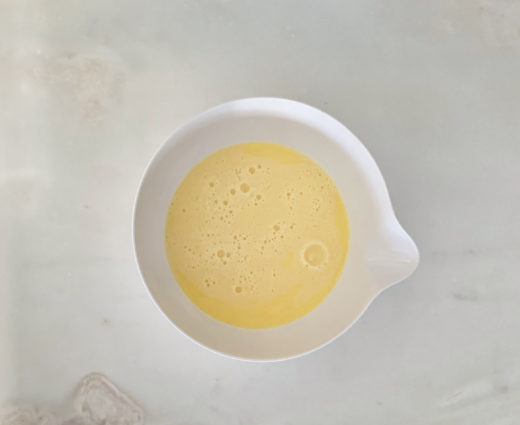
Whisk together eggs in a large bowl.

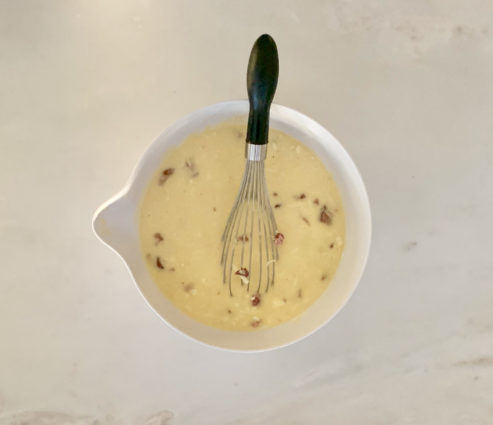
Add salt and pepper, half and half, cheddar cheese, bacon, flour, and baking powder.

Pour into prepared baking dish. 

Sprinkle Parmesan cheese over the top of the egg mixture.

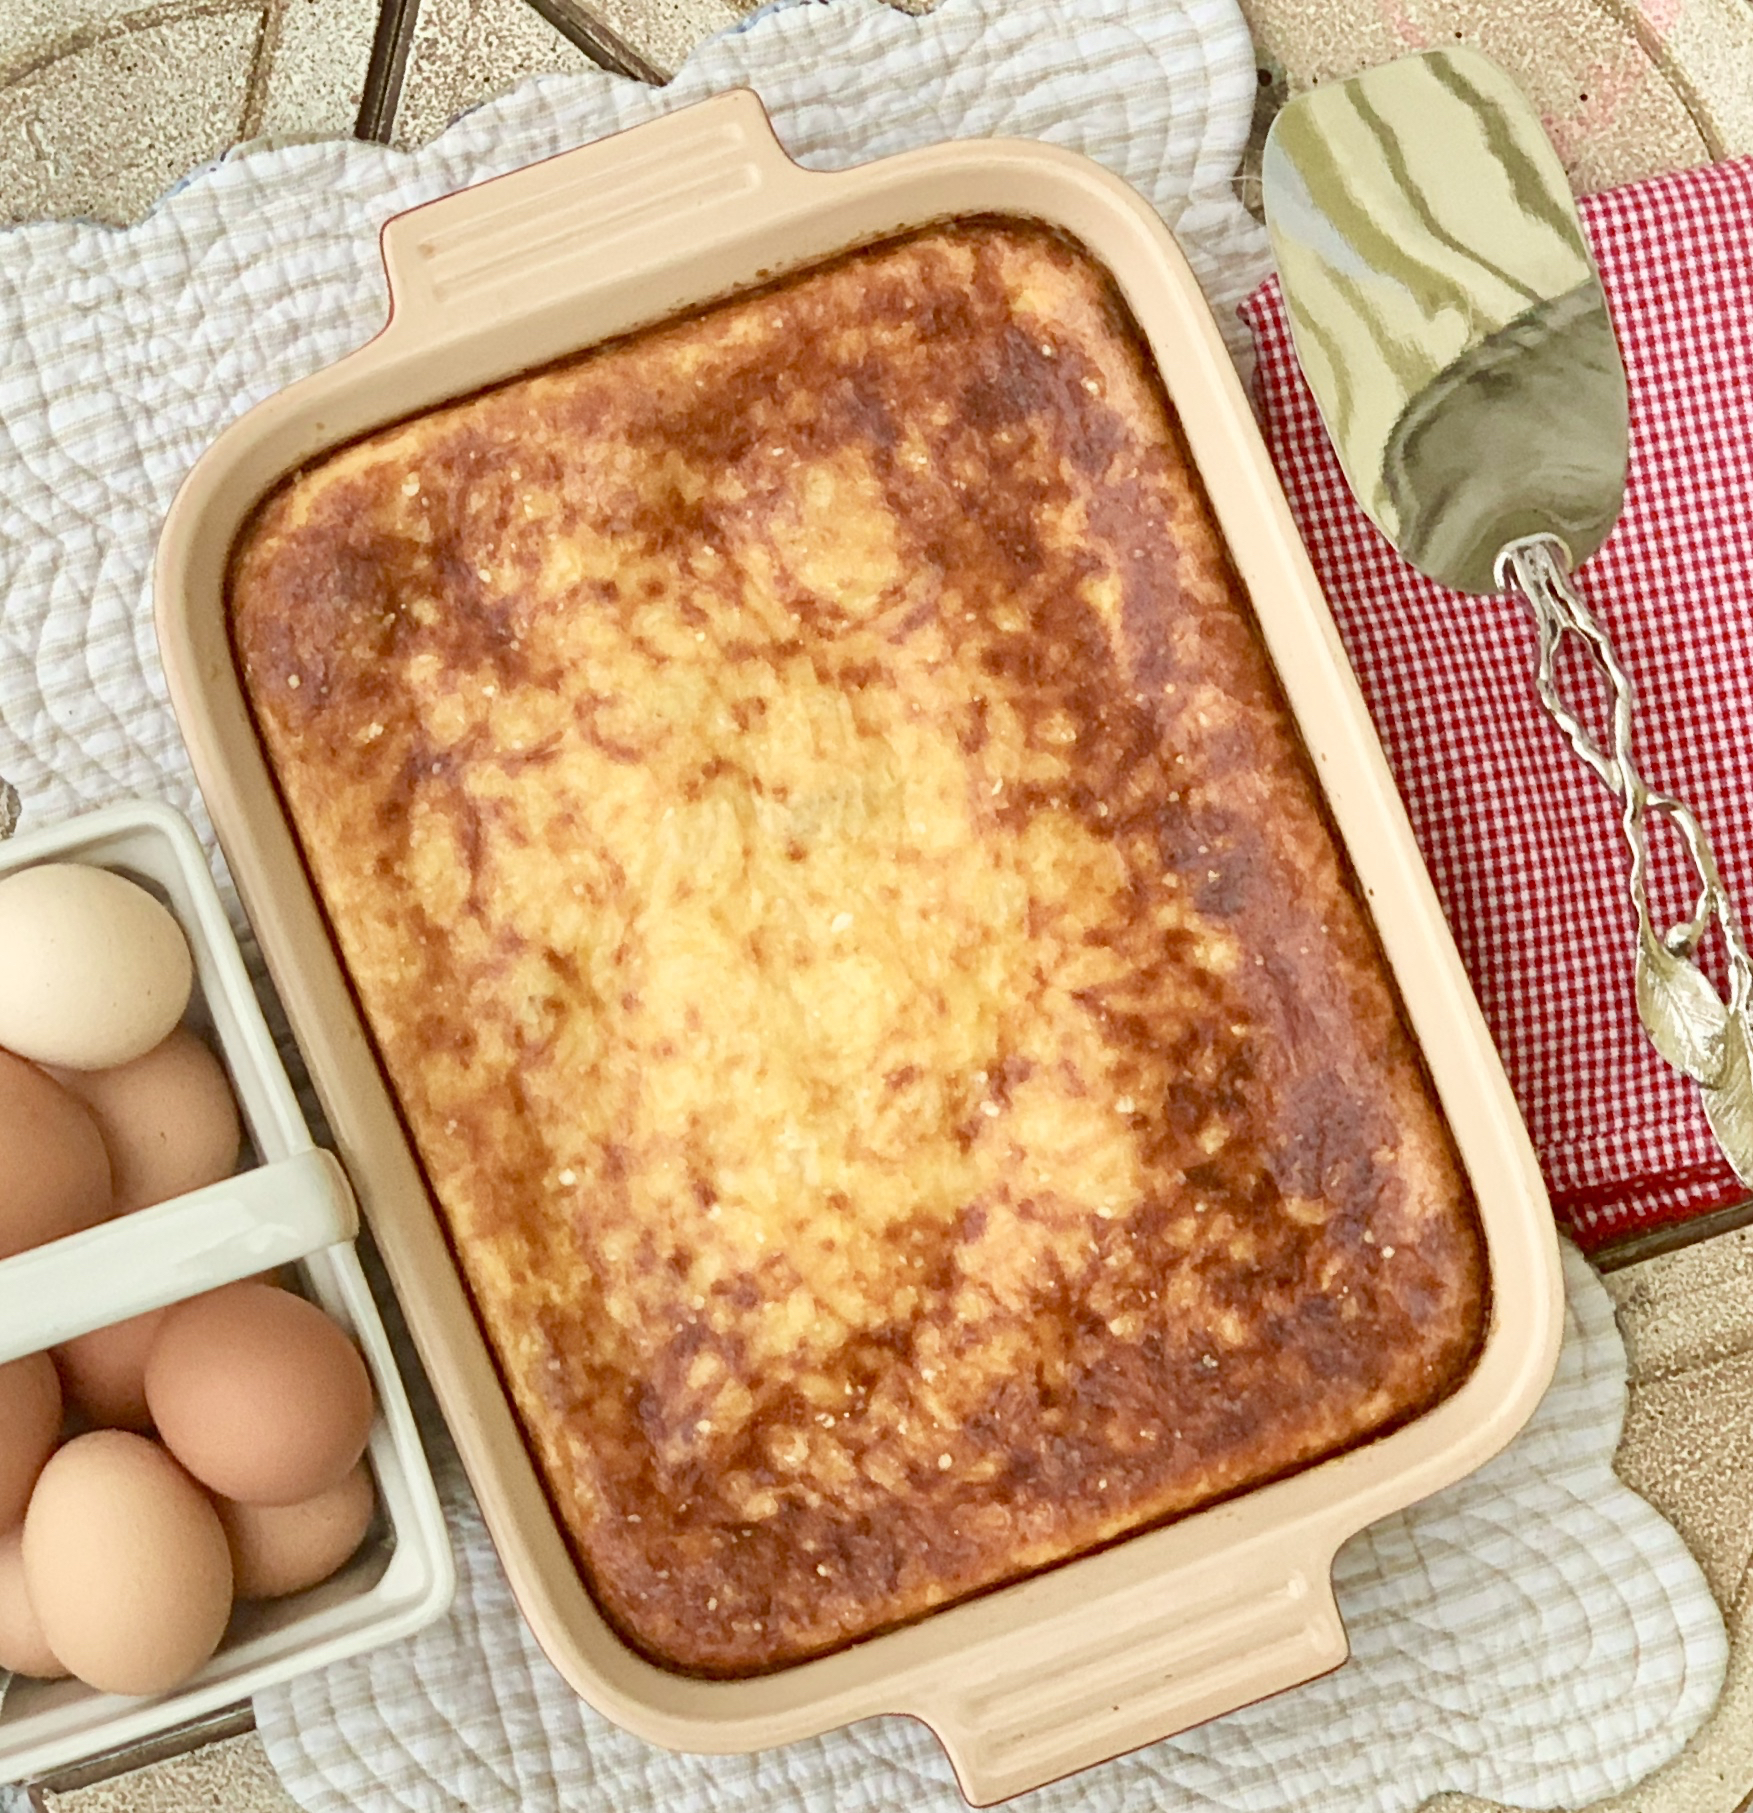
Bake until eggs are firm and set, and the top is golden about 50 minutes to 1 hour.

It’s that simple!
signature

[recaptcha]