There are so many people who find it very hard to sit down and do nothing. I know I am always ready to move on to the next thing on my to-do list. Most of us set out to achieve a particular set of tasks each day, or one big task (like cleaning out the attic or garage), but can be problematic if we let ourselves feel too much pressure to “be productive.”

When I get an idea in my head, I can’t get any rest until I do it. Years ago, people felt the need to focus on one task at a time, and didn’t burden themselves to fill a free day with so many things to accomplish. Nowadays, many us of have grown too expect so much of ourselves in too little time. It seems like the busier we are, the more we get used to doing, and we have gone from single-tasking to multitasking.

Most of us feel a real sense of accomplishment when we get things done. Crossing things off our to-do this releases dopamine, which regulates pleasure. According to Science News, “the release of dopamine also increases motivation to take on more.” This can create an endless cycle of productivity addiction. Personally, it feels good for a while, but I really need to learn how to turn it off, because it is not necessarily good for you in the long term, because burnout is absolutely real, and you will end up accomplishing nothing at all.

It is very important to find downtime in your day. According to Harvard Business Review, “creating the space for downtime increases productivity. Subject to heavy workloads and never-ending to-do lists, it’s easy to put our heads down and charge through tasks, thinking we have no time for days off, free evenings, or weeklong vacations. But driving too hard without breaks can make us less productive and less focused.” They found that downtime can dramatically improve mental and physical health, and our personal relationships too. For example, they found that employees who unplugged and took time off had reduced rates of serious health issues like coronary heart disease.

Here are some good ways to make time for yourself:

Take your dog for a long walk. You and your pet get some cardio which is good for all aspects of your health. Spending time alone with each other is vital to your dog’s mental health as well as your own.

Rethink your schedule. Make sure you schedule some downtime for yourself, as a reward for all you did that day. It will help you recharge and become more mindful. Decide when you’re going to unplug, and stick to it.

Put your phone on silent for a while. Easier said than done!  Perhaps consider making a “phone time-out” for your family too.

Find a hobby you enjoy doing and make time for it. I have been needlepointing since I was a teenager. It is therapeutic for me in so many ways. It allows me to turn my mind off, relax, and just enjoy the moment. Though I hadn’t made time for it in the past, I picked it up again this year, and I realized how much I missed it. Now I make time each day to do some needlepoint, and I’ve been enjoying seeing my progress.

Meditation can help as well.  If you do not meditate, perhaps you can find another way to rest and reset your mind and body. There are some great apps that make it easy to practice, so you don’t have to get started alone.

It may be hard for many of us to carve out some downtime in this 24/7 world. I think the pandemic has proven to all of us that we can allow ourselves some “me” time without the guilt, and still complete our daily tasks. In this current world, we need to be more vigilant than ever about cultivating the discipline to take downtime when the moment calls for it.

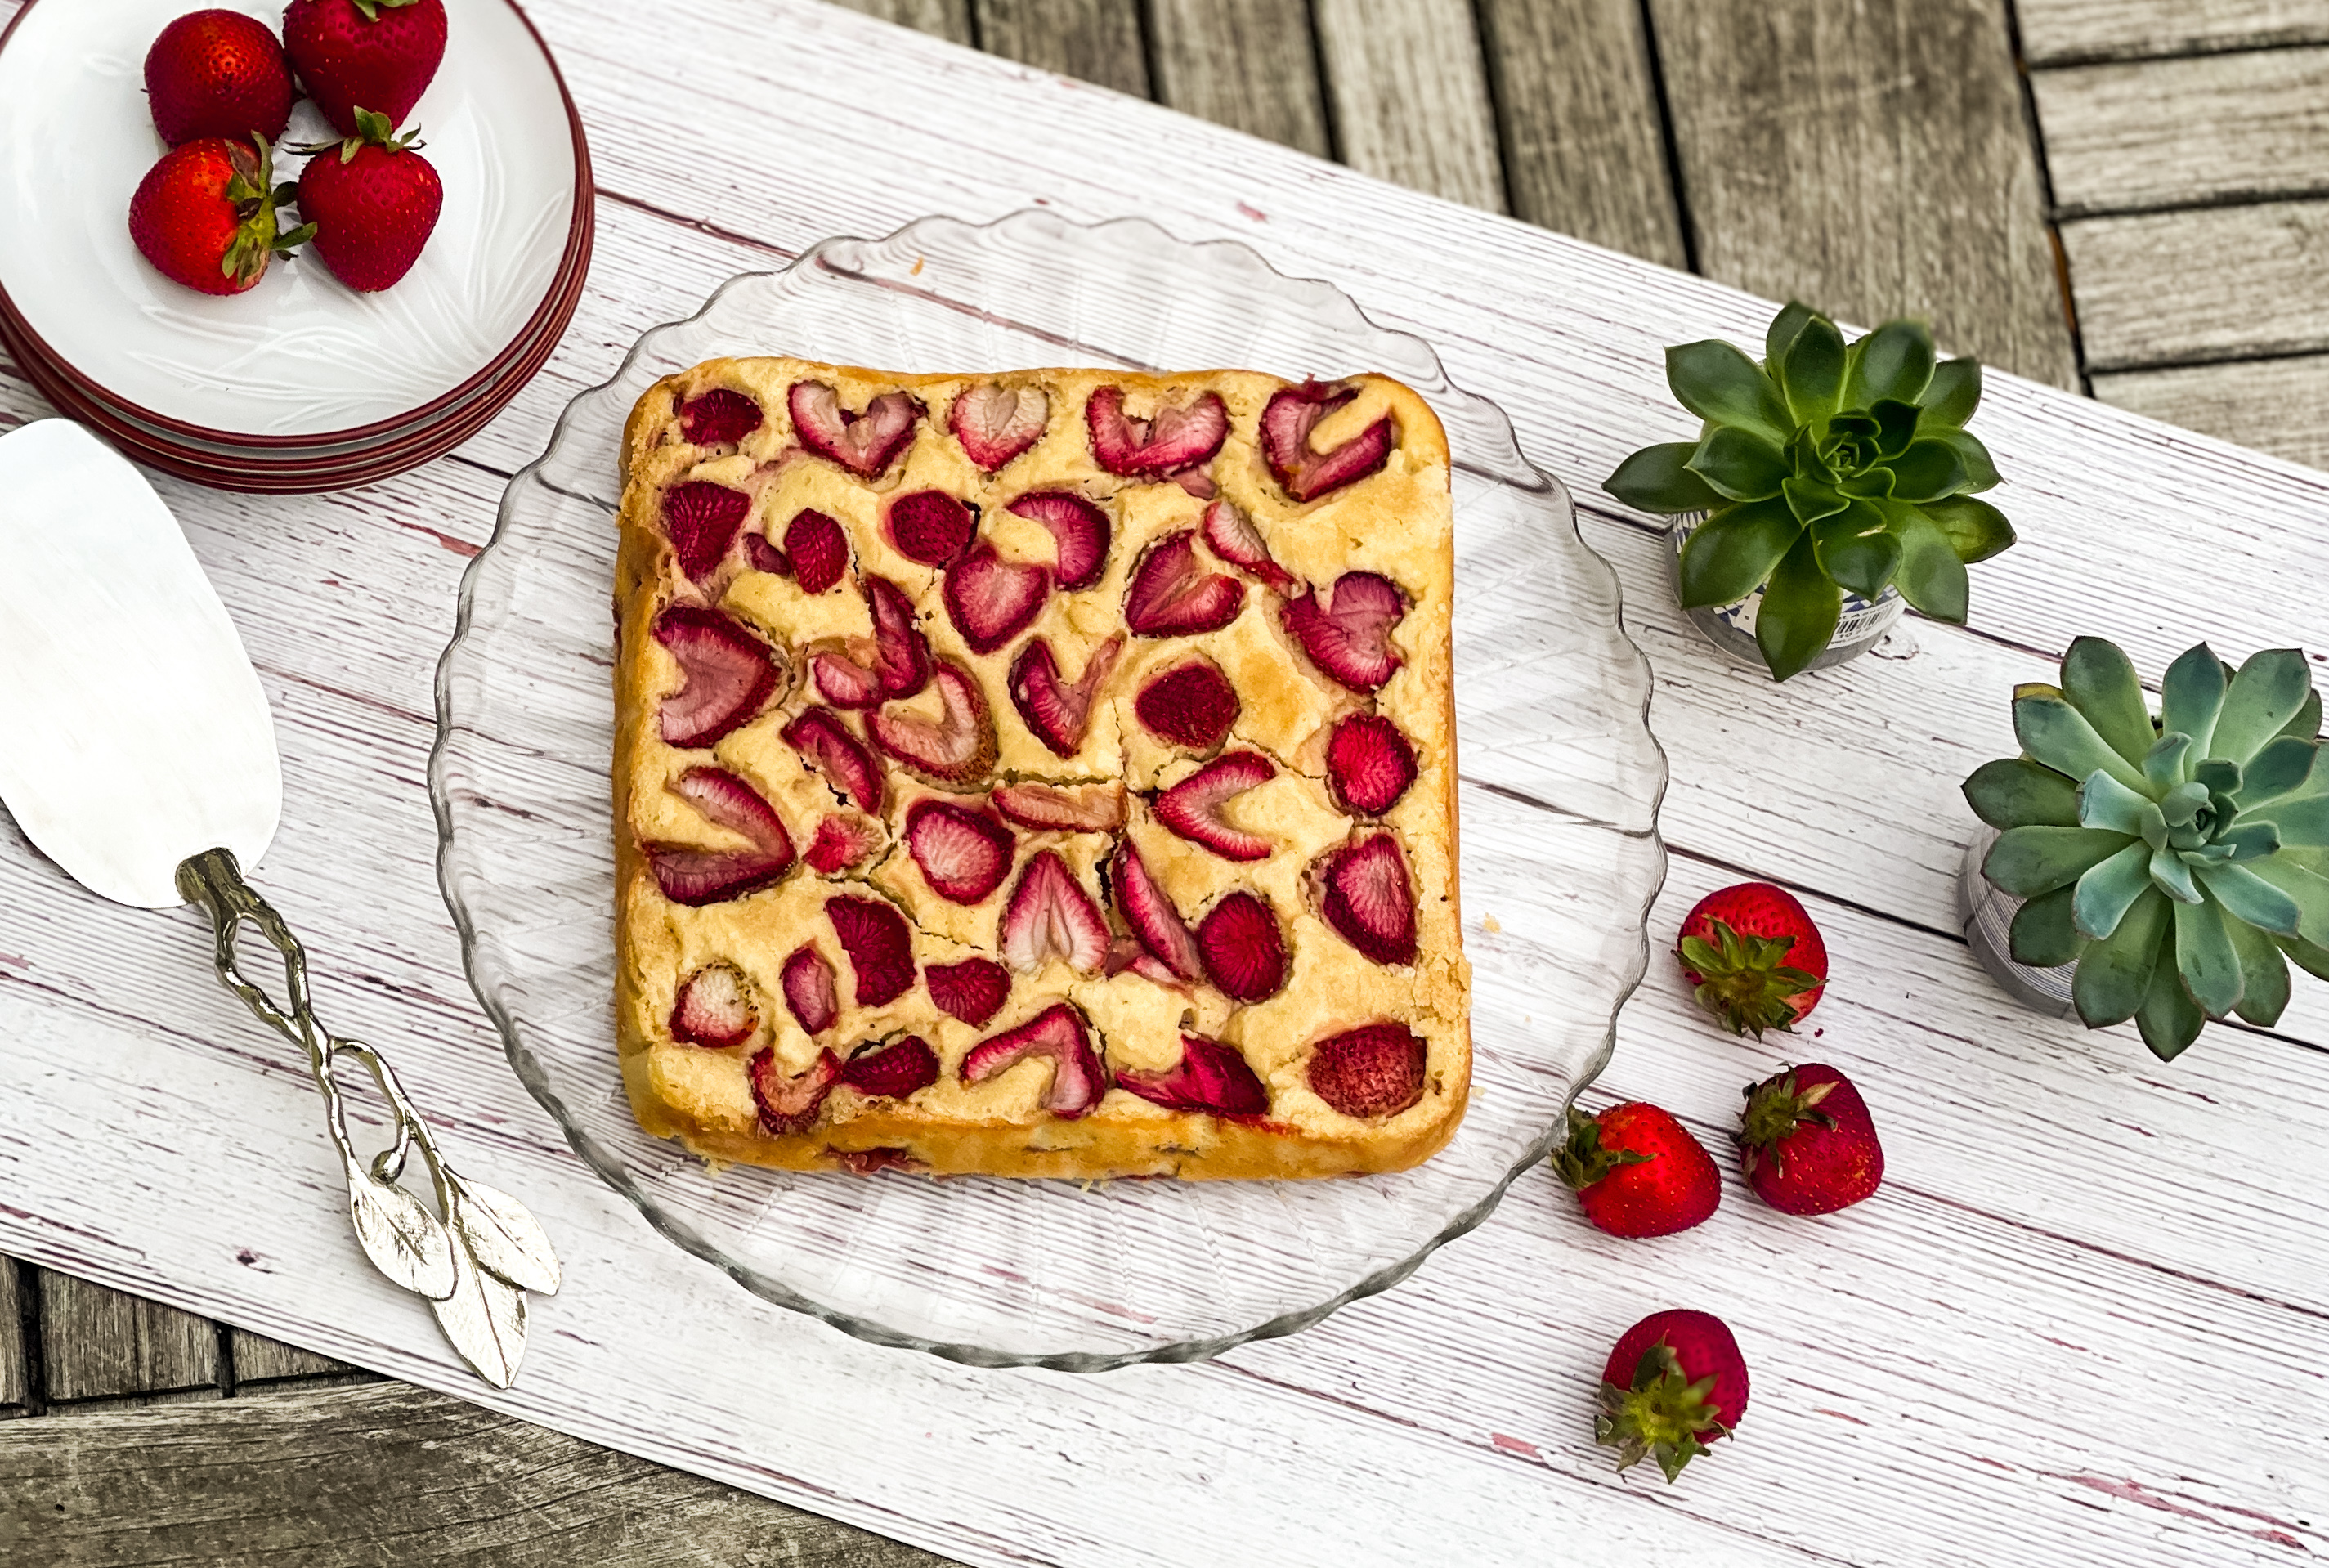
Onto the recipe. Another great dessert that is easy to make, but will taste like you have been cooking all day– you can use that extra time doing whatever makes you happy! As Allison Roman says, “if strawberry doughnuts are your thing, then this cake is absolutely your thing.” A classic, old-fashioned buttermilk cake with bits of berries strewn throughout, this cake manages to taste just like your favorite fried treat (without the frying!). The sweet strawberries are the perfect filling for this delicate cake, which gets its moistness from the buttermilk and eggs. It bakes up into a beautiful cake that resembles a sweet doughnut with bits of delightful strawberry in every bite.  

This recipe is courtesy of Allison Roman and will serve 8 to 10 people who can treat themselves to a delicious slice of cake.

Ingredients for Old-Fashioned Strawberry Cake:

½ cup unsalted butter (1 stick), softened, plus more for pan
2 cups all-purpose flour
2 teaspoons baking powder
3/4 teaspoon kosher salt
⅓ cup granulated sugar
1/3 cup light brown sugar
1 teaspoon vanilla extract
2 large eggs
¾ cups buttermilk
10 ounces strawberries, hulled and sliced 1/4-inch thick
3 tablespoons demerara sugar, for sprinkling (you can use granulated sugar in a pinch)

Heat oven to 350 degrees.

Smear or brush a bit of butter onto the bottom of a 9-inch cake pan and line with parchment paper (either cut to fit the bottom, or leaving some hanging over the edges for easy removal).

Whisk flour, baking powder and salt together in a medium bowl.

In a stand mixer (or using an electric hand mixer and a large bowl), beat butter, granulated sugar, brown sugar and vanilla together on medium-high, periodically scraping down the sides of the bowl to make sure everything incorporates, until the mixture is pale, light, fluffy and creamy, about 5 minutes.

Add eggs, one at a time, beating to blend between additions. (This is a good time to scrape down the sides again.)
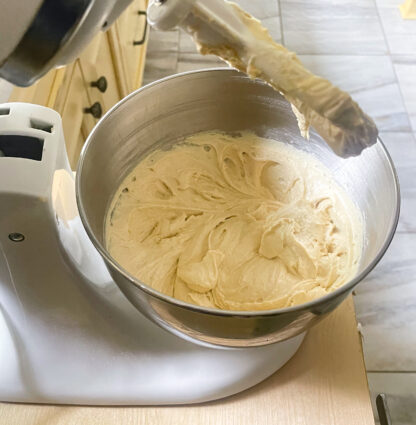
Reduce the mixer speed to low and carefully add half the flour mixture, followed by half the buttermilk.

Repeat with remaining flour mixture and buttermilk, beating just until no large lumps remain.
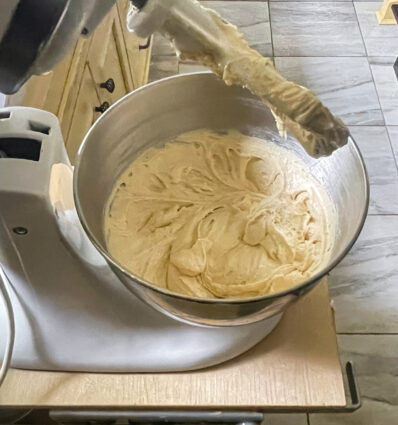
Using a spatula, gently fold in half the strawberries and transfer the batter to the prepared cake pan.

Scatter with remaining strawberries and sprinkle with demerara sugar. 

Bake until cake is puffed, deeply golden brown on the top and pulling away at the sides, 45 to 50 minutes. (It should spring back slightly when pressed in the center and appear fully baked where the strawberries meet the cake.)
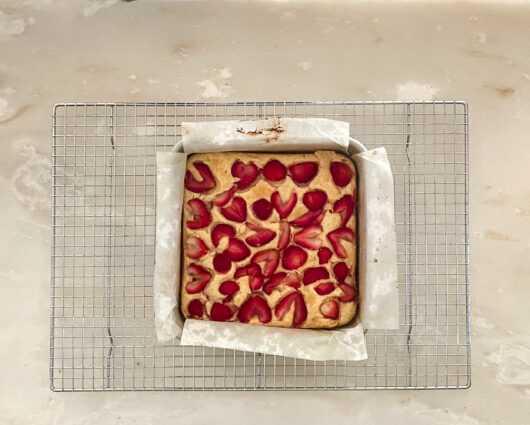
Let cake cool completely before removing it from the pan (either by inverting or lifting with the parchment lining).

The cake can be baked up to three days ahead and stored tightly wrapped at room temperature, or refrigerated.

It’s that simple!


signature

[recaptcha]


I have a lot of pet peeves. One of them is salad dressing, specifically store-bought salad dressing. As I get older, I am more conscious of my health and nutrition. I follow a healthy diet, and I read the ingredients on the packaged products I buy at the store. There are so many gross and nasty components that go into canned foods, and store-bought salad dressings are the biggest offender. 

Don’t get me wrong here, I am not one of those people who eat salads all day, every day. But when I do, it has to be substantial with a combination of greens and a protein. I do love vegetables, but they can be very boring, tasteless, and not very filling. If you’re not careful, you may find yourself hungry again very soon after eating a salad, and you may not be able to resist the temptation of a slice of cake. They need to be spiced up just a bit. A good dressing can do that for you, and I think it is the most important ingredient in the salad. 

Most of the store-bought ones contain poor quality products that are cheap and unhealthy, even though they’re marketed as light and low-calorie. For example, if you read the label you will find that all of them contain unhealthy oils, such as soybean and canola. They also have lots of fillers and preservatives. There are too many added sugars, even the low-fat kind. The sugar translates into too many calories. 

It is so easy to make your own dressing, and it is a cheap (and healthy!) option.  All you need are a few ingredients:

An oil – Many oils will work, but try olive, walnut, grapeseed, avocado, or hazelnut.

A vinegar- You can use balsamic, white-wine, champagne, or apple cider. Fresh lemon or lime can be used to heighten up the flavor even more.

A thickener- Mayonnaise, Dijon mustard, brown seed mustard (my favorite), avocado, or tahini are all great choices. This acts as an emulsifier to help the oil and vinegar combine properly.

The basic rule for making your own vinaigrette is three parts oil to one-part vinegar. I prefer to use less oil and use more of the vinegar, but you can make your own ratios to taste. Don’t forget the salt and pepper! The possibilities are endless. Use some minced shallots, garlic, or better yet- both. Any fresh herb or poppy seeds will add another flavorful dimension.

Most importantly, do not overdress the salad. It will become a soggy, unappealing, mushy mess. Pour the dressing in little by little and taste as you go. You will see that you do not need a lot to make it taste great.

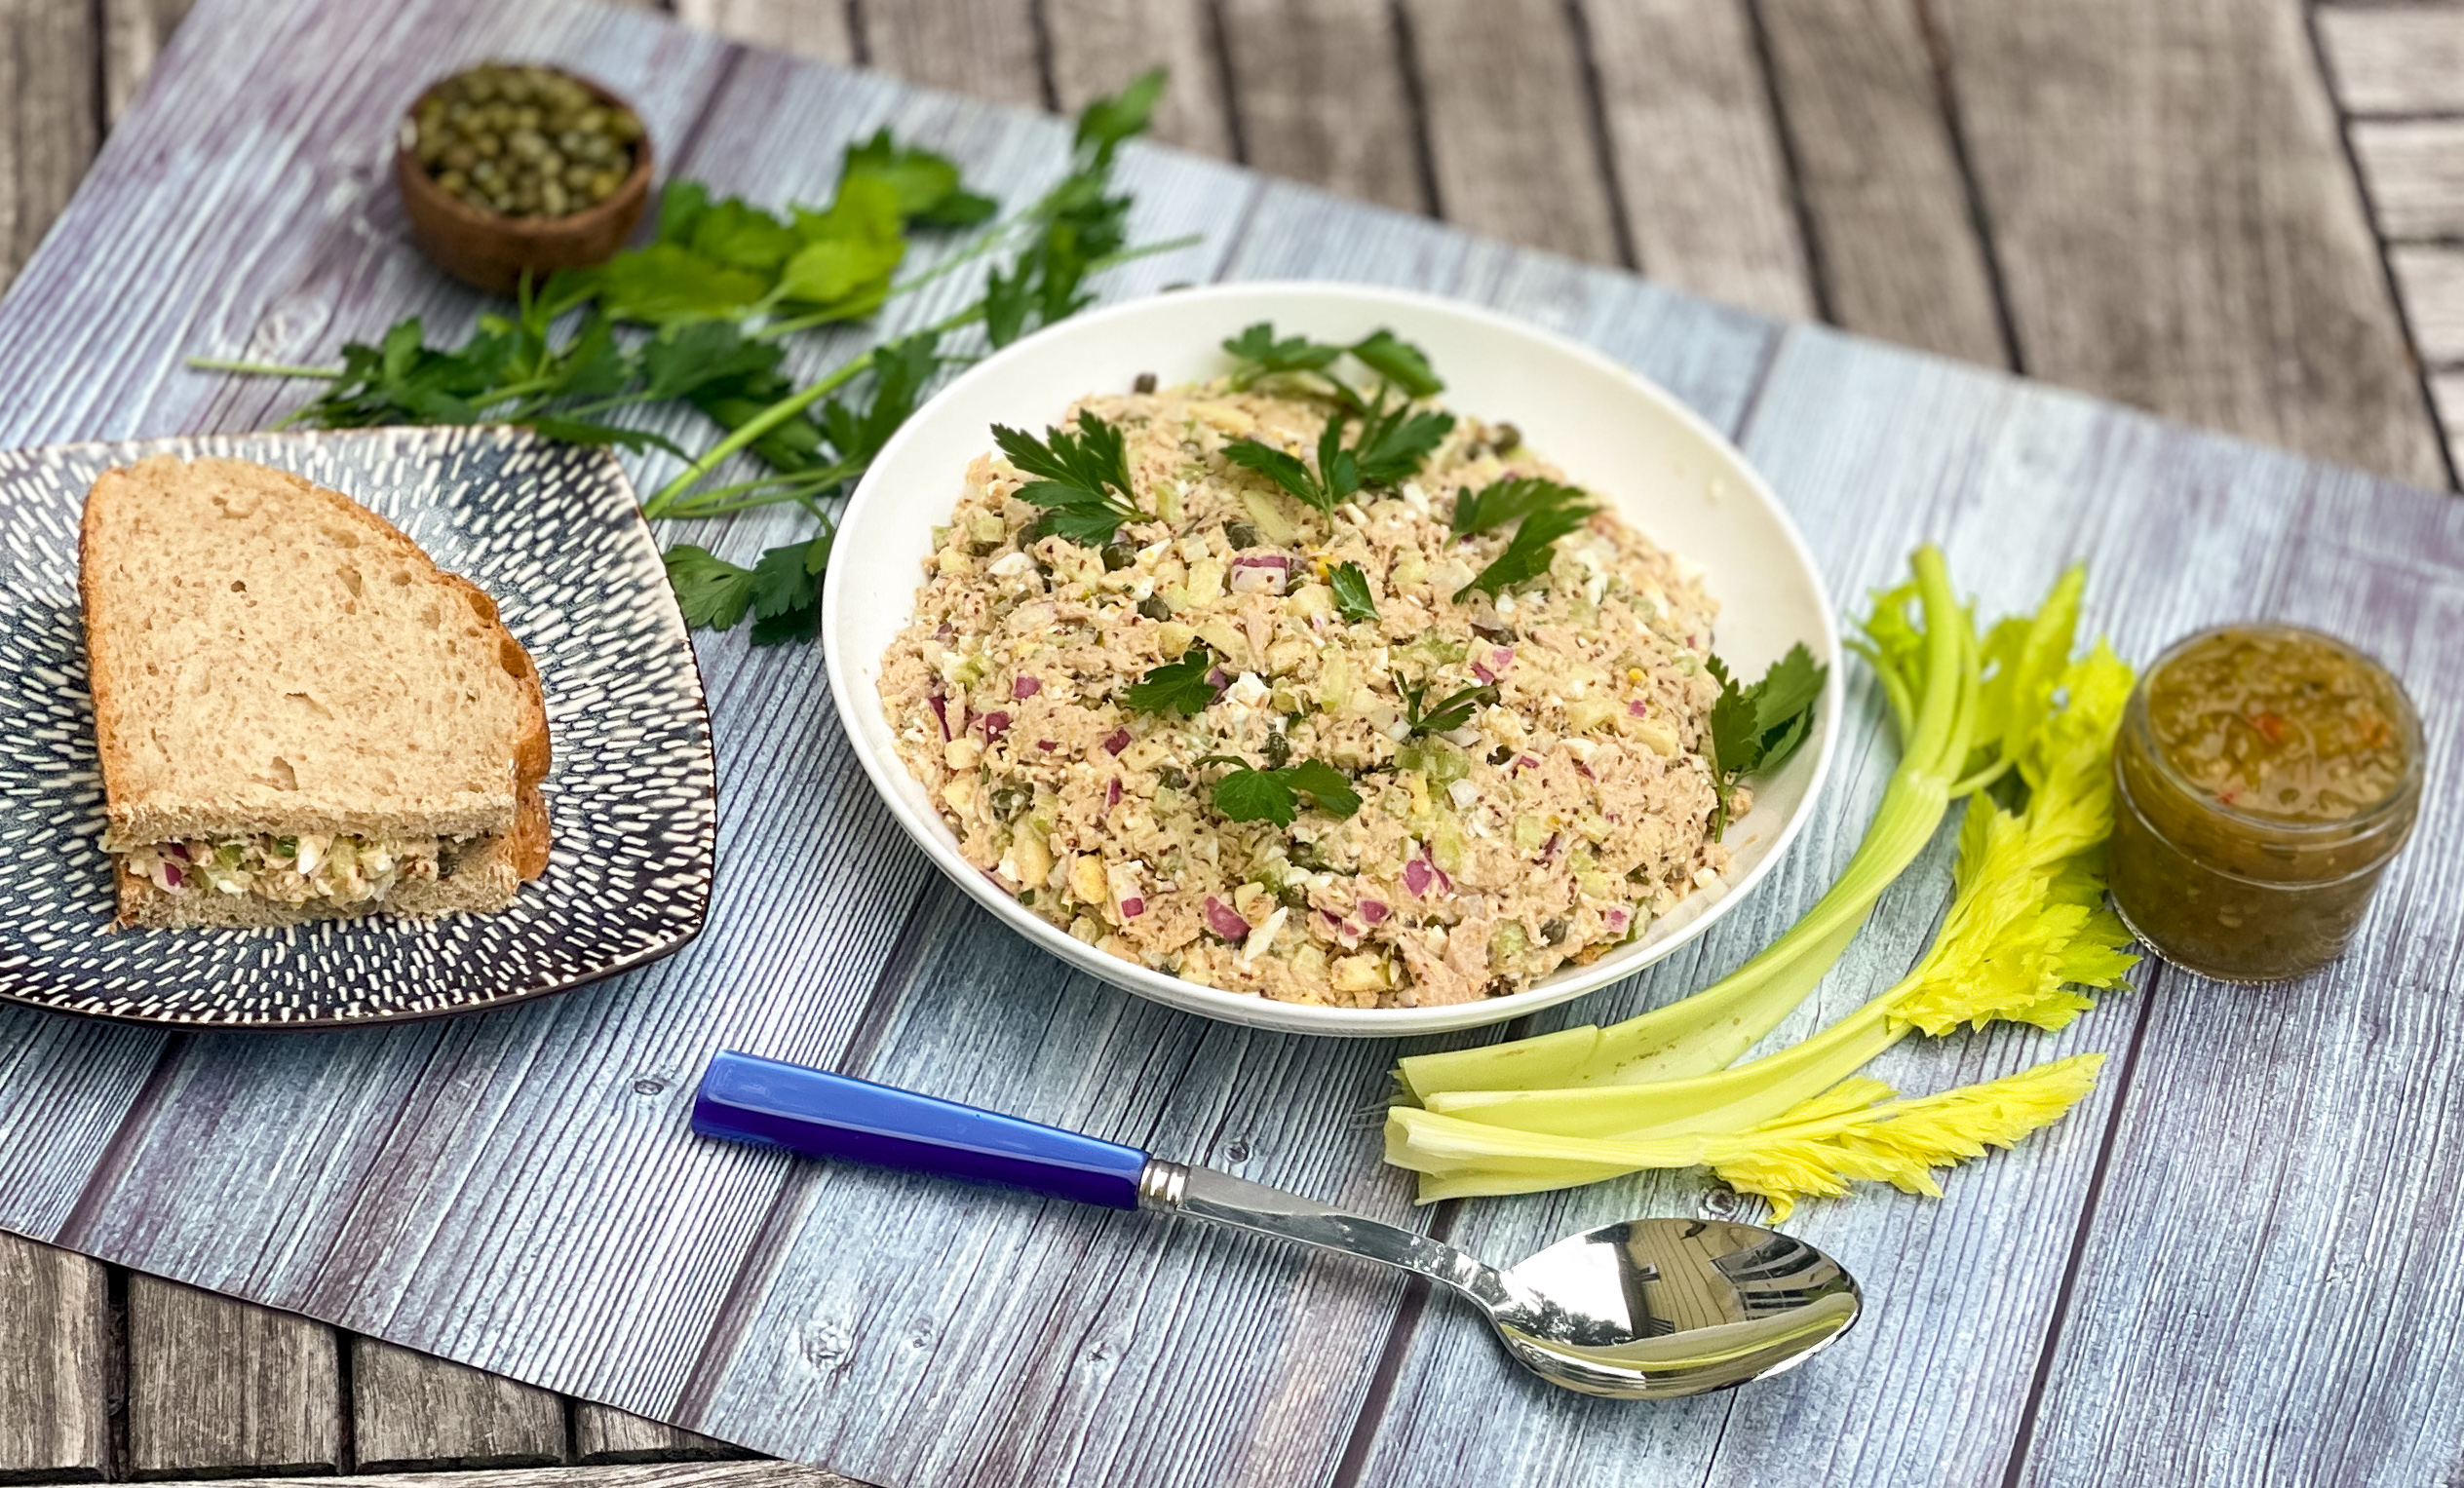
This is one of my favorite salads. It is so light, yet packs in a lot of flavor and is so satisfying too. Any protein such as chicken, steak, or shrimp can be substituted for the tuna. Do not buy the tuna in the can. If you can, purchase bottled tuna from Italy–the quality is much better, and you don’t have all those nasty preservatives in it. In this salad, the tuna, eggs, and apple combine nicely to make this salad hearty and satisfying. The Granny Smith apple, celery, and red onion adds nice tang and crunch. Pickle relish also takes this salad over the edge, giving it additional deliciousness.  The dressing is the star of this salad. It has a wonderful crunch from the mustard seeds, tangy goodness from the lemon, and creaminess from the mayonnaise. 

This simple recipe is my own and will make 8 servings for a summertime barbeque.

Ingredients for the Best Tuna Salad:

3 (6-ounce) cans white meat tuna packed in water, drained
3 stalks celery, chopped
1/2 red onion, minced
2 teaspoon minced flat-leaf parsley
1 Granny Smith apple, cored and cubed
5 hard boiled eggs
4 tablespoons pickle relish
1/3 cup prepared mayonnaise
4 tablespoons whole-grain mustard
1 teaspoon kosher salt
1/2 teaspoon freshly ground black pepper
Freshly ground black pepper
Juice of 1/2 lemon 

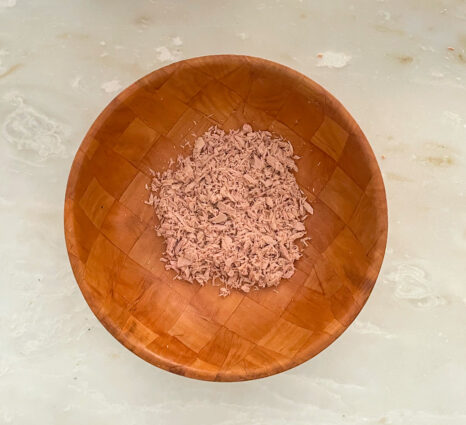
Drain the tuna and mix with a fork to separate tuna so it is flaky.

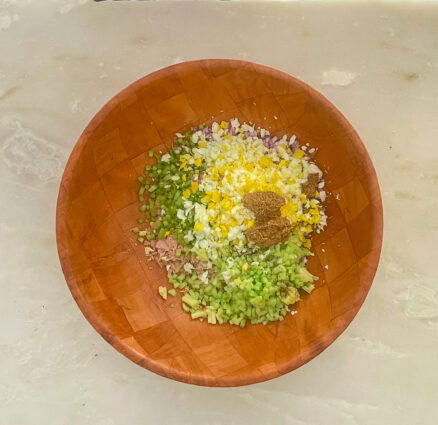
Place in bowl and add the next ingredients.

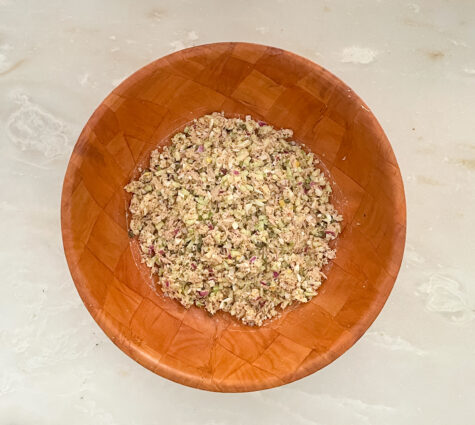
Mix to combine.

Slowly pour the dressing over the salad and mix well so all the ingredients are dressed.

It’s that simple! 

Herbs looking good this year!

signature

[recaptcha]


Summer is almost officially here, and I am one very happy lady. There are so many reasons why we love summertime, and now that I finally have a house on the beach, I literally count the days to the nice weather when we can have family and friends over. We enjoy having the company, and it is just a special time when we can enjoy an easy, laid-back life.

Though you know I love to cook, I tend to put the beautiful summer days to other pursuits. We barbecue simple things or order in so that we can all relax a little more. I usually cook for my blog when I am at my home in New Jersey because I have all the things I need there. I have fully stocked my beach home with all the equipment I need to cook, but I never seem to have the time. I’m not sure what I’m doing with that time, but I’m definitely not cooking.

Summer for me is not about cooking. It is more about being outside as much as I can. There are so many reasons I love summer, and here are just a few.

I love the beach and I love the sun. You have to be careful about sunbathing, especially at the beach, so we often go in the afternoon. I love that I get to lay around for a couple of hours in the sand. I am not good at doing nothing… except when I’m at the beach. I bring books and magazines to help pass the time, but I find that I am happy just to look out at the water and hear the sounds of the ocean. Though I love the ocean, I do not go in the water. I know some of you may think that is crazy, but I don’t like swimming with things that live in the water. I am very content to stand at the edge and let the water run up my feet, but that’s it. I wait till I get home and jump in the pool.

Thunderstorms are one of my favorite things about the summer.  As a child I remember I used to be petrified when it stormed, but as an adult, I enjoy the sounds of the rain, and the smell of the grass after the rain stops. Of course, I also know my garden is getting the best water there is, and the rain always helps them grow large and bountiful.

Ice cream. What a joy!  I never eat it during the cold winter months. Sure, it’s available all year round, but having some in the summer makes it so much more enjoyable. Nothing better than cold ice cream on a hot summer day!

The produce is just incredible. Oh, the taste of home-grown corn, greens, and berries. I usually go to the farm stands to stock up on fresh organic produce from local farmers.  Whether I’m going to cook it or eat it raw, I love to eat good food and support small businesses.

The longer days. I, like many of you, are more productive during the daytime, and love that it is lighter for so many more hours.  It’s so nice to take an evening walk in the sun, and come home to a twilight dinner.

People seem so much happier when summer rolls around. It is the season that is completely devoted to leisure and wonderful times with the ones you love. My happiest summer days are when my great-nephew and niece are with me. I love to hear their squeals of joy, watch them build sand castles, and help them find beautiful rocks and seashells. 

Oh boy, life is good in the summer.

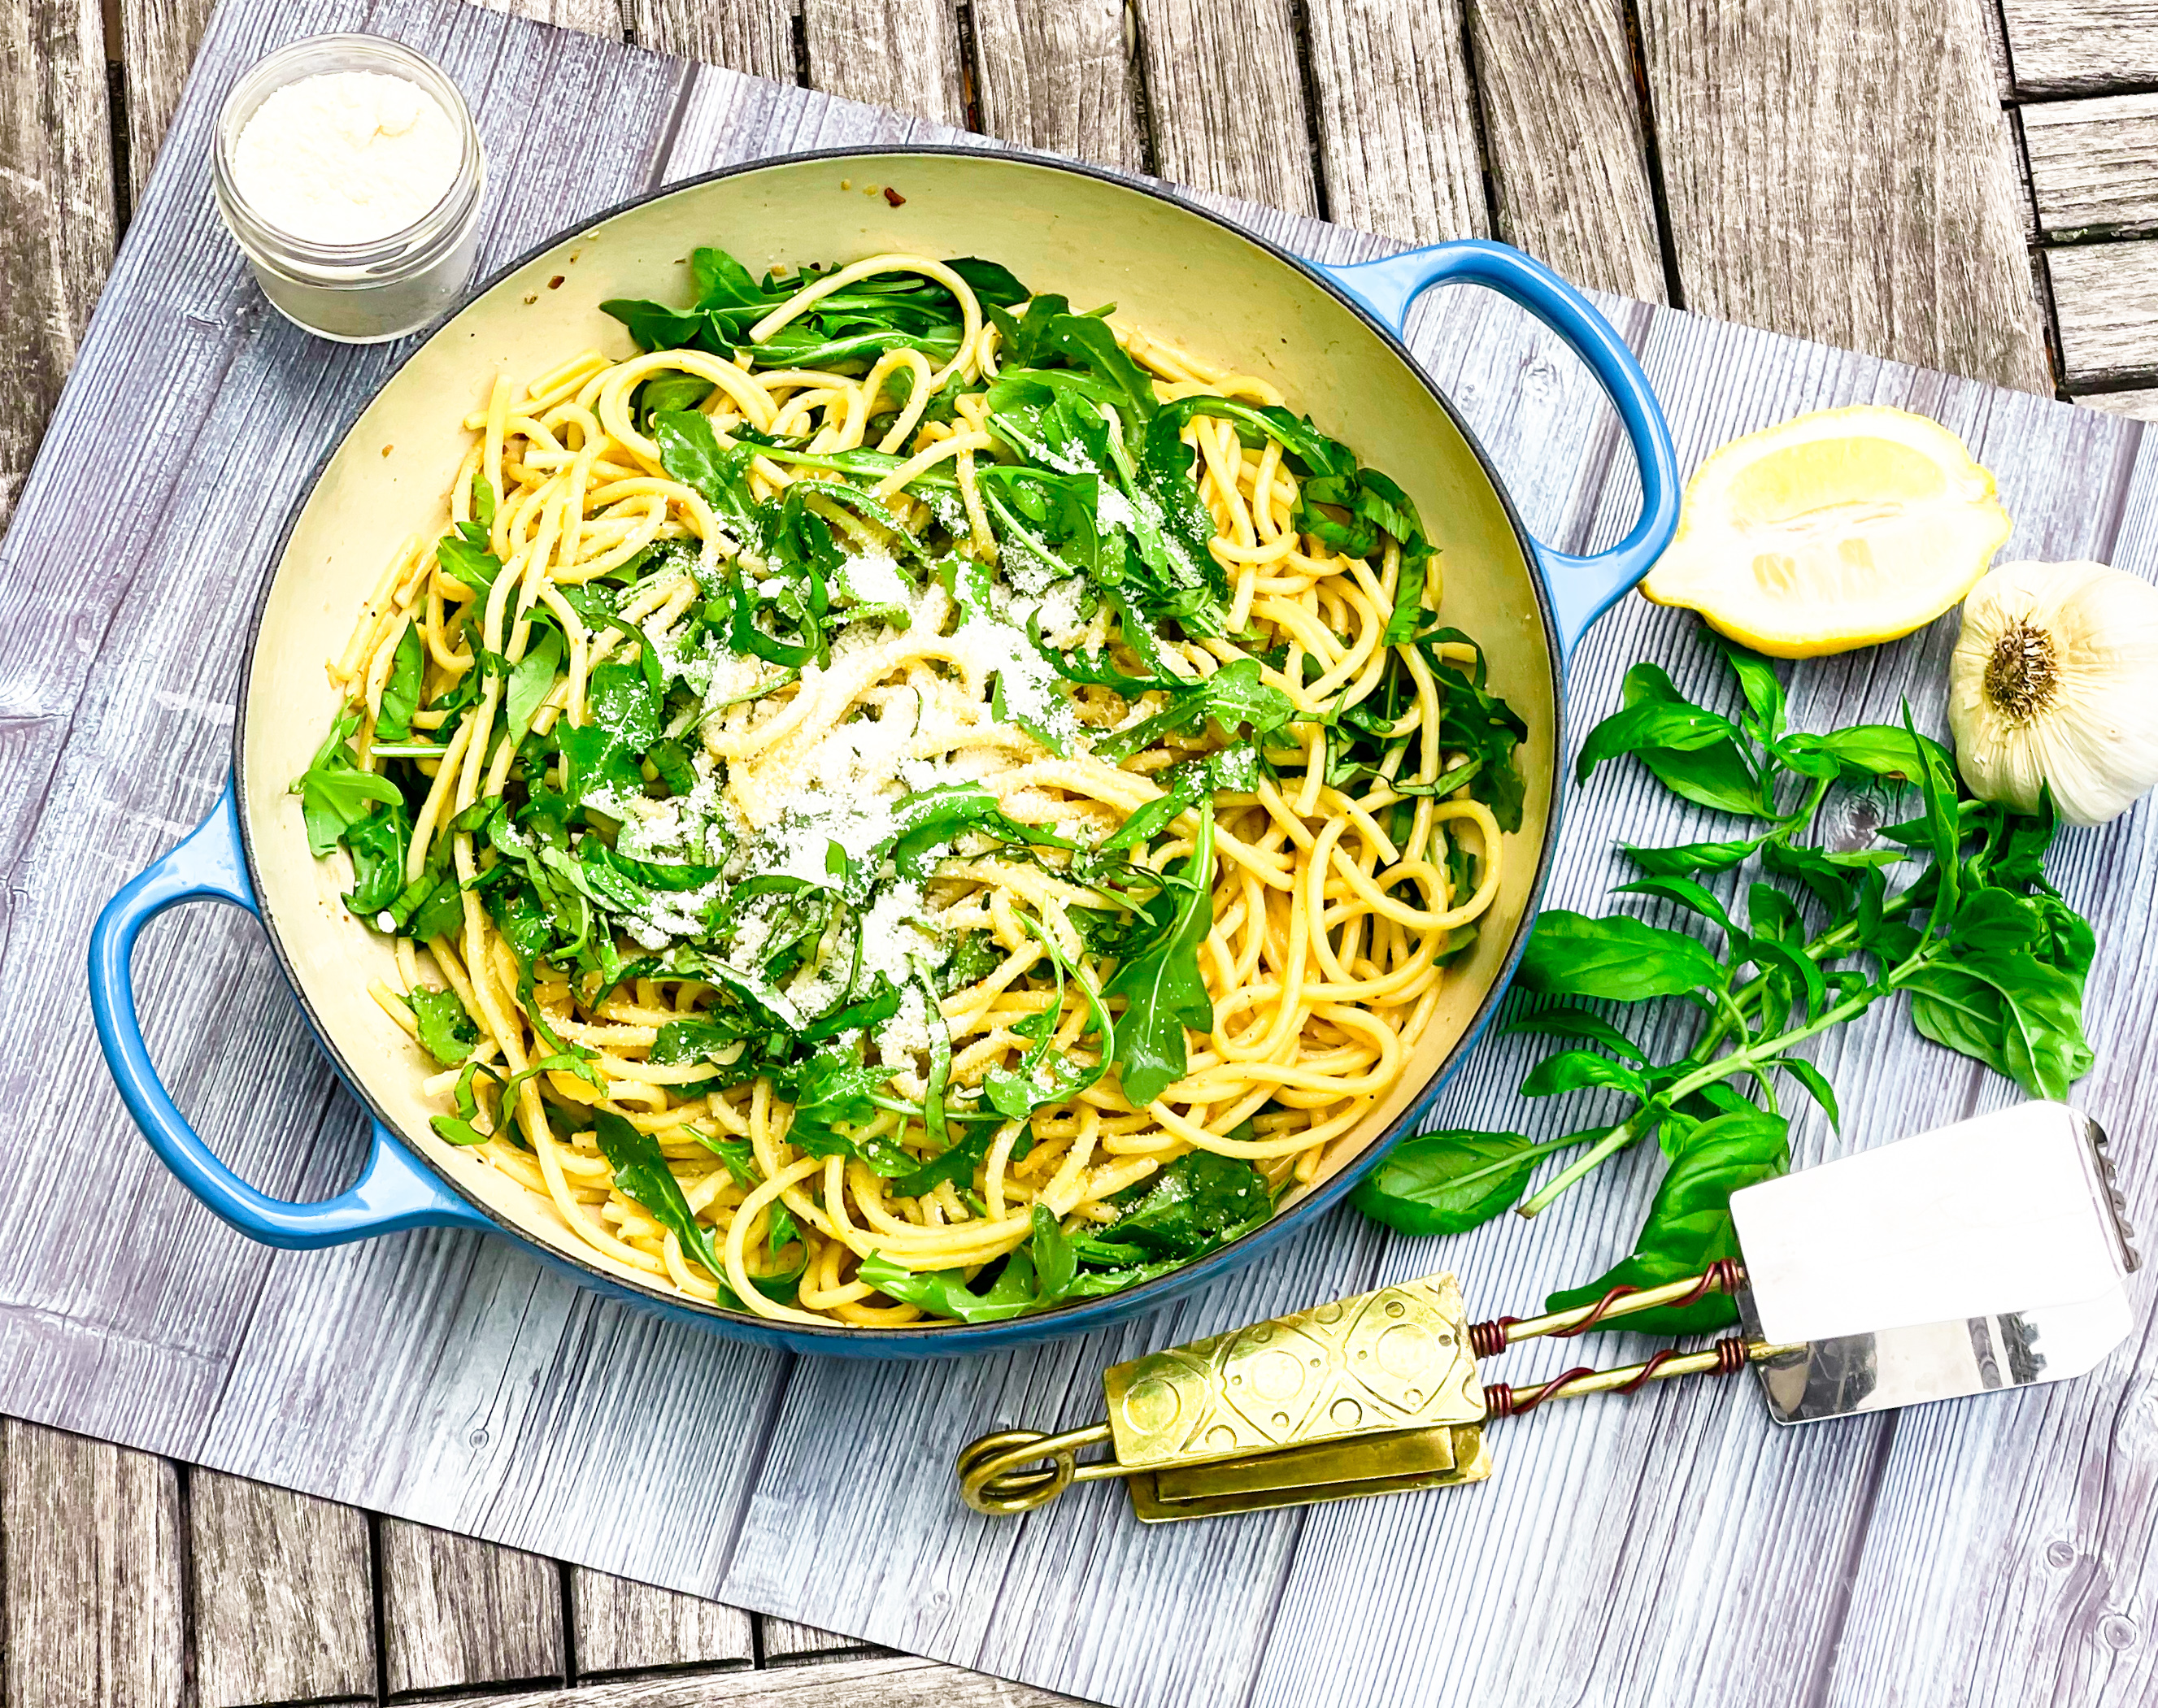
This is one very light dish that is perfect for any summer day, without taking up too much time in the kitchen. The arugula combines deliciously with the pasta, and the butter gives it a smooth, creamy texture. The two cheeses are the stars of this dish, adding additional creaminess and wonderful flavor. The basil is the perfect herb for this treat, giving it nice, savory goodness. I added some garlic for some added flavor. Do not forget the lemon zest, it adds lip-puckering tang that completes this delectable pasta, perfect for the whole family.

This recipe is courtesy of Half-Baked Harvest, and will serve 6 people who will surely enjoy this meal in the long summer evening.

Ingredients for Cacio e Pepe with Arugula and Lemon:

1 pound bucatini pasta
4 tablespoons salted butter
2 garlic cloves, chopped
1 1/2 teaspoons freshly ground black pepper
1 cup freshly grated parmesan cheese
1/2 cup fresh grated pecorino cheese
Couple handfuls baby arugula
fresh basil and lemon zest, for serving

Bring a large pot of salted water to a boil and cook pasta according to package directions until al dente.

Just before draining, reserve 3/4 cup of the pasta cooking water.

Drain.

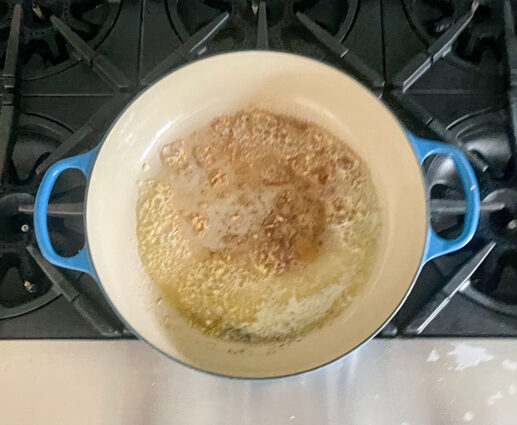
Melt 2 tablespoons butter in a large skillet over medium heat.

Add the pepper and garlic and cook 30 second to 1 minute, until toasted.


Add the reserved pasta water and bring to a simmer over medium heat.

 Add the pasta and remaining butter.

Reduce the heat to low and add the parmesan and pecorino, tossing until melted.

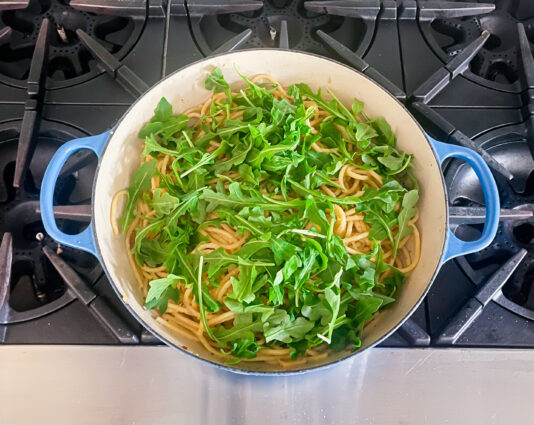
Remove from the heat, add the arugula, toss until the greens are wilted and the sauce coats the pasta, adding in more pasta water if needed to thin the sauce.

Transfer to a bowl and serve topped with fresh basil and lemon zest.

 It’s that simple!
 

signature

[recaptcha]


My cousin Isabel and I grew up very close to one another. Although she lived about 45 minutes away, my mother used to take us over to her house most weekends so we could play while she visited with her sister. Isabel and I stayed close, and even went to the same college. Isabel decided she did not like the school, and transferred somewhere closer to home. After that we lost touch with each other, as our everyday lives were busy with school and work.

Fast forward, and my husband and I moved to a small, lovely town in New Jersey. A couple of years later I was genuinely surprised to hear that my cousin and her husband were moving to our town too! As it turned out, they had bought a house right around the block from us. Once they moved here, it was like no time had passed. Our kids grew up together and went to school with one another, just like we did when we were young. Isabel and I had the opportunity to nurture and care for each other’s kids, and to see their own friendships blossom.

Isabel’s daughter, Simone got engaged two years ago, and her wedding was cancelled because of covid. They moved it a year forward, and finally, this past weekend, Simone and her fiancé were married. The wedding was on a beautiful horse farm in Kentucky, and it was perfect for Simone, who grew up riding horses. 

Many people in my extended family (which is huge), decided against going for fear of flying or being in a crowd during this pandemic.  But a few of us did go, and we were so glad we did. It was so nice to finally be with people, and the guests at the wedding were ready to party. It was so much fun to dance freely and take our minds away from the nightmare of the past year. Simone and her new husband were so happy, and it was our greatest pleasure to finally see them married. Everyone was jubilant and the reception was filled with love for Simone and Phil. 

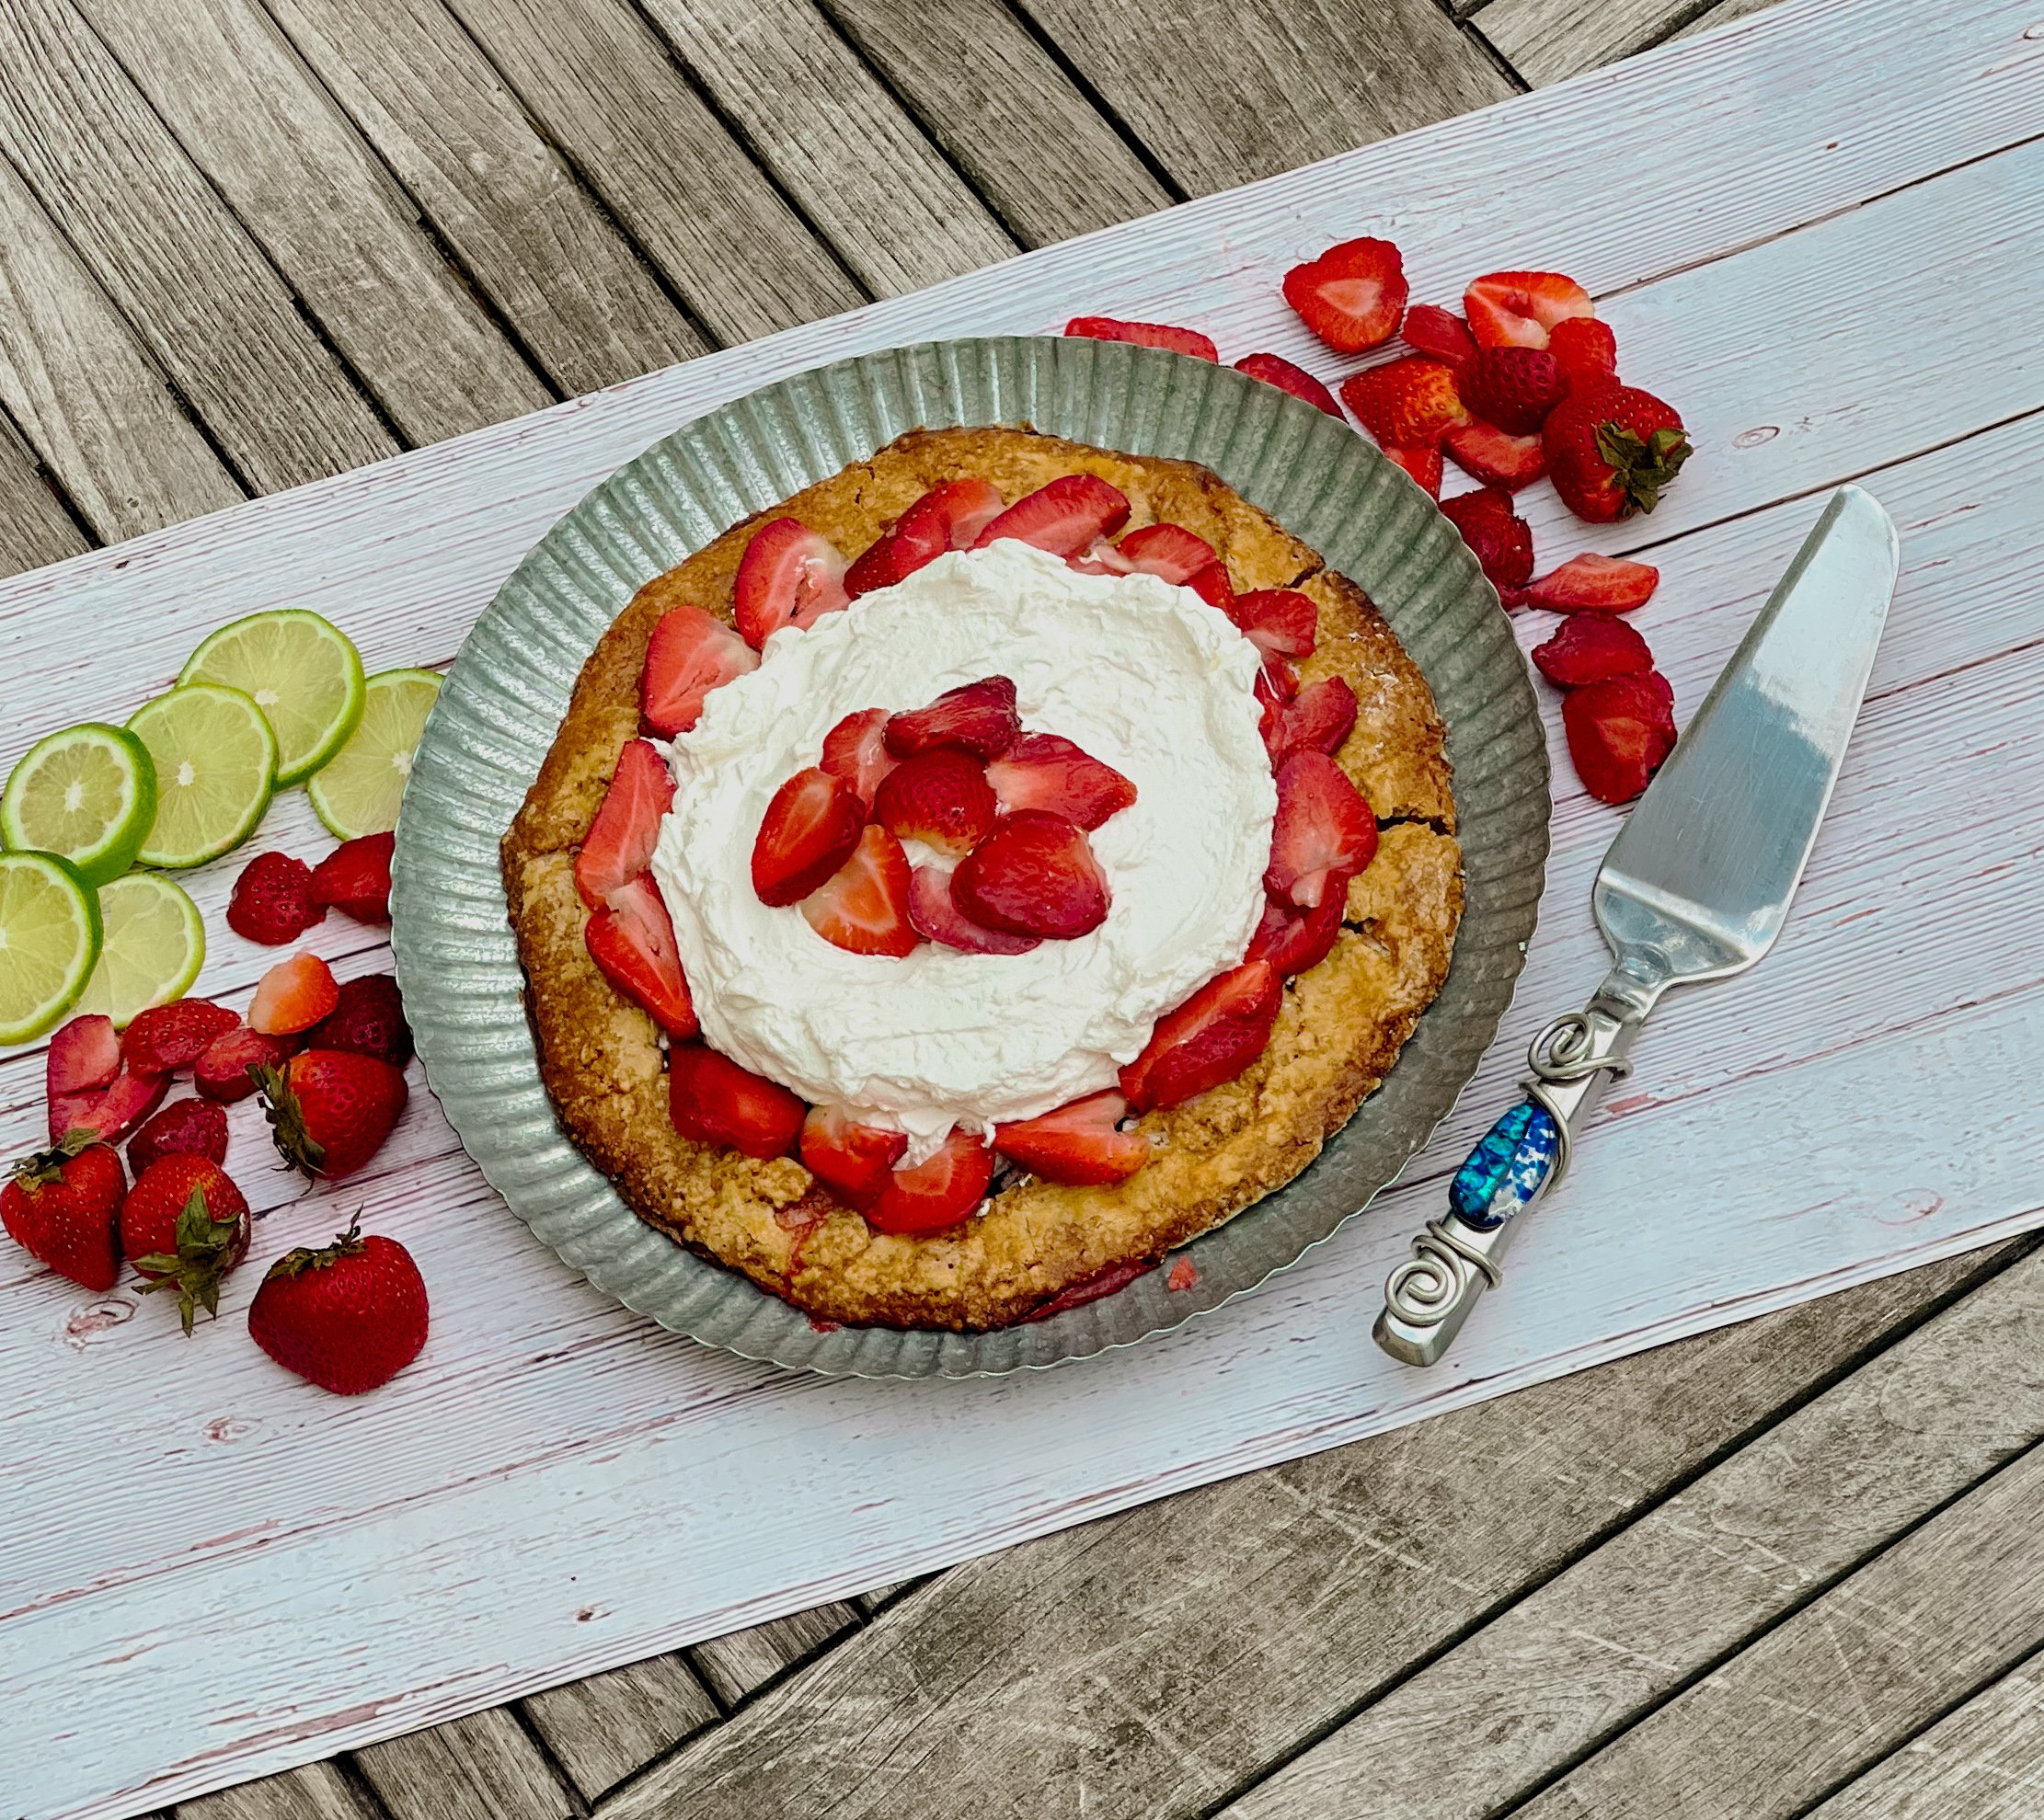
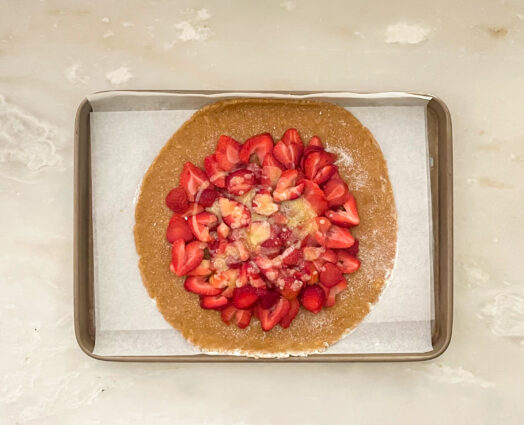
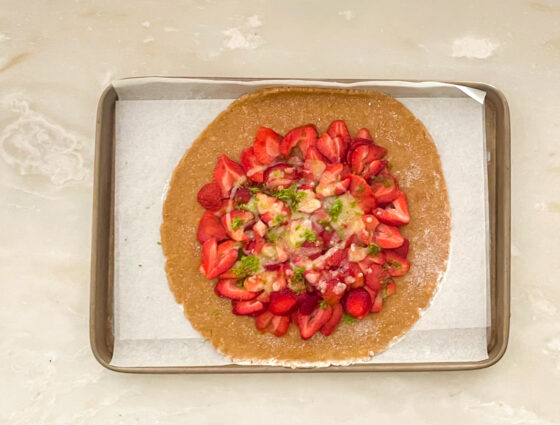
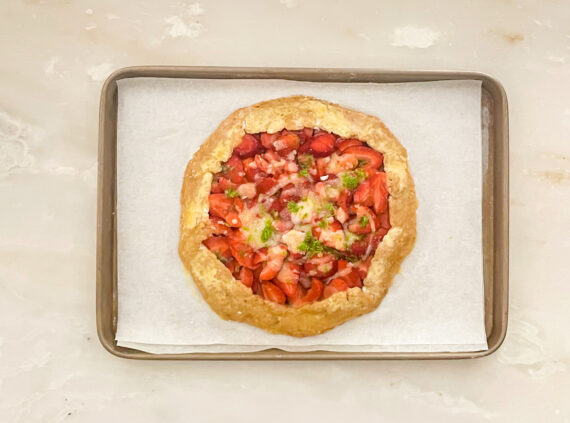
Given the preparations for travel I didn’t get a chance to cook much, but I did get a chance to make this wonderful dessert. The delightful taste of the strawberries is brightened by the lime, giving it a little unexpected (but wonderful) tang. The graham cracker crust is the perfect home for the filling, making each bite extraordinarily delicious. The cream topping, with the extra lime, makes this treat a tart perfection.

This recipe is courtesy of Bon Appetit and will serve 8 people who will love a slice on a beautiful summer day.

 Ingredients for Strawberry–Graham Galette:

7 graham crackers (about 3.7 ounces)
¾ teaspoon kosher salt
⅔ cup all-purpose flour, plus more for rolling
5 tablespoons sugar, divided
2 large eggs
½ cup (1 stick) unsalted butter, melted, cooled, divided
1-pound strawberries, hulled, sliced
1 lime (½ teaspoon finely grated zest and 1 teaspoon fresh juice)
½ cup very cold heavy cream

Place a rack in bottom third of oven; preheat to 350°.

Place graham crackers in a large resealable plastic bag and zip it up, pressing out most of the air.

Using a wine bottle or rolling pin, firmly roll over crackers several times, crushing them into fine crumbs (some larger crumbs are okay).

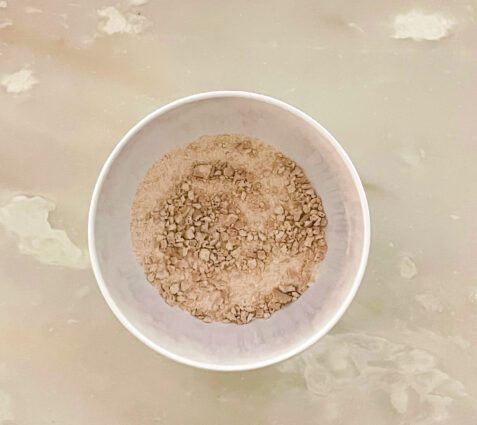
Measure out 1 cup crumbs (which should be almost all of them) and transfer to a medium bowl.

Add salt, ⅔ cup flour, and 2 Tbsp. sugar.

Mix with a fork to combine, then add 1 egg and 6 Tbsp. melted butter.

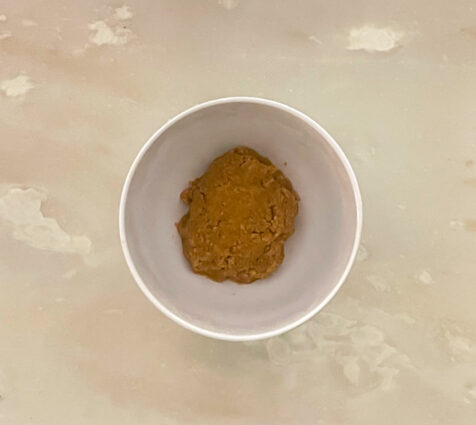
Mix with fork until dough forms, then knead with your hands inside of bowl until no floury spots remain and dough is smooth.

It’ll be a little soft and slightly oily, which is fine!

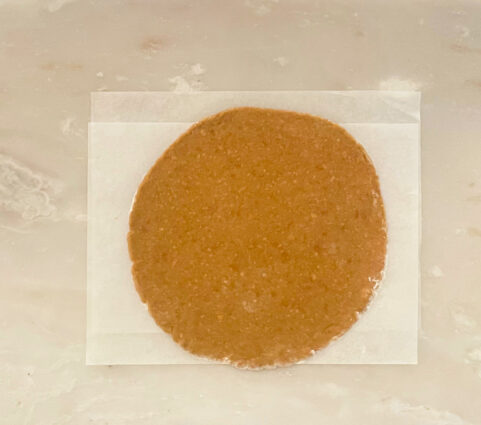
Lightly flour a piece of parchment paper and place dough on top.

Lightly flour top of dough, then cover with another piece of parchment.

Using bottle or rolling pin, roll dough into a round (it doesn’t have to be perfect!) about 12″ in diameter and ⅛” thick.

Periodically peel back parchment and dust with more flour to prevent sticking.

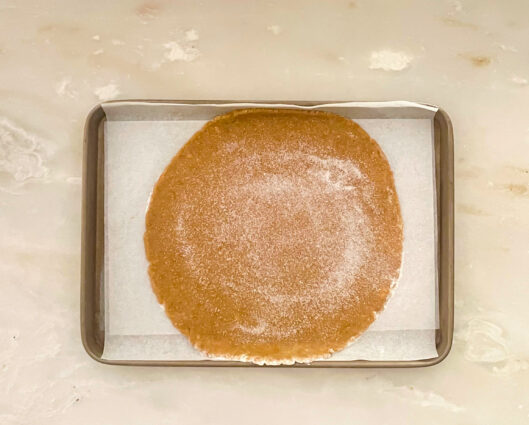
Slide entire sheet of parchment paper onto a rimmed baking sheet.

Sprinkle 1 Tbsp. sugar over surface of dough, leaving about a 2″ border.

Pile strawberries into center of dough and arrange in an even layer, leaving the same 2″ border.

Sprinkle strawberries with 1 Tbsp. sugar and drizzle with remaining 2 Tbsp. butter.

Using a microplane or fine grater, grate zest of about one-half of lime over strawberries.

Cut off half of the lime with no zest and squeeze juice over strawberries.

Save the other half for later.

Beat remaining egg in a small bowl with fork until no streaks remain.

Brush egg wash around border of pastry (you won’t use it all).

Using edges of parchment to help lift, fold empty border of dough up and over strawberries, working your way around in roughly 2″ sections, overlapping folds as needed.

Press all the way around to secure folds and keep dough in place.

It might crack or tear in places, but don’t worry! Just pinch it back together.

Brush top of border with remaining egg wash and sprinkle with remaining 1 tablespoon sugar.

Bake galette until crust is browned around the edges and juices from strawberries are syrupy and actively bubbling, 40-45 minutes.

It’s okay if some juices escape and end up on the parchment paper–the parchment will prevent the tart from sticking.

Let cool at least 20 minutes.

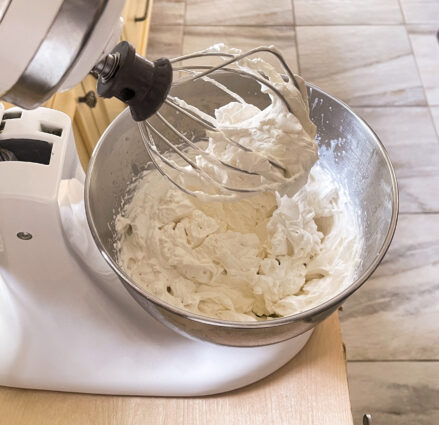
Beat cream with a large whisk in a medium bowl until voluminous, thick, and starts to hold tracks of whisk.

Hold whisk upright and look for the “peak” of cream that forms on the end.

It should droop and slump over—these are “soft peaks,” which are what you want!

Grate zest from remaining half of lime over cream and serve with tart.

Do Ahead: Tart can be made several hours ahead. Let sit at room temperature. Once fully cooled, droop a piece of plastic over top.

It’s that simple!
signature

[recaptcha]


One of my greatest pleasures in life is tending to the garden that my husband and I started over 20 years ago. At first, my husband had zero interest in gardening. He liked to keep me company and help me carry the new plants from our yearly visit to the nursery, but that was about it. After watching the garden grow and bloom so beautifully, he took an interest too. Now he is the one to take a walk through our garden to make sure the plants are healthy and growing, and to care for the ones that aren’t doing so well.

Unfortunately, this year my husband was diagnosed with prostate cancer and he recently underwent surgery. The operation went very well and he is on the road to recovery, but it is a long process and he is still not feeling one hundred percent. He is not allowed to do any lifting or bending, so we had to hire someone to plant for us.

Here, near my home, we have a beautiful nursery that is filled with beautiful trees, bushes and plants. I love it there. Not only does it smell wonderful, it is truly breathtaking to see all the foliage blooming and the flowers bursting with color.  Families come and go, choosing the right plants for them, and everybody is so excited to bring home their new plants

This year, I went with my gardener to pick out the flowers. It was a different experience, and I missed spending that time with my husband. I went through the nursery with my list and bought everything I needed for our garden. My gardener brought all the plants home for me, and he spent yesterday planting them according to my instructions. 

Although the experience was quite different this year, my husband and I were elated to watch the crew work and see the results. The new flowers and bushes are finally in place, and we got to take a stroll through the garden, which looks amazing. We weren’t able to bask in the achievement of doing the planting ourselves, but we were so proud nonetheless. 

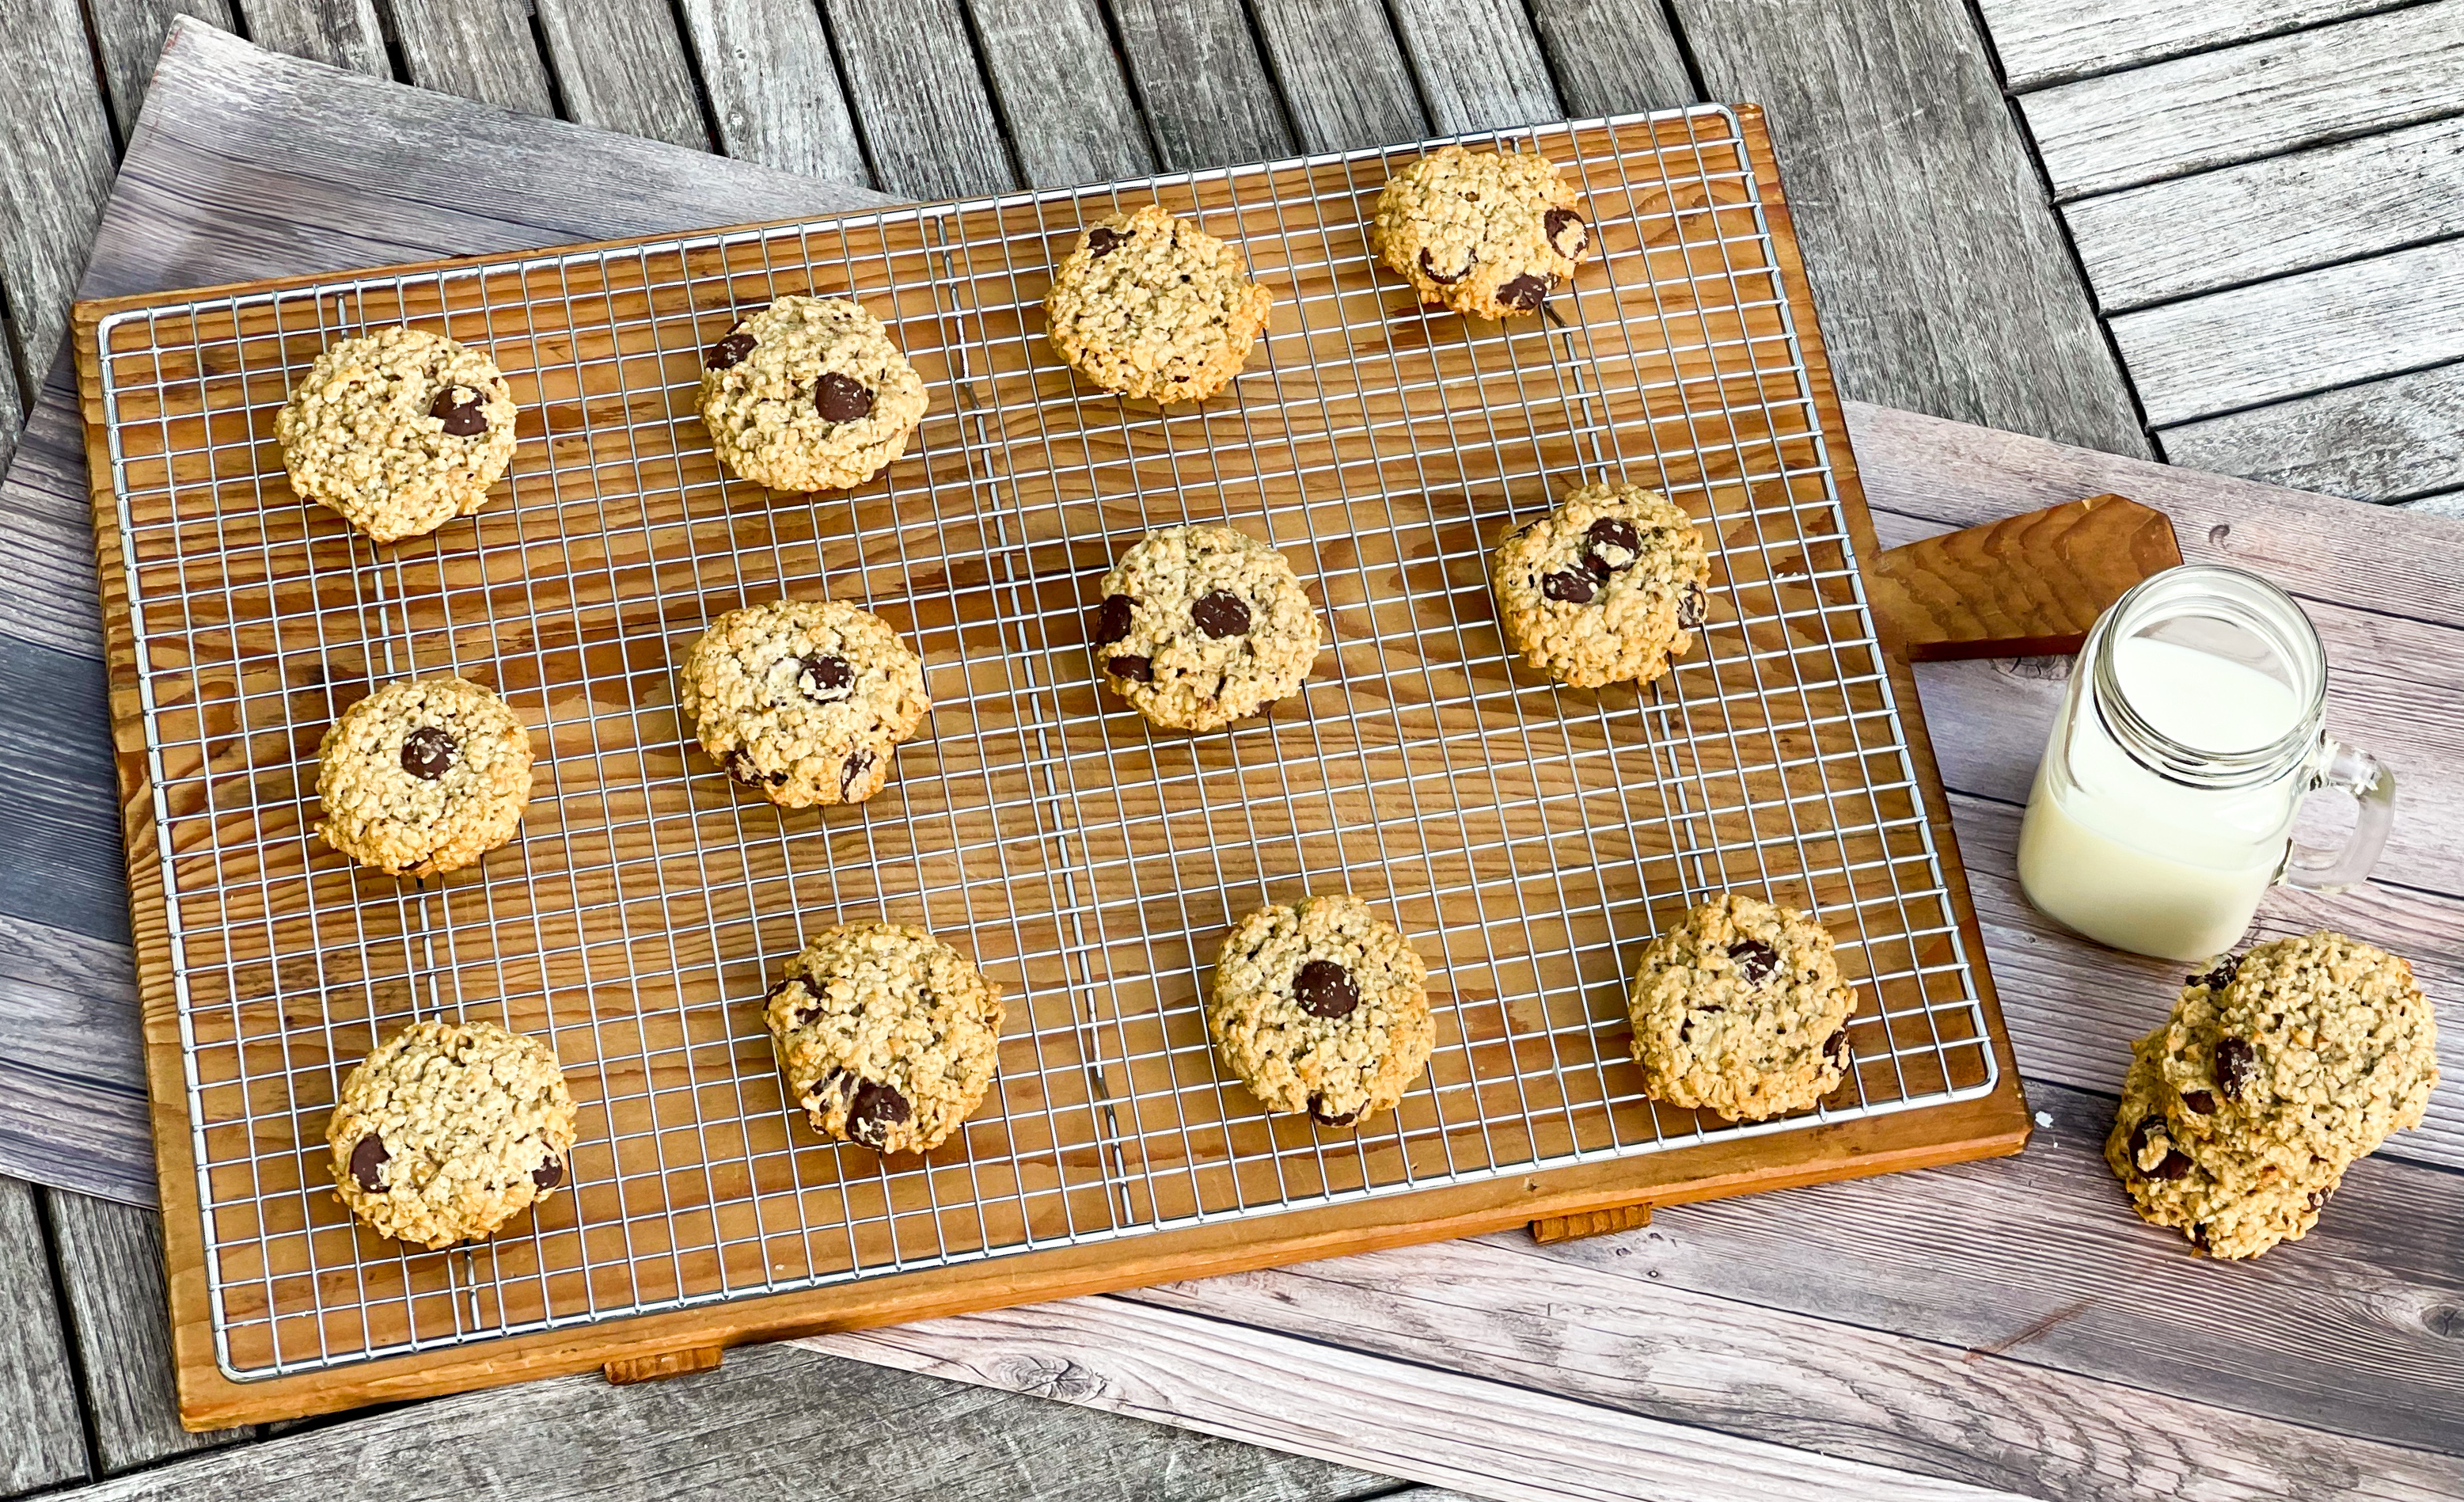
As a treat, I made these cookies. Of course, we all are familiar with banana bread, but this is the first time I saw a recipe for banana cookies– I don’t often come across such “firsts”! They are very simple to make. The bananas ensure a moist delicious cookie, much like the bread. The oats give it a nice, crunchy texture, along with the walnuts and chocolate chips. The cinnamon and the vanilla are the savory, giving each bite delicate hints of these delightful spices. They bake up into yummy treats, perfect for breakfast, a snack, or dessert (consider pairing with some vanilla ice cream for a delightful treat!). 

This recipe is courtesy of New York Times and will make 2 dozen cookies for people after a long day at work in the garden.

Ingredients for Banana Everything Cookies:

Nonstick cooking oil spray
1 very ripe medium banana
⅓ cup canola oil
⅔ cup sugar
1 teaspoon vanilla extract
¾ cup plus 2 tablespoons all-purpose flour, or as needed
½ teaspoon baking soda
¼ teaspoon salt
¼ teaspoon ground cinnamon
2 cups quick-cooking (not instant) oatmeal or rolled oats
½ cup chopped walnuts
½ cup chocolate chips (vegan, if desired)

Preheat oven to 350 degrees.

Lightly spray two baking sheets with oil. In a mixing bowl, mash banana well.

Add oil, sugar and vanilla, and mix with a strong fork.

Add flour, baking soda, salt and cinnamon, and mix until just moistened.

Add oatmeal, walnuts and chocolate chips.

Using your hands or a sturdy spoon, mix well, making sure oats are well moistened. (If dough is very slippery, add one or two extra tablespoons flour.)

Using clean, wet hands, re-wetting as needed, roll dough into balls slightly smaller than a golf ball, about 1 1/3 inches in diameter.

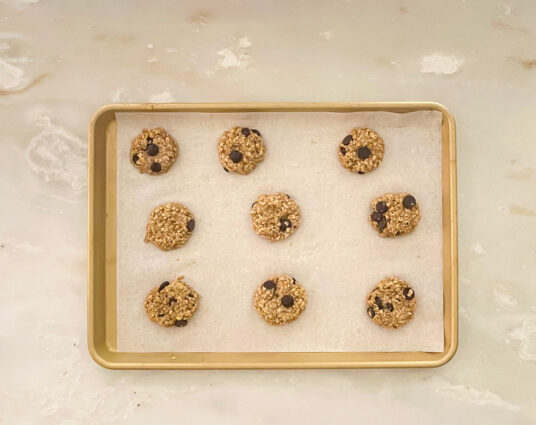
Flatten slightly and place 2 inches apart on a baking sheet.

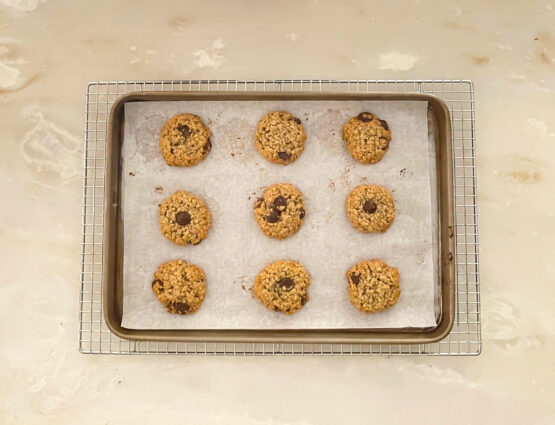
Bake until lightly browned, 10 to 12 minutes.

Remove from heat and allow to cool for 2 minutes, then transfer to a rack to cool completely.

Store in an airtight container.

It’s that simple!
signature

[recaptcha]