Right up into my twenties, I was one of those people who despised vegetables. I would never even try one. Now, I love most vegetables. As you might expect, our food repertoire grows with us. Almost everyone eats a larger variety of foods as an adult than they did as a child. 

When we were younger, we all had vegetables that were cooked until they turned to mush, and the presentation was incredibly unappealing.  I don’t recall vegetables being served often in my house, but when they were, they looked truly awful and smelled just as bad. How many of you adults remember eating Brussels sprouts as a kid? I introduced vegetables when my children were older and I knew how to cook them correctly, and still they still won’t eat them (their loss).

As my knowledge of cooking increased, I learned how to cook veggies so they looked inviting and tasted wonderful. Roasting them at a high heat creates a beautiful caramelization that makes them crunchy and sweet. You can do this with any vegetable. Just toss them with a bit of olive oil, salt, pepper and lemon juice, and place them in the oven at 425 degrees. Different veggies have different roast times so you need to do your research and start checking them five minutes before the cook time the recipe tells you. 

If you are steaming veggies, take them out of the pot when they are a brilliant green, orange or yellow. Blanche them by placing them into a pot of ice-water to stop the cooking process. This will ensure that they do not overcook. Remember, everything you take out of the oven or a pot will continue to cook off the heat. Eat them plain, or toss with the sauce of your choice. 

Thankfully, vegetables have become an important choice for us all. And guess what? We really like them too.

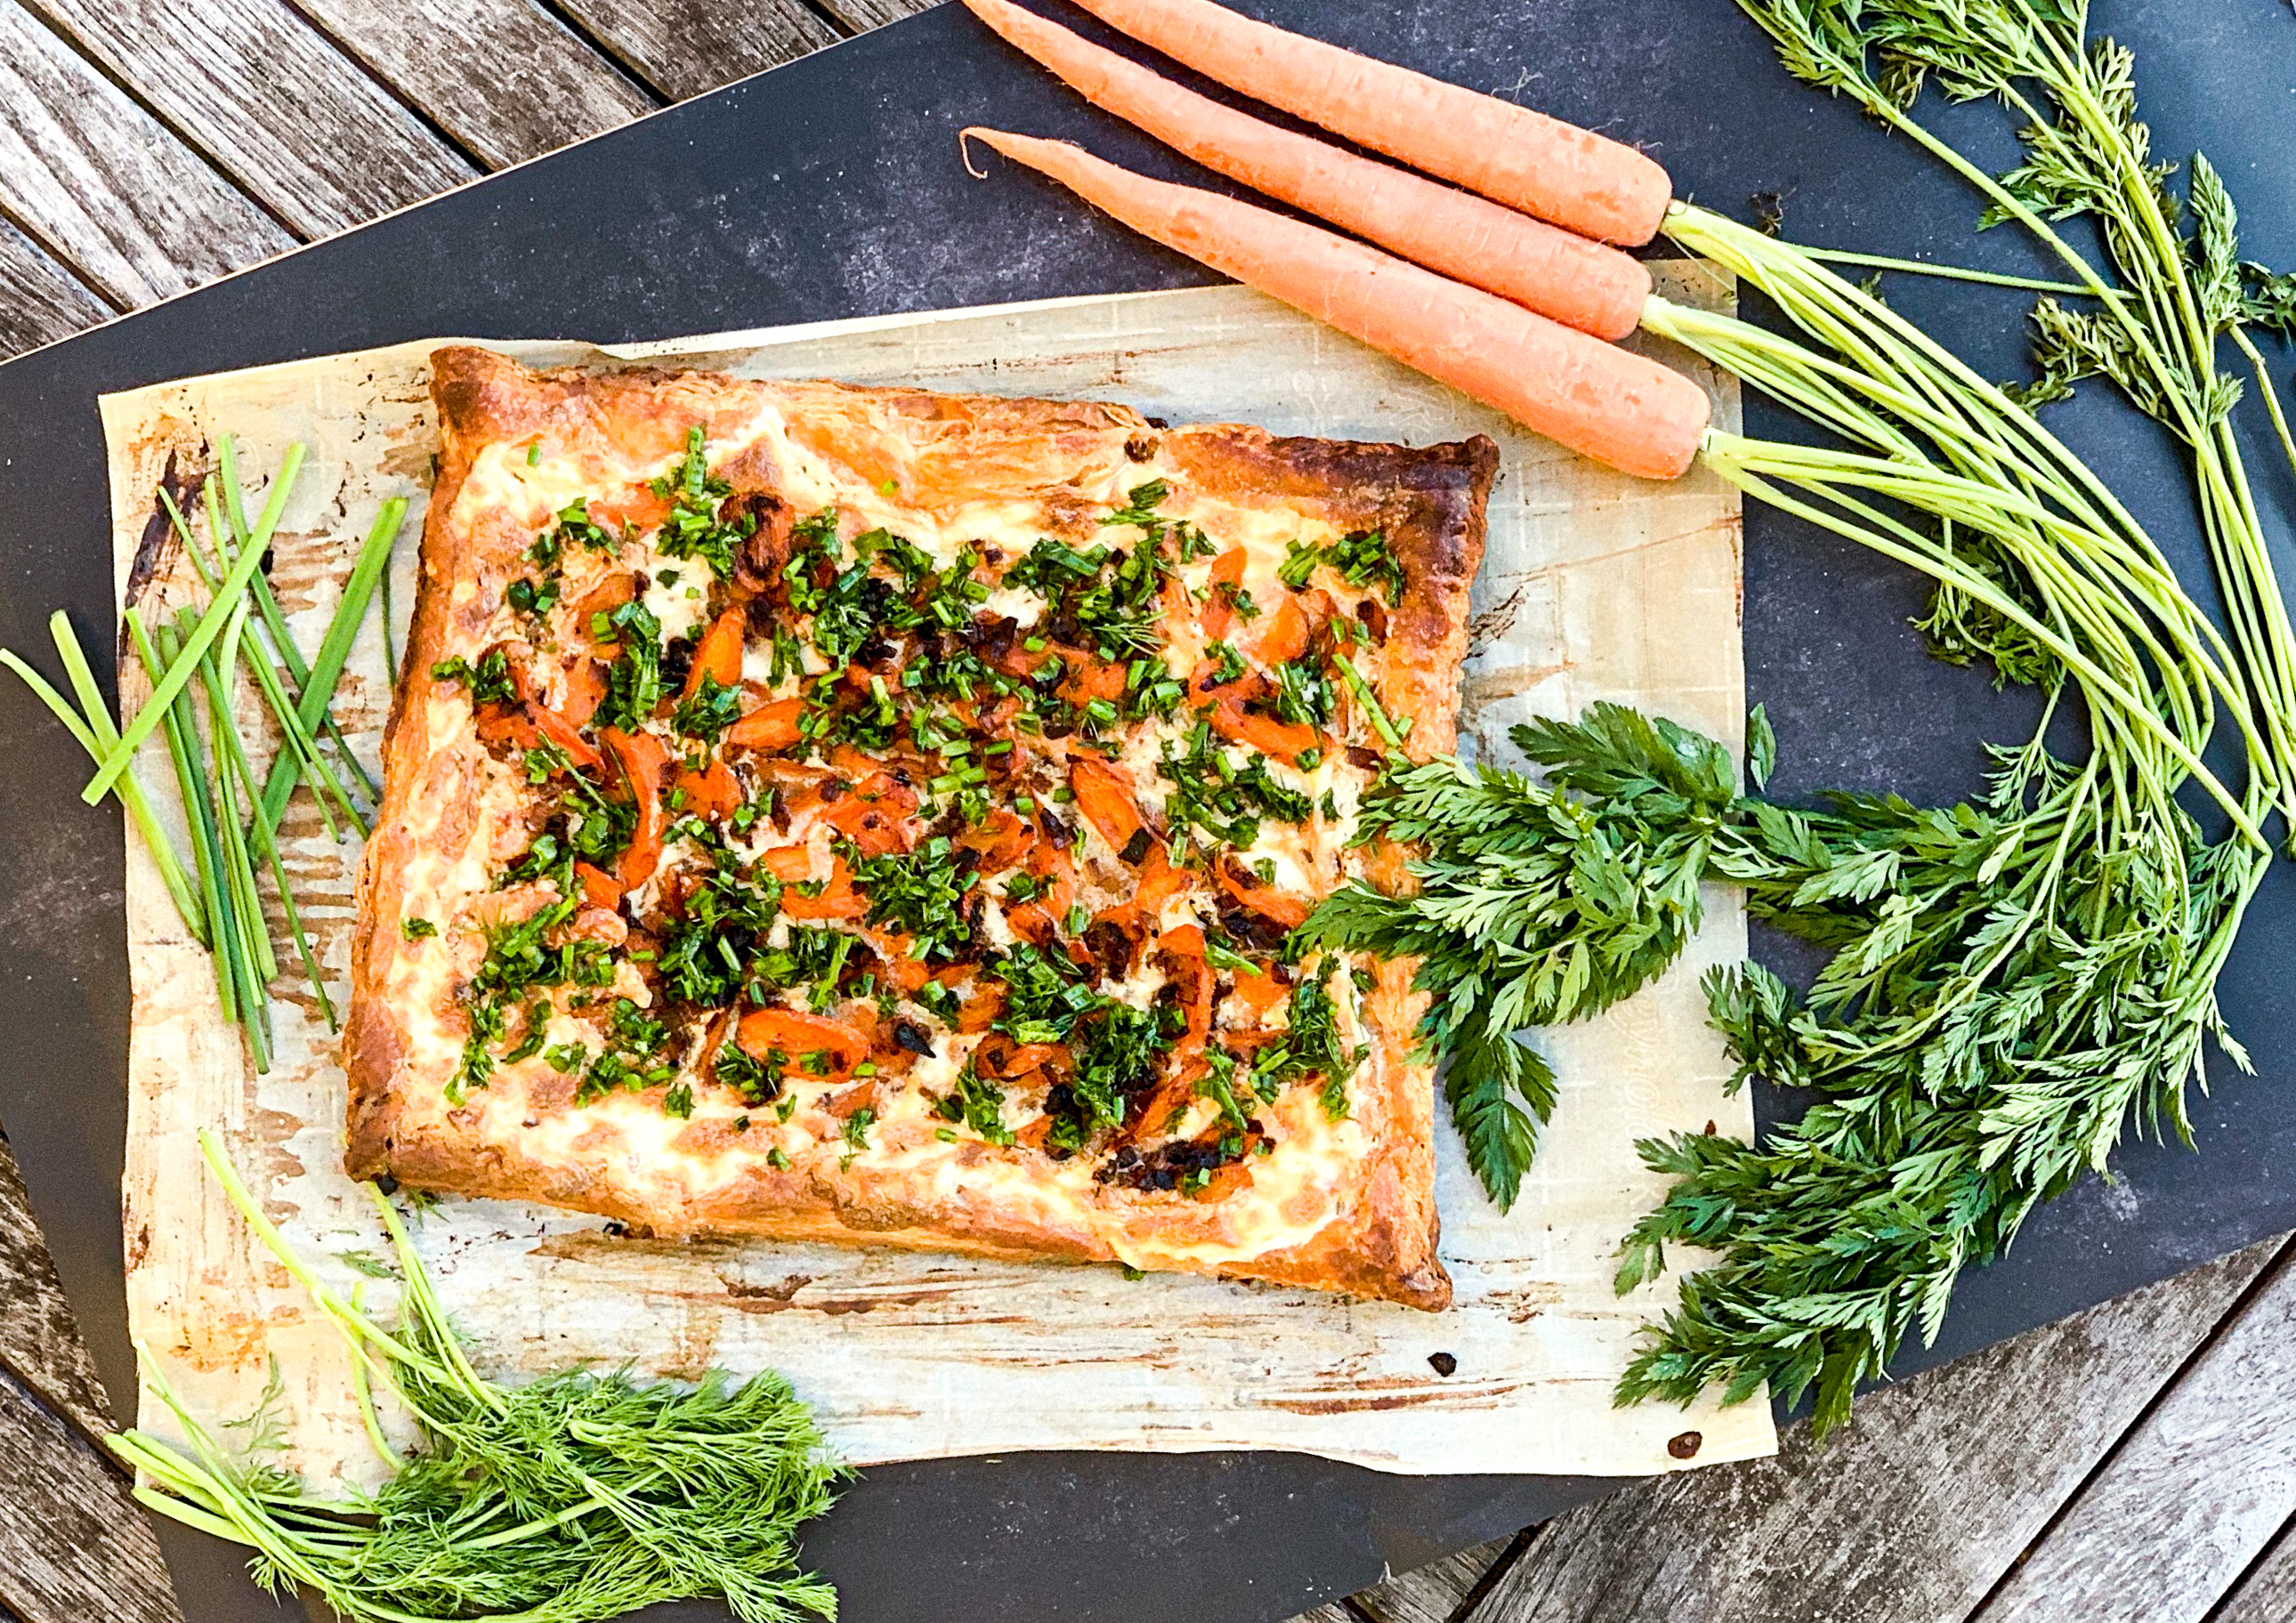
This wonderful tart is no exception. Watch the timing for the carrots, it is so important they do not overcook. The carrots and onions caramelize to sweet deliciousness in the pan. The ricotta and cream intensifies its delicious, rich flavor. The herbs add a savory touch, and the delicate, delightful puff pastry is the perfect home for this tart.

This recipe is courtesy of Bon Appetit and will serve 8 people who will love a fresh preparation on a familiar vegetable.

Ingredients for Carrot Tart with Herbs:

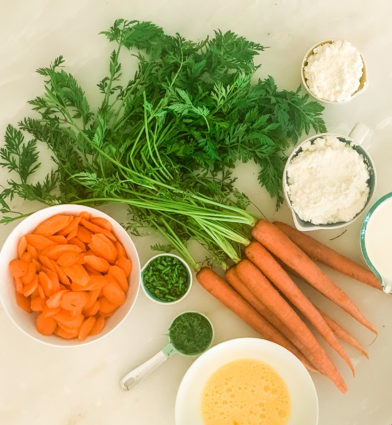
2 cups ricotta
¼ cup heavy cream
Kosher salt and freshly ground pepper
3 tablespoons olive oil, divided
1 small onion, thinly sliced
4 large carrots (about 8 ounces), scrubbed, thinly sliced into coins
1 package frozen puff pastry, thawed
1 large egg, beaten to blend
¼ cup coarsely chopped fresh chives
2 tablespoons dill, chopped 

Preheat oven to 425°.

Whisk ricotta and cream in a small bowl; season with salt and pepper. 

Heat 2 tablespoons oil in a large skillet over medium-high.

Cook onion, stirring occasionally, until soft and starting to brown, about 5 minutes.

Add carrots and cook, tossing occasionally, 2 minutes; season with salt and pepper and set aside.

Lightly roll out pastry on parchment paper just to smooth out creases.

Transfer on paper to a baking sheet. Lightly score a 1″ border around pastry.

Brush with egg; bake until golden and slightly puffed, 10–15 minutes.

Remove from oven and spread ricotta mixture over pastry, staying within border.
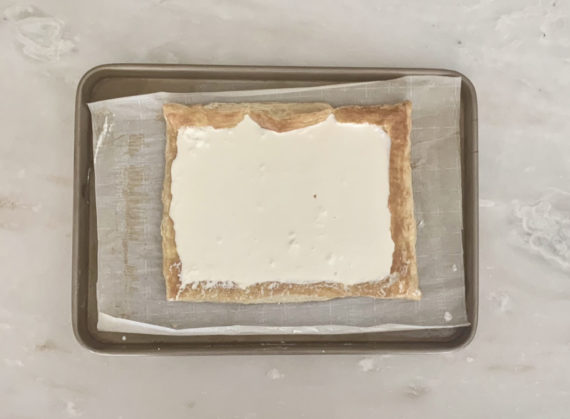
Scatter reserved onion and carrots over top. Bake until carrots are tender, onion is starting to caramelize, and pastry is golden brown and baked through, 30–35 minutes.
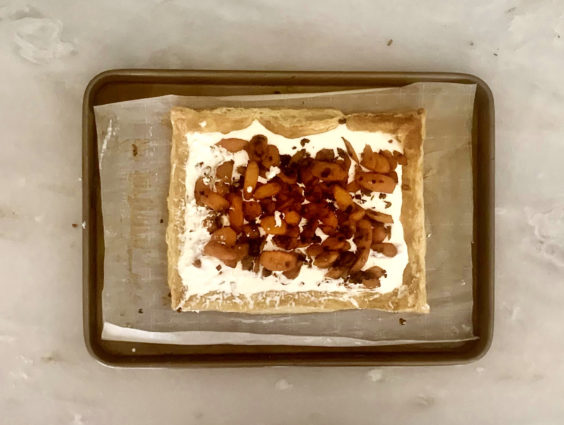
Let cool.

It’s that simple!
signature

[recaptcha]


The first time I wrote a blog post, I was terrified to press the publish button. I knew so little at the beginning, that I believed it would go live, typos and all. I didn’t know that you could “schedule” the post to go up at a certain time, so I had woken up really early to get it out there so everyone would see it on Facebook in the morning. I was not certain that I wanted to become so public, but after one year of posting, I began to let people know more about me. Now I truly enjoy writing these posts, and I get so much joy knowing that many of you follow me. 

I used all my own recipes at first, but they quickly ran out. I began to research recipes, promising to post two times a week. I found that I was good at choosing approachable recipes from professional chefs, celebrity personalities, and bloggers. I also still find time to make my own recipes now and then, and of course, they are the ones I am most proud of.

Recently, my family told me how much they missed me making my old recipes, because I began to serve them new dinners that I had researched and made for them. You know–those recipes you always turned to when you just had to get dinner on the table. Like my roasted chicken, grilled steak, and Cornish hen recipes. They wanted them back. Those “standby” recipes are very special to them, and I had let them slip in favor of newer recipes. Nowadays, I sometimes end up making two dinners. My husband’s office staff are happy about that.

While this recipe is not mine, I know it will become a staple in my house.  When I saw this recipe, I knew it was perfect for the blog. Not only does this cake make a beautiful presentation, but it is so moist, decadent, and best of all, easy to make. The batter is whisked together by hand, giving it a rustic, hands-on feel. The buttermilk and oil gives it a creamy texture. The batter buckles around the raspberries, so every bite has bursts of delicious fresh raspberry flavor. You must use the honey, it added even more sweet goodness that completes this delightful dessert.

This recipe is courtesy of Nothing Fancy, by Alison Roman, and will serve 8 to 10 people who will appreciate you trying a new recipe.

Ingredients for Crushed Blackberry and Cornmeal Cake:

1/2 cup (1 stick) unsalted butter, melted, plus softened butter for greasing the pan and for serving (optional)
2 pints fresh raspberries or blueberries, or blackberries 
1/3 cup plus 2 tablespoons granulated sugar
1 cup all-purpose flour 
3/4 cup medium-grind yellow cornmeal 
2 teaspoons baking powder 
1/4 cup light brown sugar 
1 teaspoon kosher salt 
2 large eggs 
1/2 cup buttermilk 
1/4 cup canola oil
Good quality honey (optional)

Preheat the oven to 350 degrees.

Lightly grease a 9-inch round cake pan with softened butter or nonstick cooking spray.

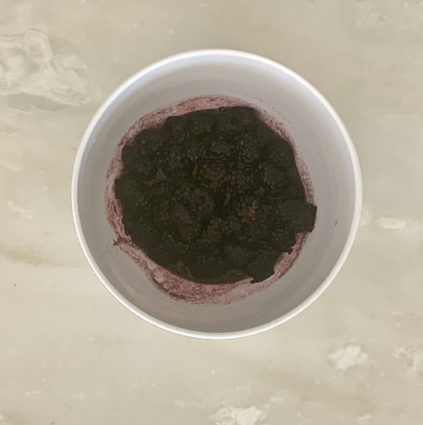
Put the berries and the 2 tablespoons of granulated sugar in a medium bowl.

Use your hands or a fork to crush the berries to break them up a little and release their juices.

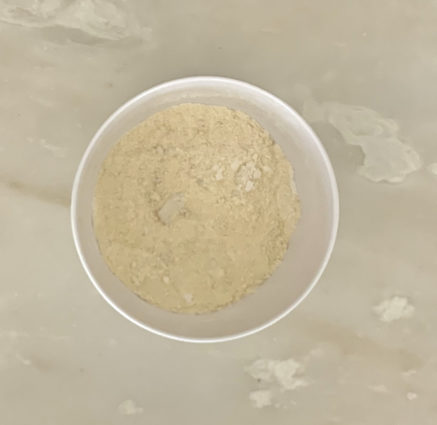
Whisk the flour, polenta, baking powder, brown sugar, salt, and the remaining 1/3 cup of sugar in a medium bowl.

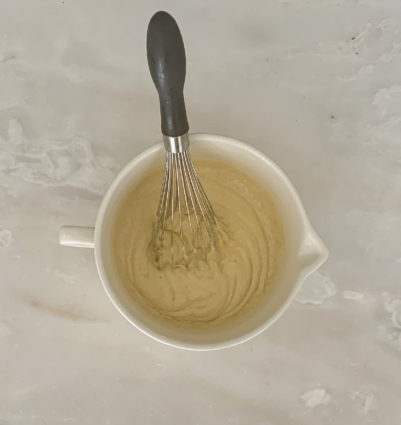
Whisk the eggs and buttermilk together in another medium bowl or measuring cup.

Whisk into the dry ingredients until just combined, then add the melted butter and the oil, whisking until no lumps or dry spots remain.

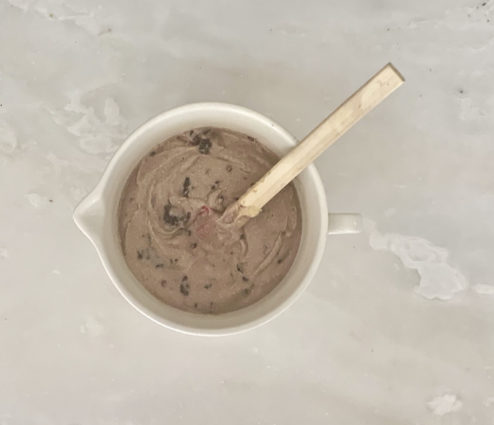
Add half the crushed berries and gently fold, encouraging the juices to streak.

Pour the batter into the cake tin and scatter the top with the remaining berries and their juices.
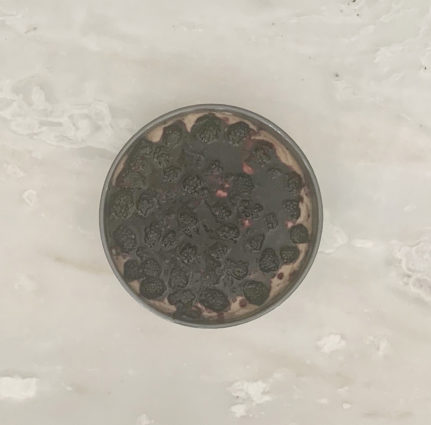
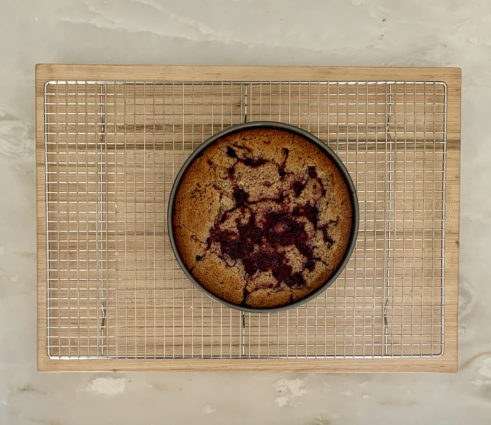
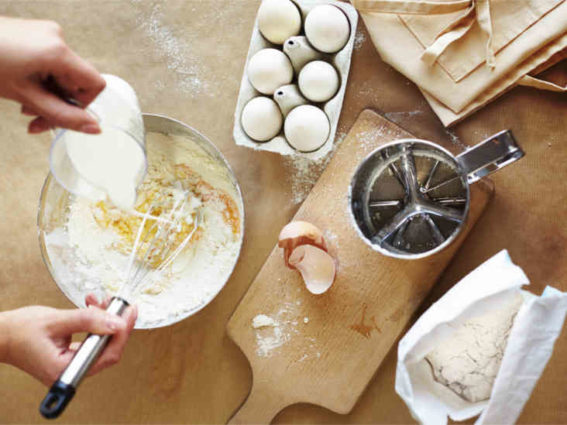
Bake for 45-50 minutes or until the edge of the cake starts to pull away from the side of the tin and is turning a deep golden brown – cover with foil if it’s getting too dark in the oven.

Let the cake cool slightly before eating with some honey and softened butter, if you like.

It’s that simple!

signature

[recaptcha]


I am a fastidious cleaner and my kitchen is always spotless before I go to bed. I’ve found some wonderful tips over the years, and many of them seem quite strange at first look.  Turns out, you can use so many everyday items to make your space a whole lot cleaner. Hope you learn something here!

First, don’t throw away your used lemon wedges. Throw them in your garbage disposal to freshen it up and take away those odors. With all that junk we throw in it, it can become nasty, so toss in the lemons to make it lemony fresh.

Peeling hard-boiled eggs can be tortuous, I know. Especially when the shell peels off little pieces at a time. It makes me crazy, so I finally found a way to get the shells off easily. Put the hard-boiled egg in a glass, and shake it gently. The shells will come off so easily–you are welcome!

Buy some barkeepers cleanser. I wrote an entire blog about it because it is such an amazing product. Use it on all your stainless-steel pots, and even those stubborn black spots from the stove. You won’t put those pots in the dishwasher ever again. It is perfect for cleaning your cast iron pots as well.

While you may think your washing machine gets cleaned every time you do the laundry, you are mistaken. The dirt actually stays in the washer and causes it to harbor bacteria. You can get a washing machine cleaner at the store, or just run a cycle with a quart of bleach, and those pesky odors will disappear and your washer will be as good as new.

Your comfy bed can be full of dust. It sheds its own fibers, accumulates skin flakes, and sends out a puff of dust every time you get in. Change the sheets at least once a week. Pour baking soda over the mattress and let sit for a while. Then take your vacuum and simply vacuum the baking soda up to keep it fresh.

I do not iron. I had to do it as a kid growing up, and I hated every minute of it. I still, to this day despise it. Lucky for me, there is a workaround. After I wash my clothes, I hang them on a drying rack. I let them dry completely and then I put them into the dryer for 10 to 15 minutes. The wrinkles come out like magic. I fold them right out of the dryer, and they look perfect. I also do this with my pillow cases and sheets that are prone to wrinkling. Get yourself a laundry rack and put away your iron forever. 

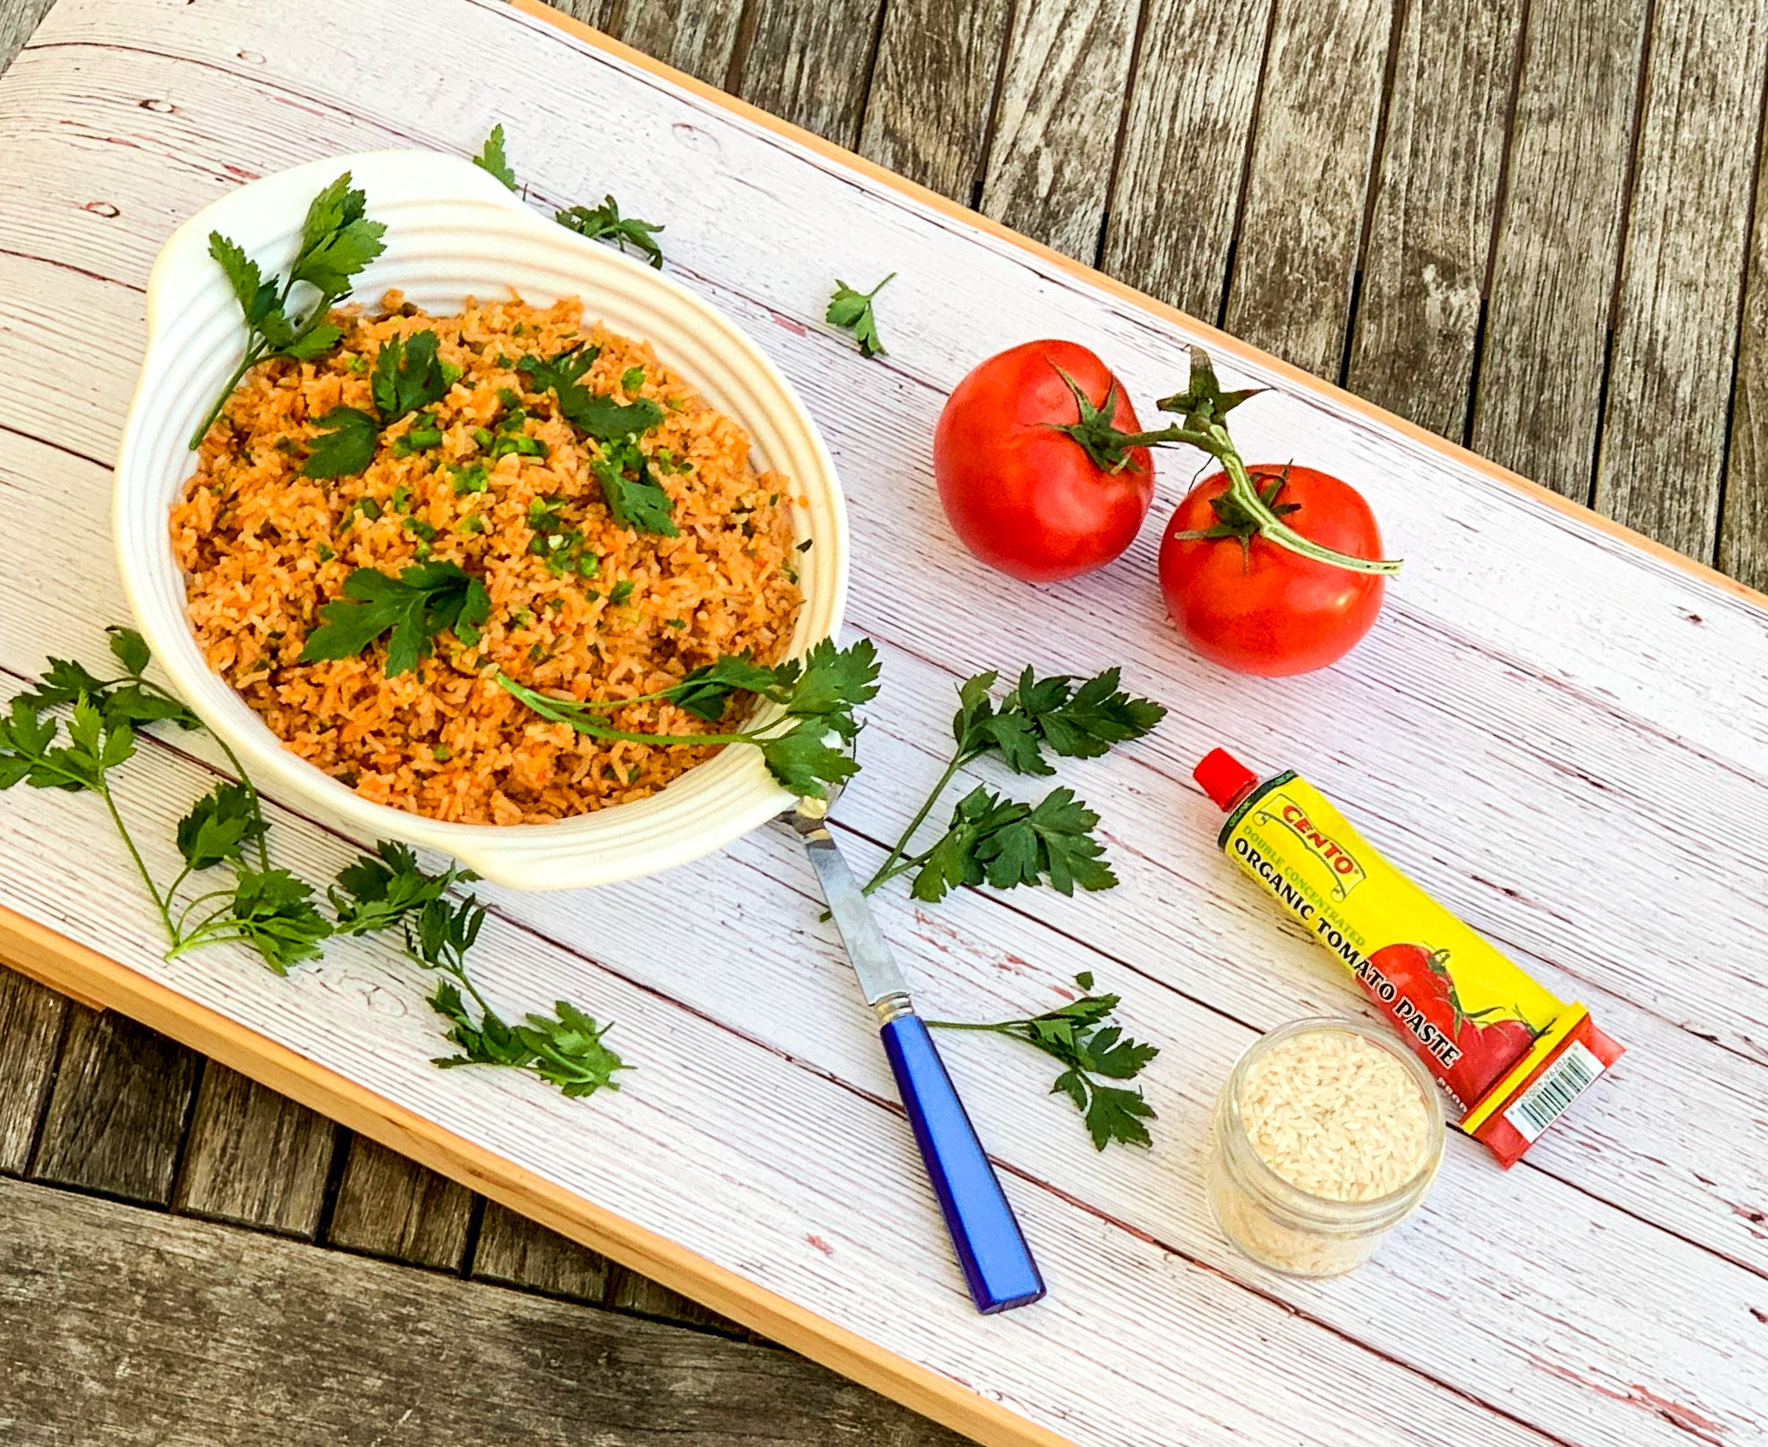
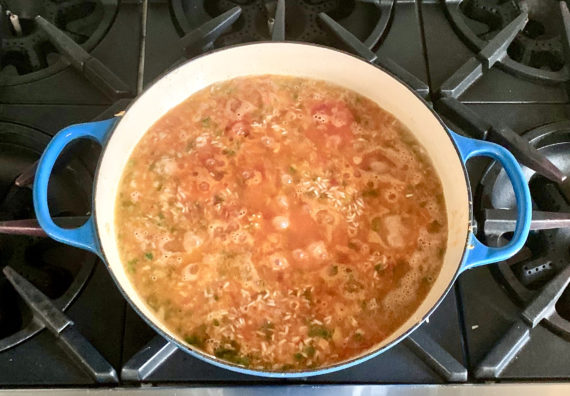
I am so happy to finally share some of my cleaning tips with you. Now that you may have more time to cook, here is a really delicious rice recipe. Maybe some of you have had it before, but this was my first time. This is truly a flavorful side dish filled with healthy ingredients. The tomatoes, onion, and garlic pack this dish with flavor. The tomato paste gives it a beautiful color. The jalapeños give it just the right amount of heat. I also squeezed in some lime juice, which complimented all the flavors beautifully. I also used parsley instead of cilantro, and you’re welcome to be the same.  Make this recipe now, you’ll be sorry you missed out on it for so long like I did.

This recipe is courtesy of America’s Test Kitchen and will serve 6 to 8 people who will want to come back for more of this festive dish.

Ingredients for Mexican Rice:

2 ripe tomatoes (about 12 ounces), cored and quartered
1 medium onion, preferably white, peeled, trimmed of root end,and quartered
3 medium jalapeño chiles
2 cups long grain white rice
1/3 cup canola oil
4 cloves garlic, minced or pressed through a garlic press (about 4 teaspoons)
2 cups low-sodium chicken broth (or vegetable broth)
1 tablespoon tomato paste
1 1/2 teaspoons table salt
1/2 cup minced fresh cilantro leaves
1 lime, cut into wedges for serving

Adjust oven rack to middle position and heat oven to 350 degrees.

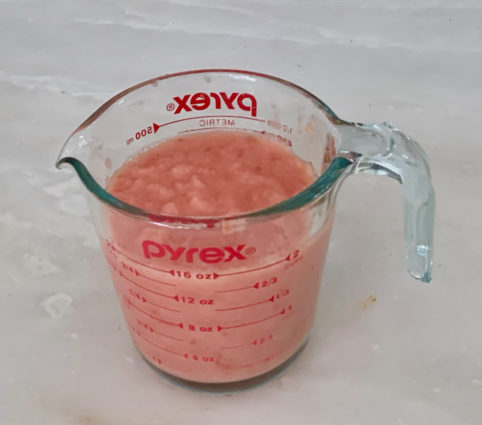
Process tomatoes and onion in food processor until smooth and thoroughly pureed, about 15 seconds, scraping down bowl if necessary.

Transfer mixture to liquid measuring cup; you should have 2 cups (if necessary, spoon off excess so that volume equals 2 cups).

Remove ribs and seeds from 2 jalapeños and discard; mince flesh and set aside.

Mince remaining jalapeño, including ribs and seeds; set aside.

Place rice in large fine-mesh strainer and rinse under cold running water until water runs clear, about 1 1/2 minutes.

Shake rice vigorously in strainer to remove all excess water.

Heat oil in heavy-bottomed ovensafe 12-inch straight-sided sauté pan or Dutch oven with tight-fitting lid over medium-high heat, 1 to 2 minutes.

 Drop 3 or 4 grains rice in oil; if grains sizzle, oil is ready.

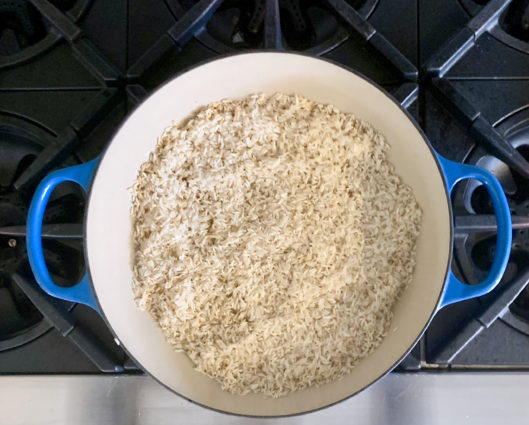
 Add rice and fry, stirring frequently, until rice is light golden and translucent, 6 to 8 minutes.

 Reduce heat to medium, add garlic and seeded minced jalapeños; cook, stirring constantly, until fragrant, about 1 1/2 minutes.

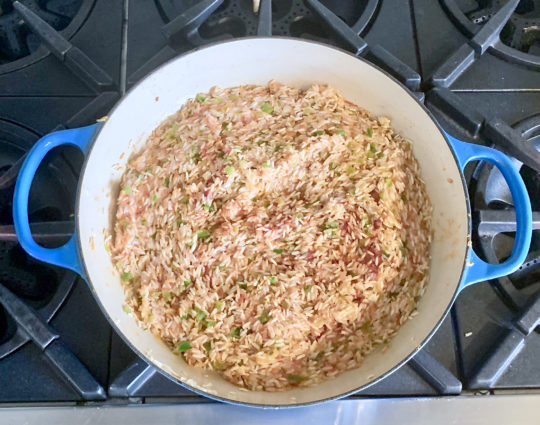
 Stir in pureed tomatoes and onions.

Add chicken broth, tomato paste, and salt; increase heat to medium-high and bring to boil.

 Cover pan and transfer to oven; bake until liquid is absorbed and rice is tender, 30 to 35 minutes, stirring well after 15 minutes.

 Stir in cilantro (or parsley) and reserved minced jalapeño with seeds to taste. Serve immediately, passing lime wedges separately, or squeezing some juice for extra flavor.

It’s that simple!

signature

[recaptcha]


Dorothy was so right: there is no place like home. 

During the last years of my husband’s education, we lived together in Manhattan. After that, we could have moved anywhere. I wanted to live close to family, so we moved to Miami, Florida, where my brother and sister-in-law lived with their two girls. That is where we bought our first home. At that point, I was working full time and our son was 6 months old. But for some reason, Miami never felt like home to me. I was born and raised in the northeast, and I always felt out of place there, however I loved being near my family, especially my two nieces, whom I still hold very dear.

My husband wasn’t happy with his job, and it became clear that Miami was not for us. While we were talking about moving to another city in Florida, hurricane Andrew hit. Our home was destroyed and we had no place to go. We moved eight times in one month with our son, and our possessions in three small boxes. I was in shock. We had to find a temporary place to live until we decided where to go, so we rented an apartment on Miami Beach. My commute to get my son to preschool, and me to work, became a nightmare.

Out of the blue, my husband got a job opportunity from a colleague back in the northeast. After a brief discussion, my husband wanted to take the position. In the moment, I didn’t know what I wanted to do, but this was my chance to move back home, to a place where I was comfortable and safe. The horrible tragedy of hurricane Andrew became somewhat of a blessing.

We moved back and purchased a home. This one really felt like home to me, and I was finally at peace. A home is where you can cozy up on a rainy day. Where you feel relief pulling into the driveway after a long trip. Where you feel at ease when you walk in the door. The sound of my children laughing and playing echo in the hallways.  And of course, the delicious scent of dinner in the oven, or the delightful smell of a pie or muffins baking in the oven.

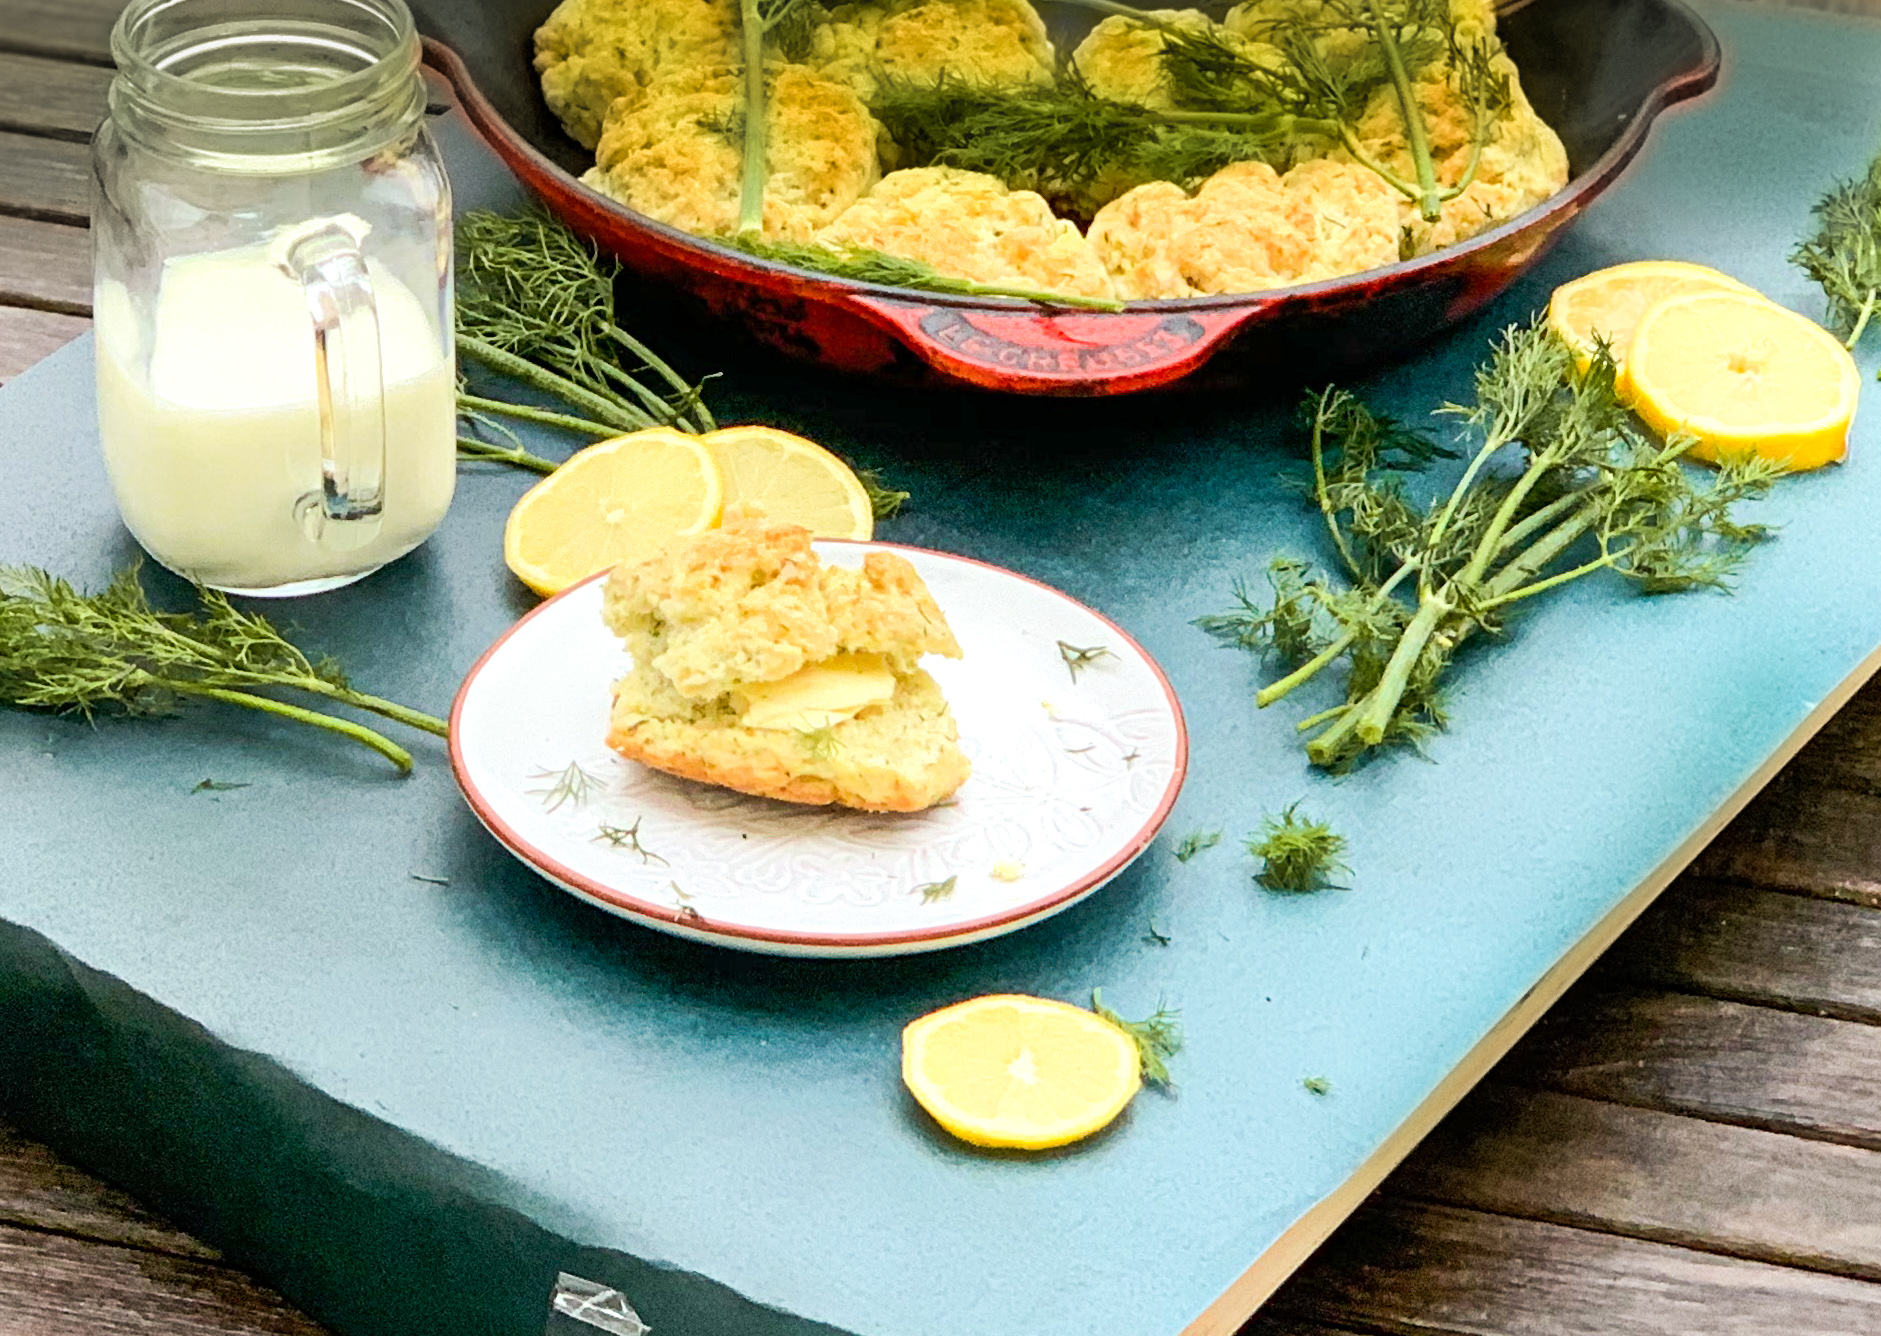
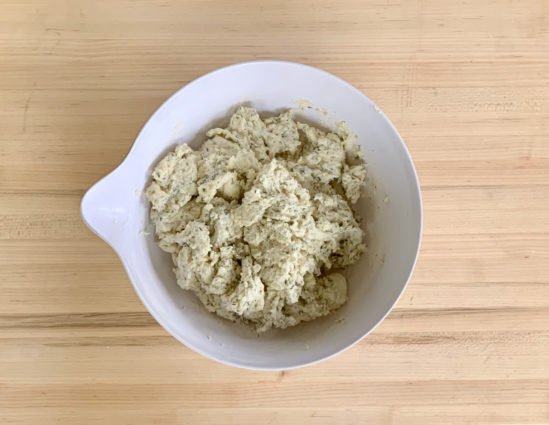
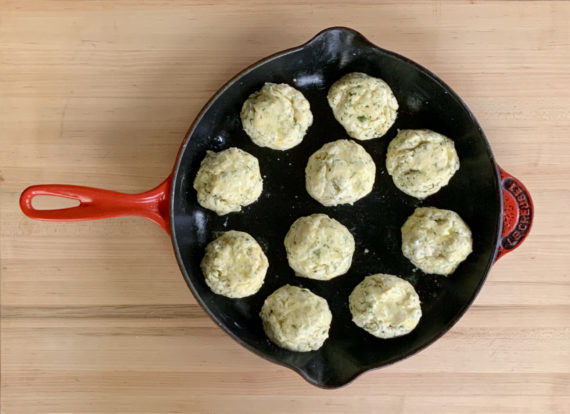
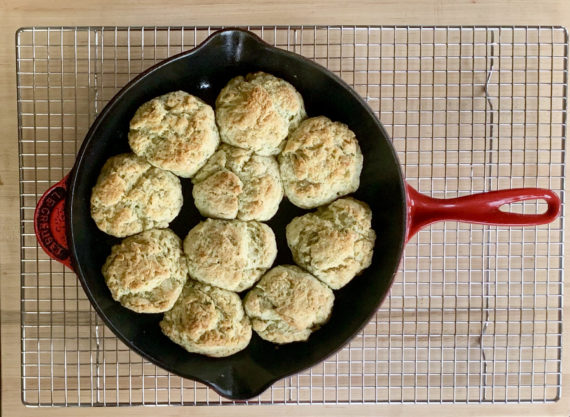
So, this is one really good recipe that will make anywhere you are feel like home.  These biscuits are so light and fresh. The lemon and the dill are flavors, though they don’t sound great on paper, I found combine well together.  They are the tang and the savory that make these delightful treats so irresistible. Have them for breakfast, a snack or dessert, anytime is a good time to eat them. A pat of butter really brings out the rich flavor of these biscuits.

This recipe is courtesy of Cook’s Country and will make 8 biscuits for people who will truly feel at home in your home.

Ingredients for Lemon-Dill Biscuits:

3 cups (15 ounces) all-purpose flour
⅓ cup minced fresh dill
1 tablespoon grated lemon zest
1 tablespoon baking powder
½ teaspoon baking soda
1 teaspoon salt 
8 tablespoons unsalted butter, cut into 1/2-inch pieces and softened, plus 1 tablespoon melted
4 tablespoons vegetable shortening, cut into 1/2-inch pieces
1 ¼ cups buttermilk

 Adjust oven rack to upper-middle position and heat oven to 425 degrees.

Grease 12-inch cast-iron skillet.

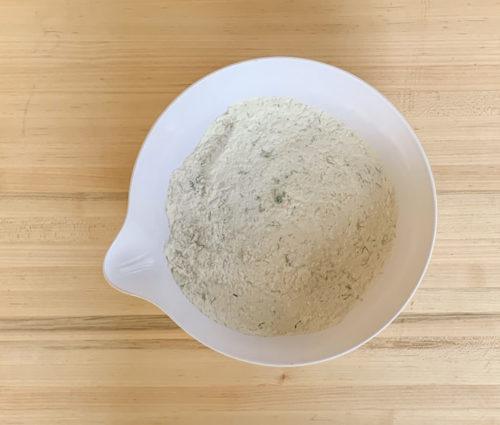
Whisk flour, dill, lemon zest, baking powder, baking soda, and salt together in a large bowl.

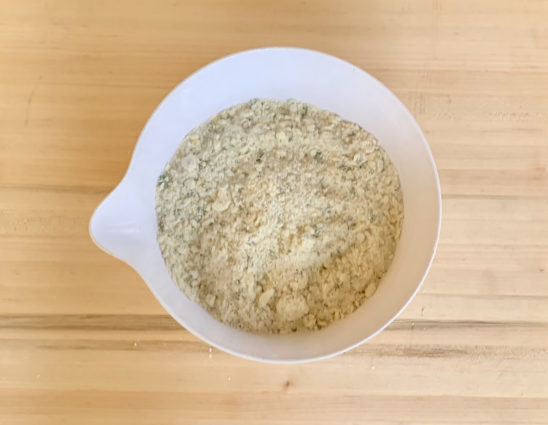
Using your hands, rub butter and shortening into flour until mixture forms a coarse meal.

Stir buttermilk into flour mixture until just combined.

Using greased ⅓-cup dry measuring cup, scoop out and drop 8 mounds of dough evenly into prepared skillet.

Brush biscuits with 1 tablespoon melted butter.

Transfer skillet to oven and bake until biscuits are puffed and golden brown, 20 to 25 minutes, rotating skillet halfway through baking.

Using potholders, transfer skillet to wire rack and let biscuits cool for at least 15 minutes before serving.

It’s that simple!

signature

[recaptcha]


“Preparing food and feeding people brings nourishment not only to our bodies, but to our spirits. Feeding people is a way of loving them, in the same way that feeding ourselves is a way of honoring our own createdness and fragility”. -Shauna Niequist

Recently, I picked up Shauna Nieqist’s book Bread and Wine, a collection of love stories about connecting to others over food. As you might imagine, it hit home with me.  All the cooking I do is for one purpose: to bring people together at my table. I consider it one of the most important things I do.

Cooking, especially when it is done for others, does have some positive psychological effects. Knowing the positive effects may just get more people into the kitchen to cook. Doing something, anything for others, always makes you feel better about yourself. It is a form of altruism, which makes people feel happy and connected to others.

If you are cooking for someone, it definitely brings a sense of closeness in expressing your love and care for them. You may remember watching your grandmother, mother, or father preparing a dinner for you. This was an act of love that you may realize now, but at the time you did not know how much self-giving was attached to. it. We all understand that the greatest payment you can receive for your efforts is seeing the people at your table enjoy your food. Once the main course is served at my Thanksgiving table, I listen for the silence of people eating. And it is there every year. This silence fills my heart greatly, because I know the people at my table are feeling happy, grateful, and loved.

The next time you sit at someone’s table, be thankful for what has been prepared for you with love and care, and know that somebody loves you, and thought about you with every stir of the spoon, every dash of salt and pepper, and every measured spice. Respond to them with love, and even better with words and deeds.

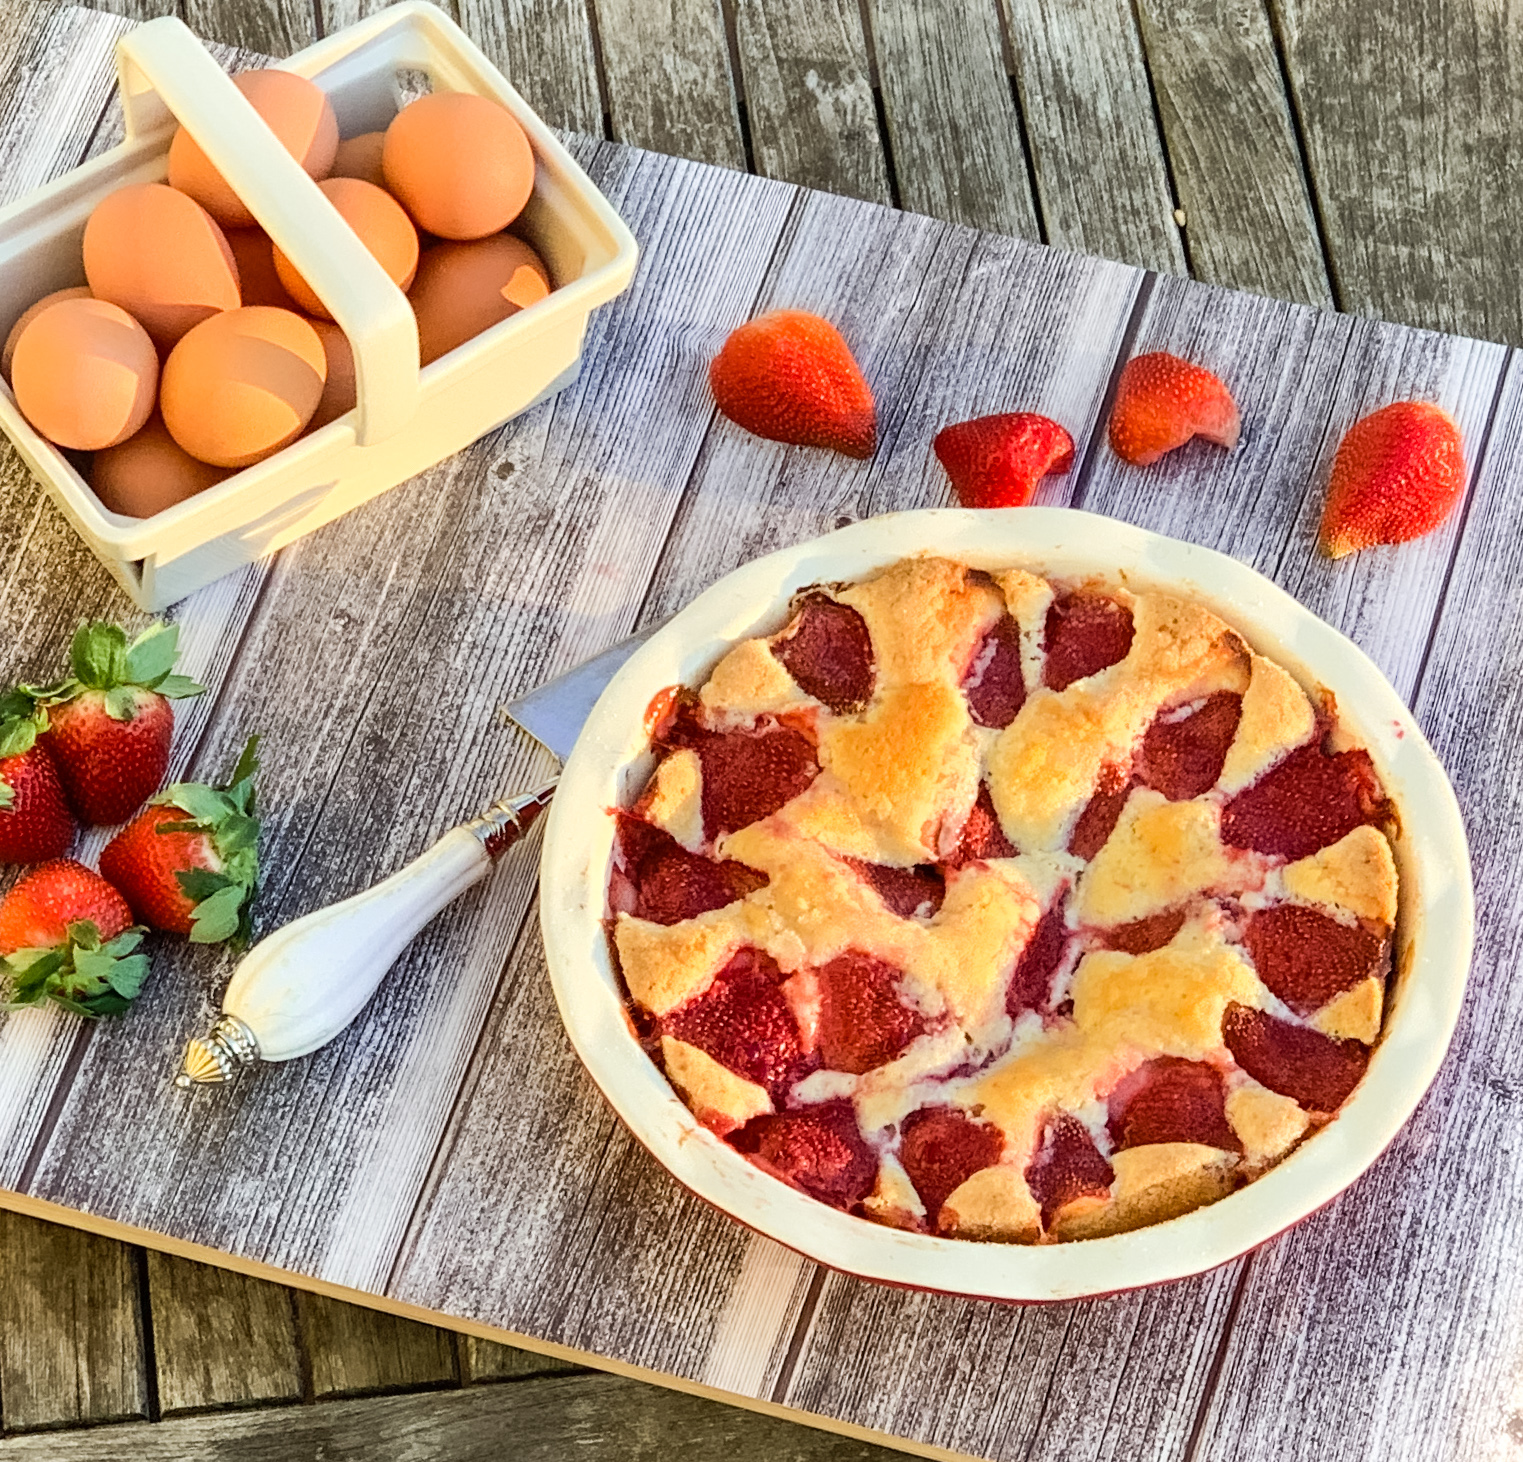
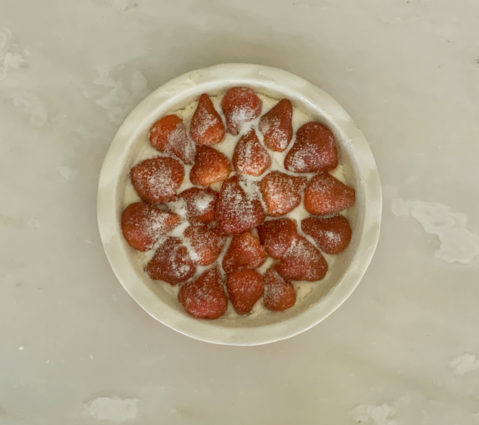
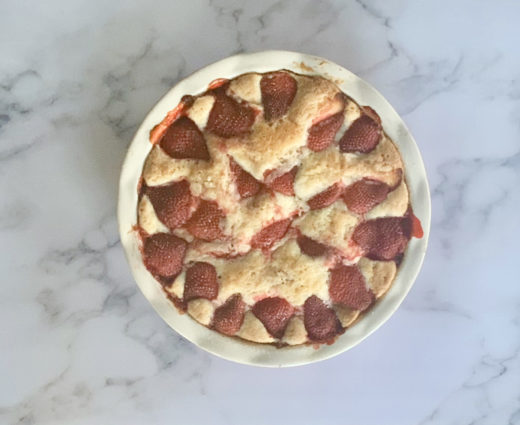
This dessert will definitely show the recipients that you love them. Usually I write my own descriptions, but I think Smitten Kitchen says it best.  This is “a pound of hulled and halved strawberries in a cake that can barely handle it. The strawberries take over. The batter buckles around the receding berries, which dimple like a country quilt. The edges of the cake become faintly crisp. And your apartment will smell like a strawberry patch.” Nuff said.

This recipe is courtesy of Martha Stewart and will serve 8 to 10 people who will feel the love in every bite.

Ingredients for Strawberry Cake:

6 tablespoons unsalted butter, softened, plus more for pie plate
1 1/2 cups all-purpose flour
1 1/2 teaspoons baking powder
1/2 teaspoon salt
1 cup plus 2 tablespoons sugar
1 large egg
1/2 cup milk
1 teaspoon pure vanilla extract
1 pound strawberries, hulled and halved

Preheat oven to 350 degrees.

Butter a 10-inch pie plate.

Sift flour, baking powder, and salt together into a medium bowl.

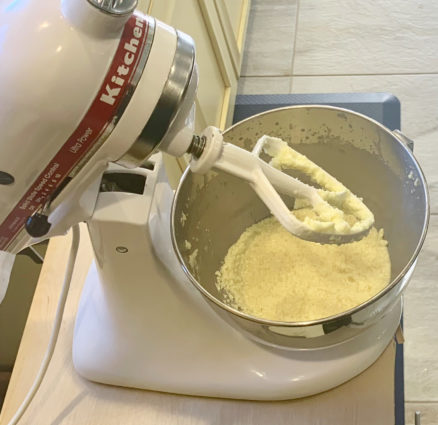
Put butter and 1 cup sugar in the bowl of an electric mixer fitted with the paddle attachment.

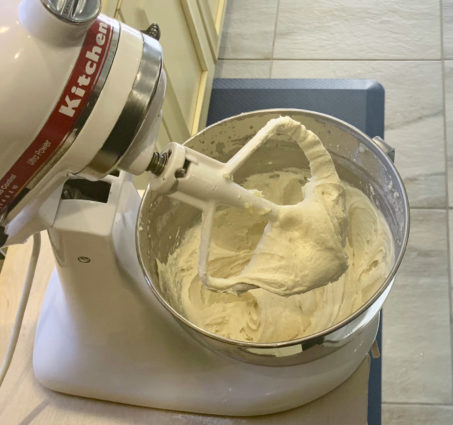
Mix on medium-high speed until pale and fluffy, about 3 minutes.

Reduce speed to medium-low; mix in egg, milk, and vanilla.

Reduce speed to low; gradually mix in flour mixture.

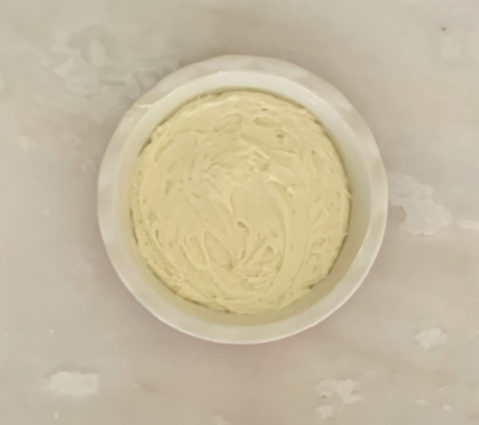
Transfer batter to buttered pie plate.

Arrange strawberries on top of batter, cut sides down and as close together as possible. Sprinkle remaining 2 tablespoons sugar over berries.

Bake for 10 minutes.

Reduce oven temperature to 325 degrees.

Bake until cake is golden brown and firm to the touch, about 1 hour.

Let cool in pie plate on a wire rack.

Cut into wedges.

It’s that simple!

signature

[recaptcha]