One of the best (and worst) things about cooking is the experimentation. You can make a dish a dozen times, and each experience can be totally unique.  When you are cooking, sometimes you have to be innovative. What if you do not have one of the specific ingredients, or better yet, you think of something that would make it even more delicious? Many are reluctant to stray from a recipe but you have to ask yourself, “what could be the harm in changing things up a bit?” Now that we have the internet, a substitution is just a click away. Don’t have sour cream? You can use Greek yogurt or cottage cheese. Don’t have basil? You could use oregano or thyme. If you are cooking something, you can just leave it out if you don’t like the ingredient. If you are baking, it would be better to find a substitute.

Here are some substitutes for a few ingredients:

Baking Powder: 1/4 teaspoon baking soda plus 1/2 teaspoon cream of tartar

Baking soda: (1 teaspoon) 4 teaspoons baking powder or 1 teaspoon potassium bicarbonate and 1/3 teaspoon salt. 

Brown sugar: (1 teaspoon) 1 cup white sugar plus 1/4 cup molasses and decrease the liquid in recipe by 1/4 cup or 1 cup white sugar or 1 1/4 cups confectioners’ sugar (use 1 teaspoon for recipe)

Buttermilk: (1 cup) 1 cup yogurt or 1 tablespoon lemon juice or vinegar plus enough milk to make 1 cup

Cocoa: (1/4 cup) 1 (1-ounce) square unsweetened chocolate

Heavy cream (1 cup) 1 cup evaporated milk or 3/4 cup milk plus 1/3 cup butter

Evaporated milk (1 cup) 1 cup light cream

Green onion (1/2 cup) 1/2 cup chopped onion or 1/2 cup chopped leek or 1/2 cup chopped shallots

Mayonnaise (1 cup) 1 cup sour cream or 1 cup plain yogurt

Yogurt (1 cup) 1 cup sour cream or 1 cup buttermilk or 1 cup sour milk

While we can plan carefully, missing ingredients happens to the best of us. It is definitely annoying, but it doesn’t have to ruin your preparation at all, and you don’t have to run to the store again. Most of the rules are not set in stone and you can easily change it up. Don’t get upset. You might panic at the thought of straying from the written word, fearing the dish will fail, but in most cases, that won’t happen. 

Cooking should be a fun and creative activity, not a chore, so change it up, don’t be afraid to make mistakes, and follow your instincts. You never know, you just might make something you love and add it to your repertoire. Then, it will be an original recipe you can pass on to your family and friends. Most importantly it will be all your own.

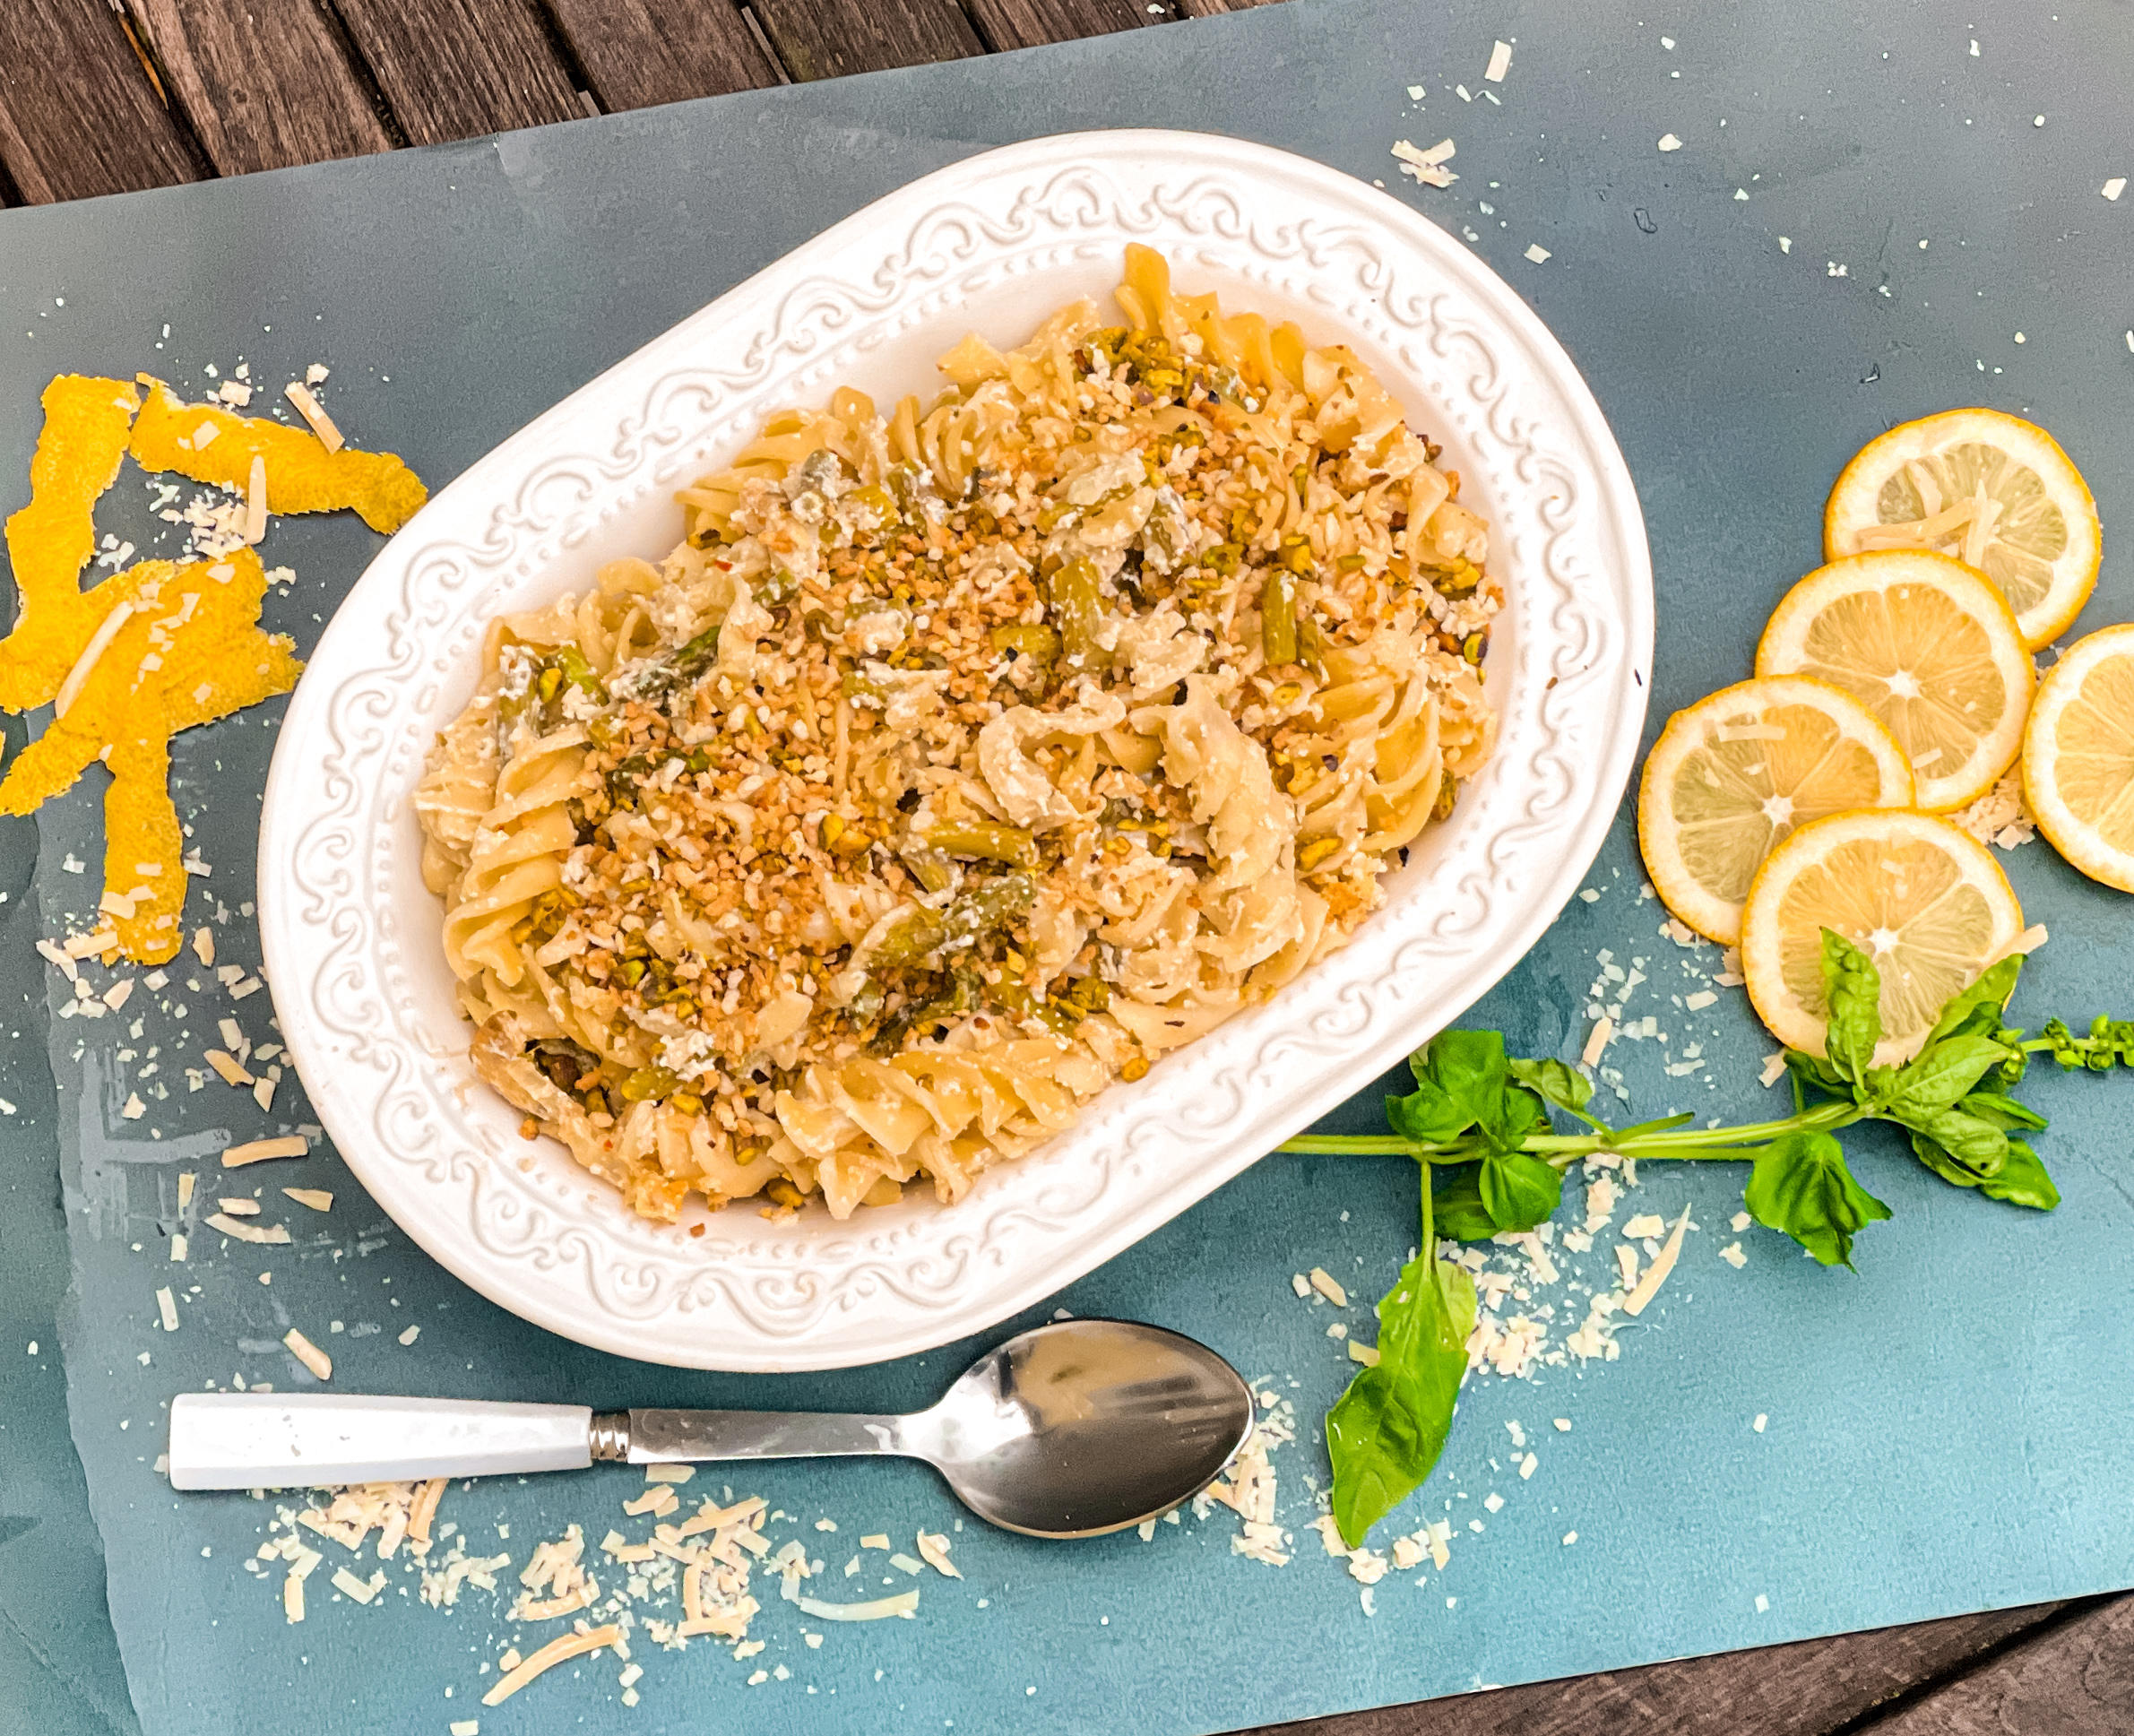
This dish does need any changing at all. The pasta is complemented by the savory garlic and white wine. The red pepper flakes give this dish a bit of heat. The breadcrumbs and pistachios add nice flavor and texture. The asparagus adds sweetness and the lemon gives it a little tang. It is then tossed with creamy ricotta cheese and topped off with Parmesan. This delicious side is perfect for a dinner with family or friends. 

This recipe is courtesy of Half Baked Harvest makes a beautiful dinner for six.

Ingredients for Creamy Lemon Basil and Asparagus Ricotta Pasta with Spicy Breadcrumbs:

3 tablespoons extra virgin olive oil
1 cup Panko Breadcrumbs
2 tablespoon roasted pistachios, chopped (optional)
1/2-1 teaspoon red pepper flakes
1-pound short cut pasta
Kosher salt and freshly ground black pepper
2 tablespoons cold salted butter
3-4 lemon slices, chopped, and seeds removed1 cup fresh basil, chopped
1 bunch asparagus, chopped
2 cloves garlic, minced or grated
1/4 cup dry white wine, such as Pinot Grigio or Sauvignon Blanc
8 ounces ricotta cheese – whipped, if desired
1/3 cup grated parmesan cheese

Heat a large skillet over medium heat.

Add the 2 tablespoons olive oil, the breadcrumbs, and crushed red pepper flakes.

Cook, stirring occasionally until the breadcrumbs are toasted all over, about 4 minutes.
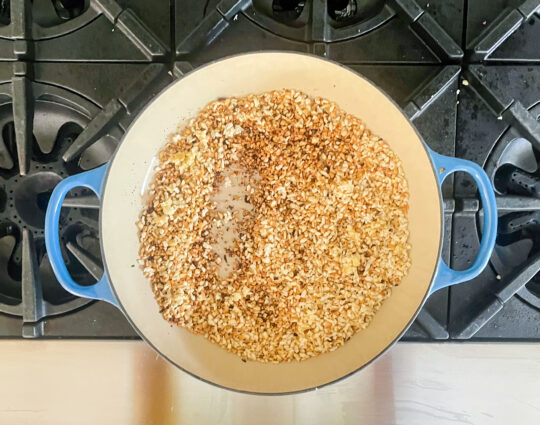
Stir in the pistachios.
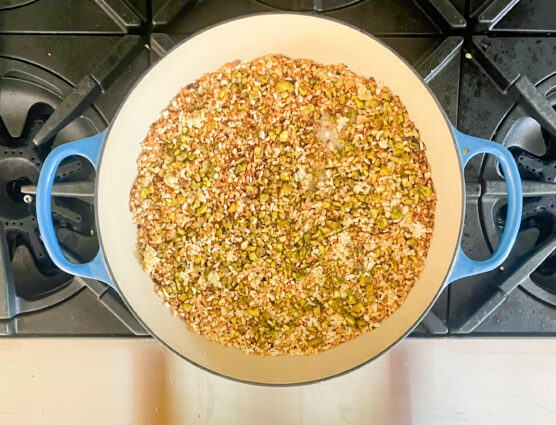
Remove from the skillet.

Season with salt.

Bring a large pot of salted water to a boil.

Boil the pasta to al dente, according to package directions.

Reserve 1/2 cup pasta cooking water.

Drain.

Meanwhile, set your skillet over medium-high heat.

Add 1 tablespoon butter and the lemon.

Cook until the lemon is caramelized, 2 minutes.
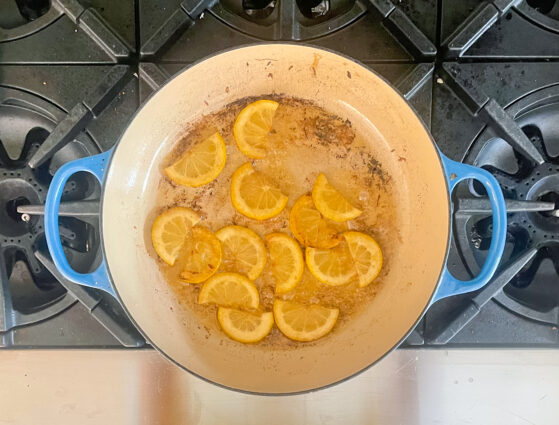
Remove the lemon from the skillet and toss with the basil in a small bowl.
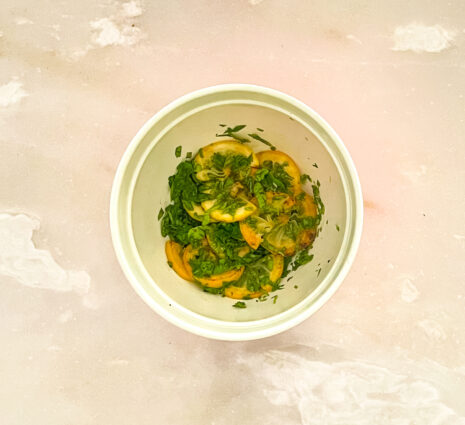
To the skillet, add 1 tablespoon olive oil, 1 tablespoon butter, and the asparagus.

Season with salt and pepper.

Cook until the asparagus is tender, 5 minutes.

Add the garlic and a pinch of chili flakes, cook 2-3 minutes until fragrant.
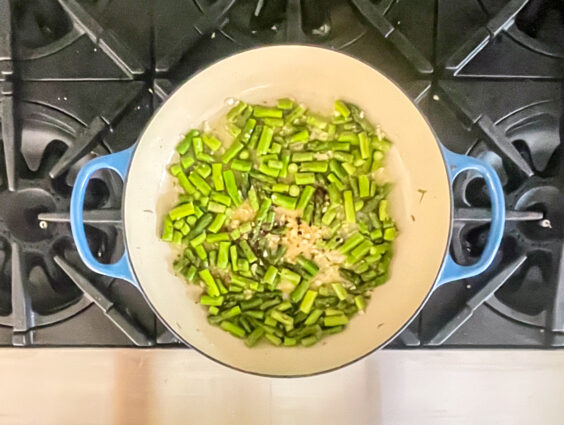
Add the wine, then the pasta, ricotta, parmesan, and 1/2 of the lemon/basil.
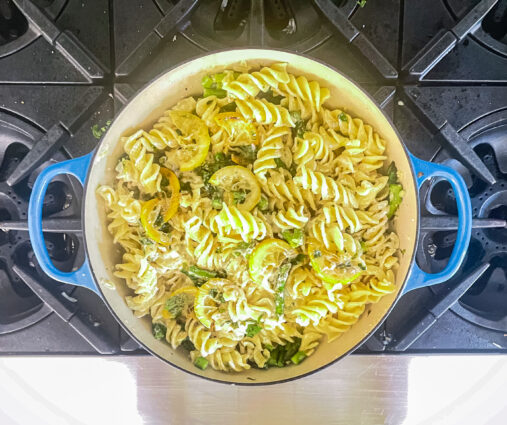
If needed, thin the sauce with the reserved pasta cooking water.

Remove from the heat and serve immediately topped with breadcrumbs and additional basil.

It’s that simple!

signature

[recaptcha]


Finally, it seems like we are ready to get back together with family and friends. That, of course, means cooking. Some would argue that summertime is the worst for cooks–the sun stays out longer, giving us more time to get all our preparations done, but the heat and humidity make it difficult .

Between all the summer fun and the heat it can be difficult for us to get motivated to be in the kitchen. Even if you choose to make your meals on the grill with friends, it can still feel like a chore. We can of course order in take-out, but that tends to be pricey. As much as I love cooking, I find that I love staying cool even more, and that means leaving the oven off.

If you are looking to keep it chill while cooking during the warmer weather, here are a few tips that may help you:

Use your oven early in the morning, or in the evening. If you are baking or roasting, the temperature outside will be a little cooler, making it easier to withstand the heat. You will sweat a little less , and that makes for a better experience.

Forget the oven or grill. Time to take out your instant pot or use your toaster oven. Try using your toaster oven even more in the summertime since it can do pretty much everything a full-sized oven can do and won’t even raise the temperature of your kitchen. An instant pot or slow cooker can help make things like potluck-friendly pulled pork and juicy summer fruit sauce a reality without ever having to turn on the oven.

Try to make things in bulk. You might have to use the oven to make a meal, but at least you’ll only have to do it once.  You can even use the microwave to reheat most meals– just be sure to take the fork off the plate first!

Try no cook dinners. Meals like salads and cold soups (gazpacho) are easy to make even on the hottest days of the season.

Keep lots of cold snacks like veggies and fruits close at hand to help you keep cool. Chilled cucumber slices, chunks of watermelon, or a cold drink with plenty of ice will help you chill out when the temperature starts to rise.

Close the blinds and set some fans up in the kitchen. You’ll be surprised at how quickly you can drop the room temperature by 10 degrees or more by closing the window shades and draperies.

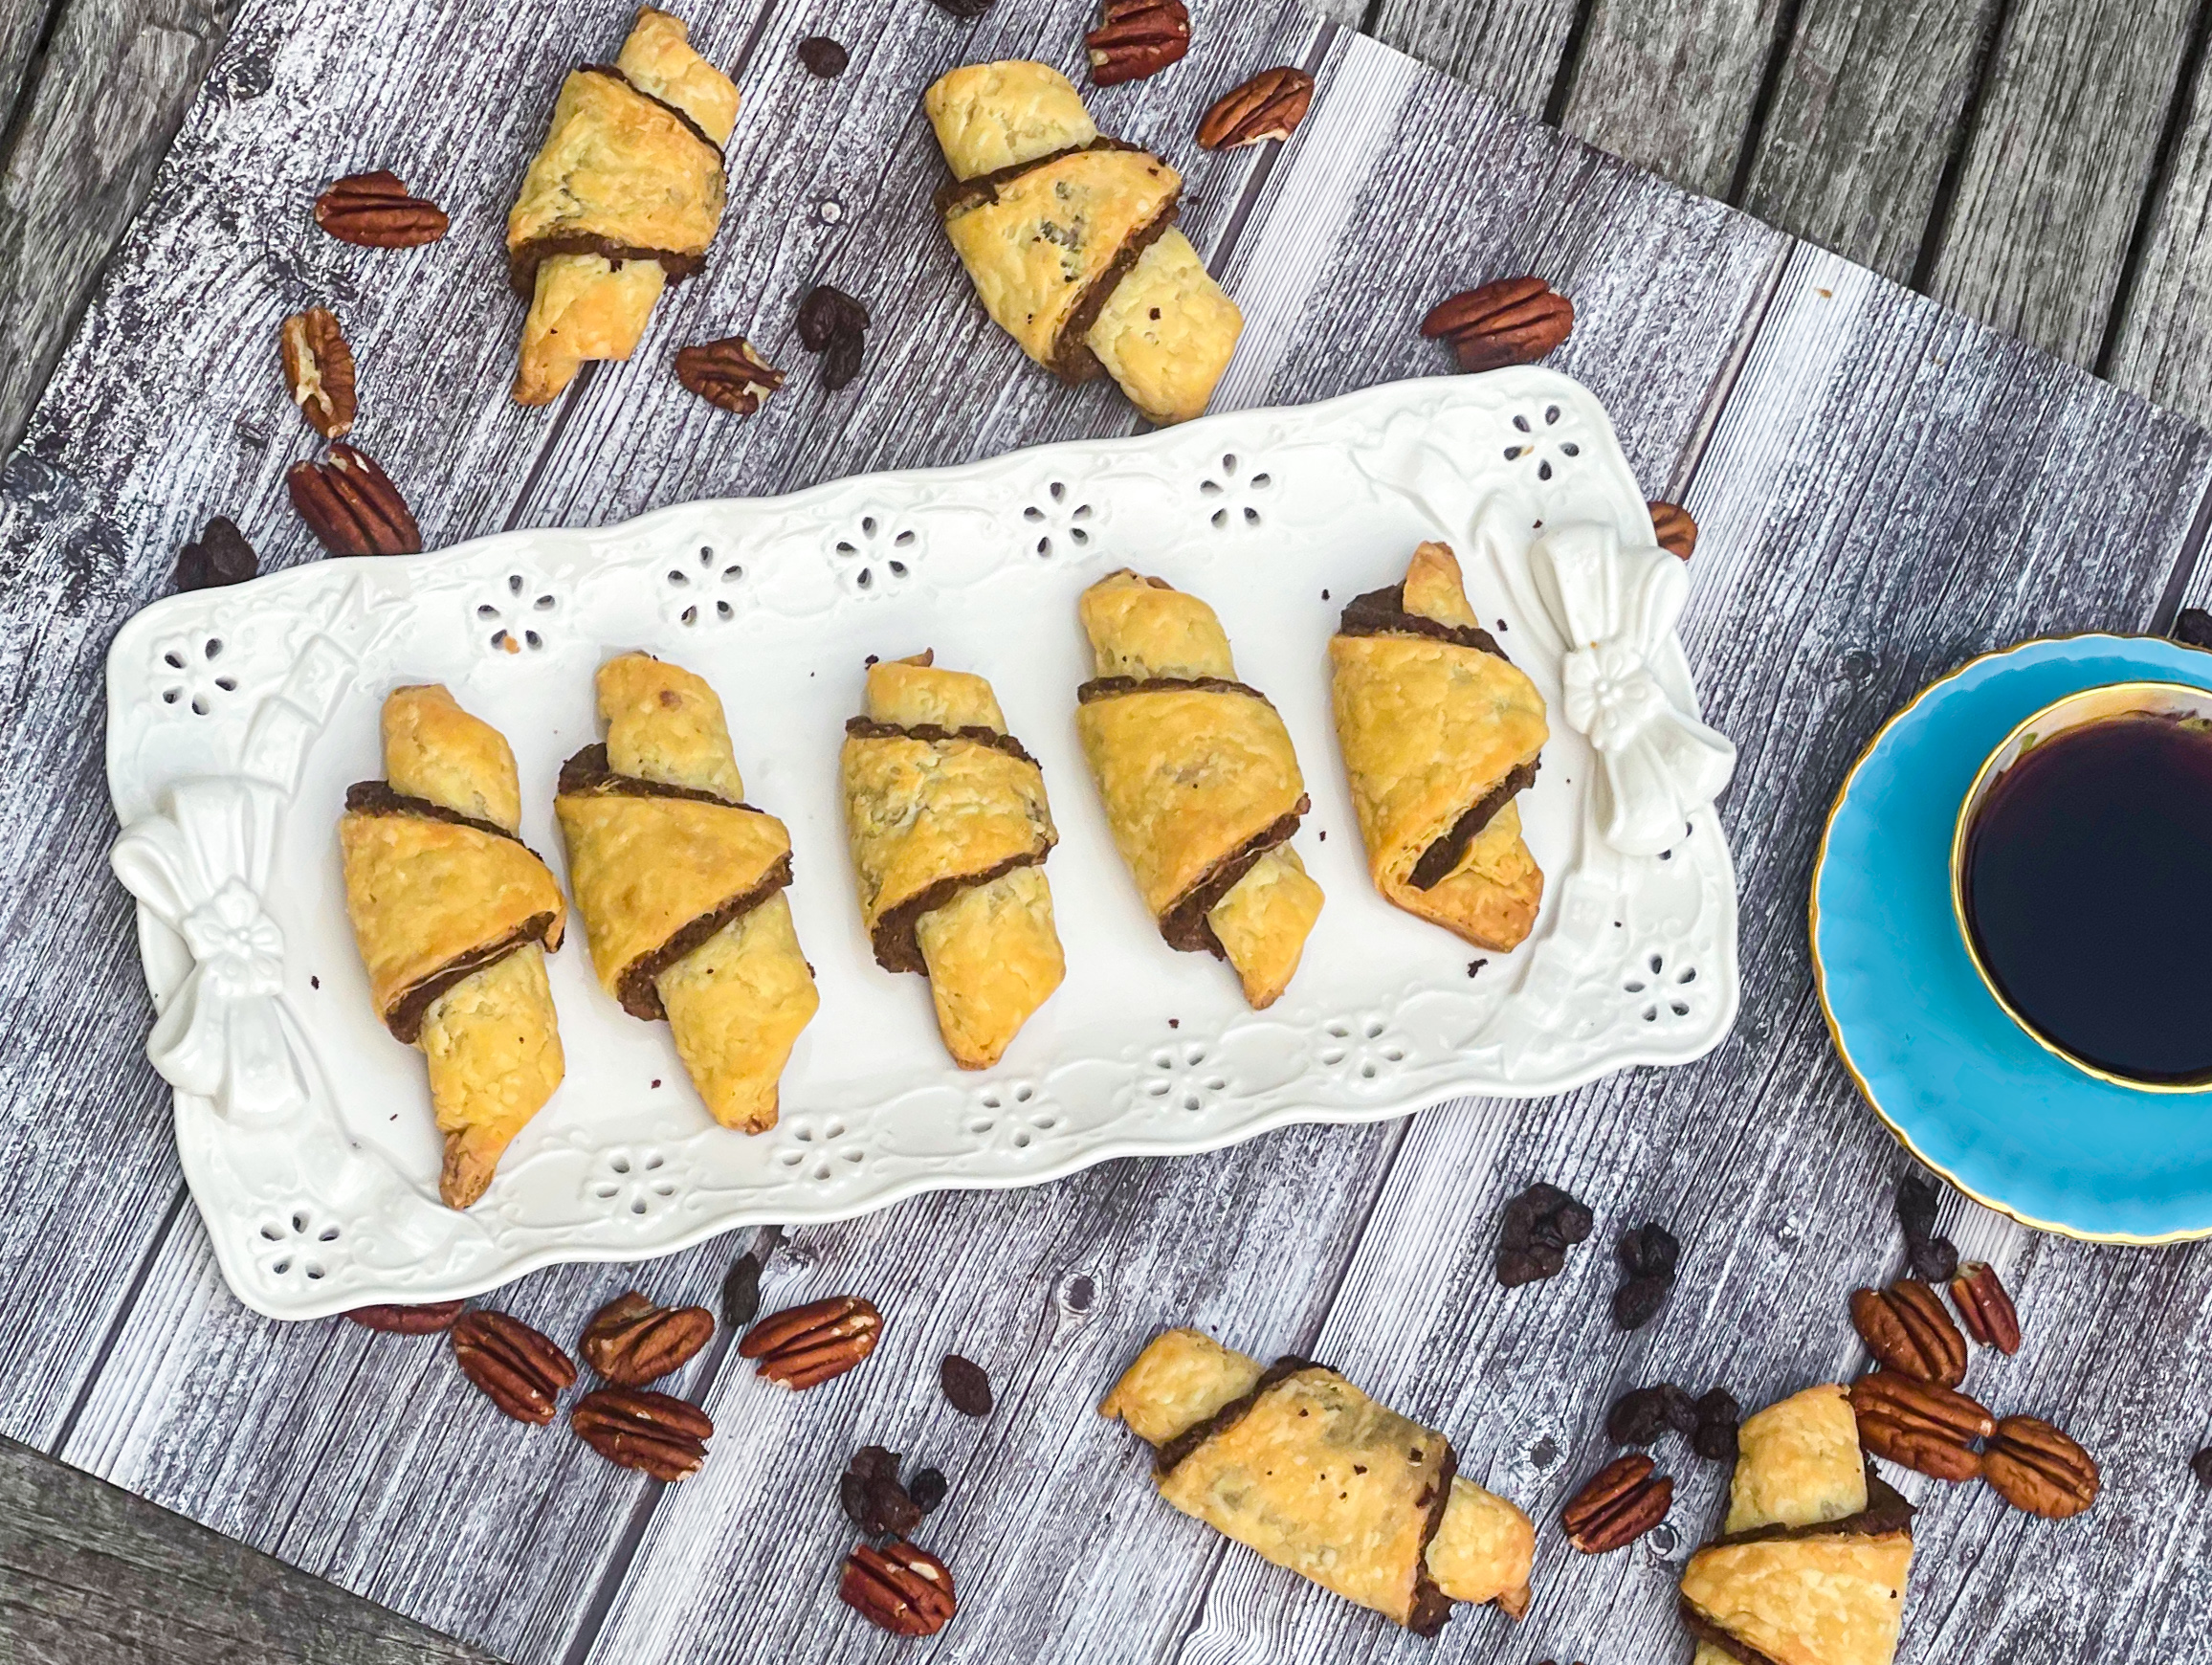
This dessert does need the oven, but the prep time is short enough that you can prepare the dough at night, then bake first thing in the morning. The cream cheese and sour cream makes the crust so moist and full of flavor. The sugar adds sweetness and the pecans give the small treats a nice texture and flavor. The savory here is the cinnamon which gives it a warm, spicy goodness.

This recipe is courtesy of Sally’s Baking Addiction and will make 24 rugelach for people who want a sweet treat on a hot day.

Ingredients for Rugelach:

For the Dough:

2 cups all-purpose flour, spooned and leveled
1/2 teaspoon salt
1 cup unsalted butter, cold and cubed (16 tablespoons)
3/4 cup (6 ounces) block cream cheese, cold and cubed
1/3 cup sour cream, cold

For the Filling:

1/2 cup packed light or dark brown sugar
1 cup chopped walnuts or pecans
1/2 cup raisins (or dried cranberries for some color!)
1 tablespoon ground cinnamon
Water for brushing dough
Optional for topping: confectioners’ sugar

Make the Dough:

Place the flour and salt in the bowl of a food processor. 

Pulse a couple times to blend.

Add the butter, cream cheese, and sour cream. 

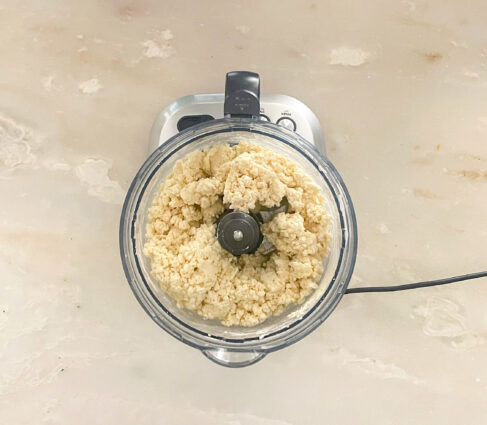
Pulse until crumbly; this will take 30 seconds or so. 

Pulse until there are pea-sized crumbs throughout. 

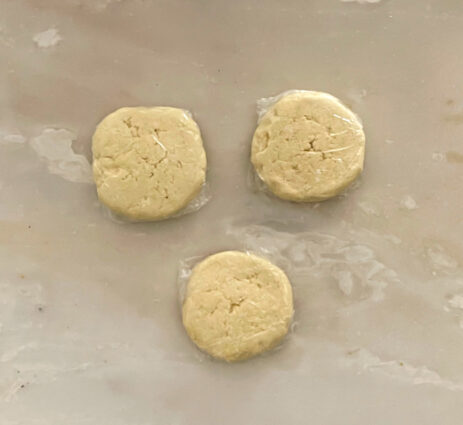
Divide the dough into three equal portions and gently flatten into a disc shape. Wrap in plastic wrap, then chill in the refrigerator for at least 2 hours or up to 1 day. 

Or freeze for up to 3 months and thaw overnight in the refrigerator before using.

Make the Filling:

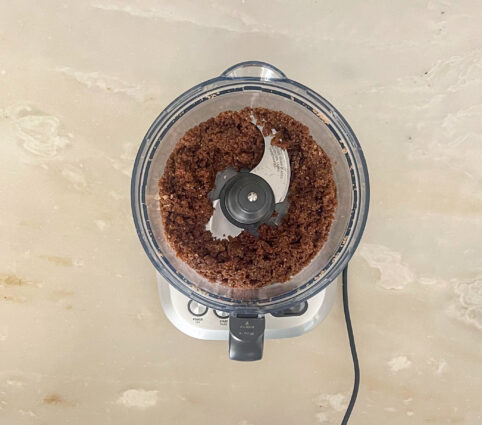
Pulse the brown sugar, walnuts, raisins, and cinnamon in the food processor until very finely chopped and well combined. 

The filling will feel a little moist. 

You’ll have a little over 2 cups total.

Line 3 large rimmed baking sheets with parchment paper or silicone baking mats.

Set aside.

Remove the dough from the refrigerator. 

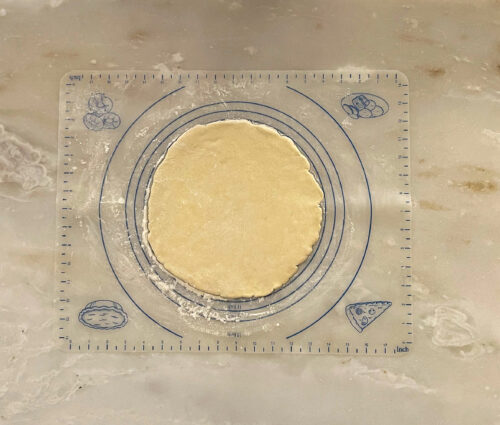
Working with one disc of dough at a time and on a lightly floured work surface, roll into a 10-inch circle (roughly 1/4 inch thick, give or take) and brush it lightly with water. 

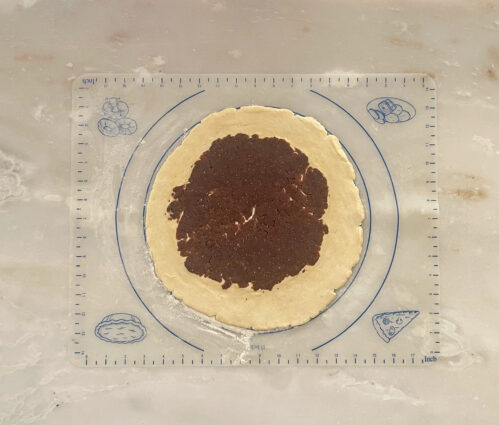
Spread about 1/3 of the filling on top.

Gently press the filling down into the dough so it’s compact. 

Using a pizza cutter or sharp knife, cut the dough into 8 equal wedges. 

If you’re cutting on a silicone mat, be careful not to cut the mat. 

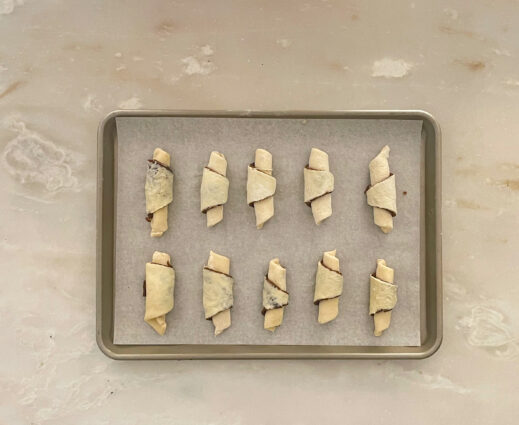
Roll each wedge up, beginning with the wide end and ending with the narrow end. 

Place the rolls point-side down onto the baking sheets, 8 on each. 

Repeat with the remaining two discs of dough.

Preheat the oven to 350°F.

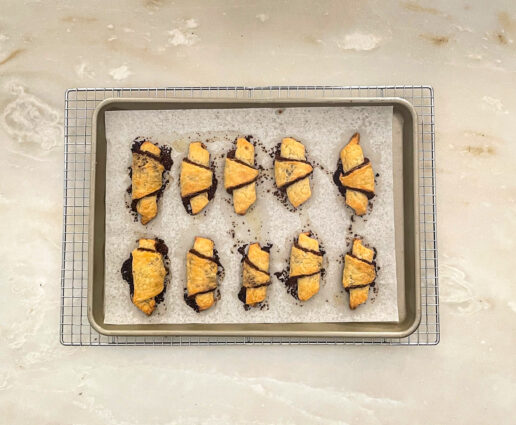
Bake the rugelach for 25 – 30 minutes, or until golden brown. 

As the rugelach bake, the butter will lightly fry their bottoms, giving them a super crunchy crust. 

Remove from the oven and allow to cool for 10 minutes. 

Dust with confectioners’ sugar and serve warm or at room temperature. 

Cover leftovers and store tightly at room temperature for up to 5 days.

It’s that simple!


signature

[recaptcha]


By lunchtime, most of us wonder what we’re going to make for dinner. One of the reasons I started this blog was to tackle that question that plagues us every day. Planning ahead is essential to actually getting your meal on the table. Picking recipes that you feel comfortable making is a crucial step in successful preparation. Here are some strategies to help you guide the way in selecting the recipes for your meal plan.

Keep things simple. This may sound obvious, but it is really important when your head becomes full of possibilities. Try to choose recipes based on the needs of yourself and your family. Don’t feel like a big clean-up? A simple one sheet pan dinner may be the way to go. Or maybe a slow-cooker meal that cooks by itself is also a good choice. Whether it is dinner on a budget, meatless meals, or vegan, choose the best option for your family.

Make enough so you have leftovers. If you plan to cook a couple of nights a week, and your week is going to be terribly busy, don’t discard leftovers as your meal plan strategy. This can be an excellent tactic to get yourself a couple nights of feeding your family without having to start from scratch every night.You can cook a few times and still have satisfying dinners every night of the week.

Prepare recipes that are familiar to you. Cooking every night may sound nice, but in reality, it can be overwhelming and exhausting. Of course, you do not have to always try new ones, but if you stick to recipes you know and have made before, then add one new recipe– perhaps something similar to one you already know. It will keep each week feeling new and expand your recipe repertoire at the same time.

Pick out recipes for the week that have similar ingredients. This will keep your shopping list to a minimum and may even keep to your weekly budget!  Make a nice sauce on the weekend that can stretch into several meals, such as chicken, pasta, or ground beef. 

Cook things you really want to eat and know your family will enjoy. You may start out with good intentions and well-laid plans, but if nothing appeals to your family, then you just might end up wasting time and ingredients, and ordering in a pizza when all’s said and done. You might have to spend some extra time finding recipes that are right for you, but it’s worth it if you still can’t wait to eat it later in the week. So, we’re saying the obvious on this one: Only cook things you want to eat!

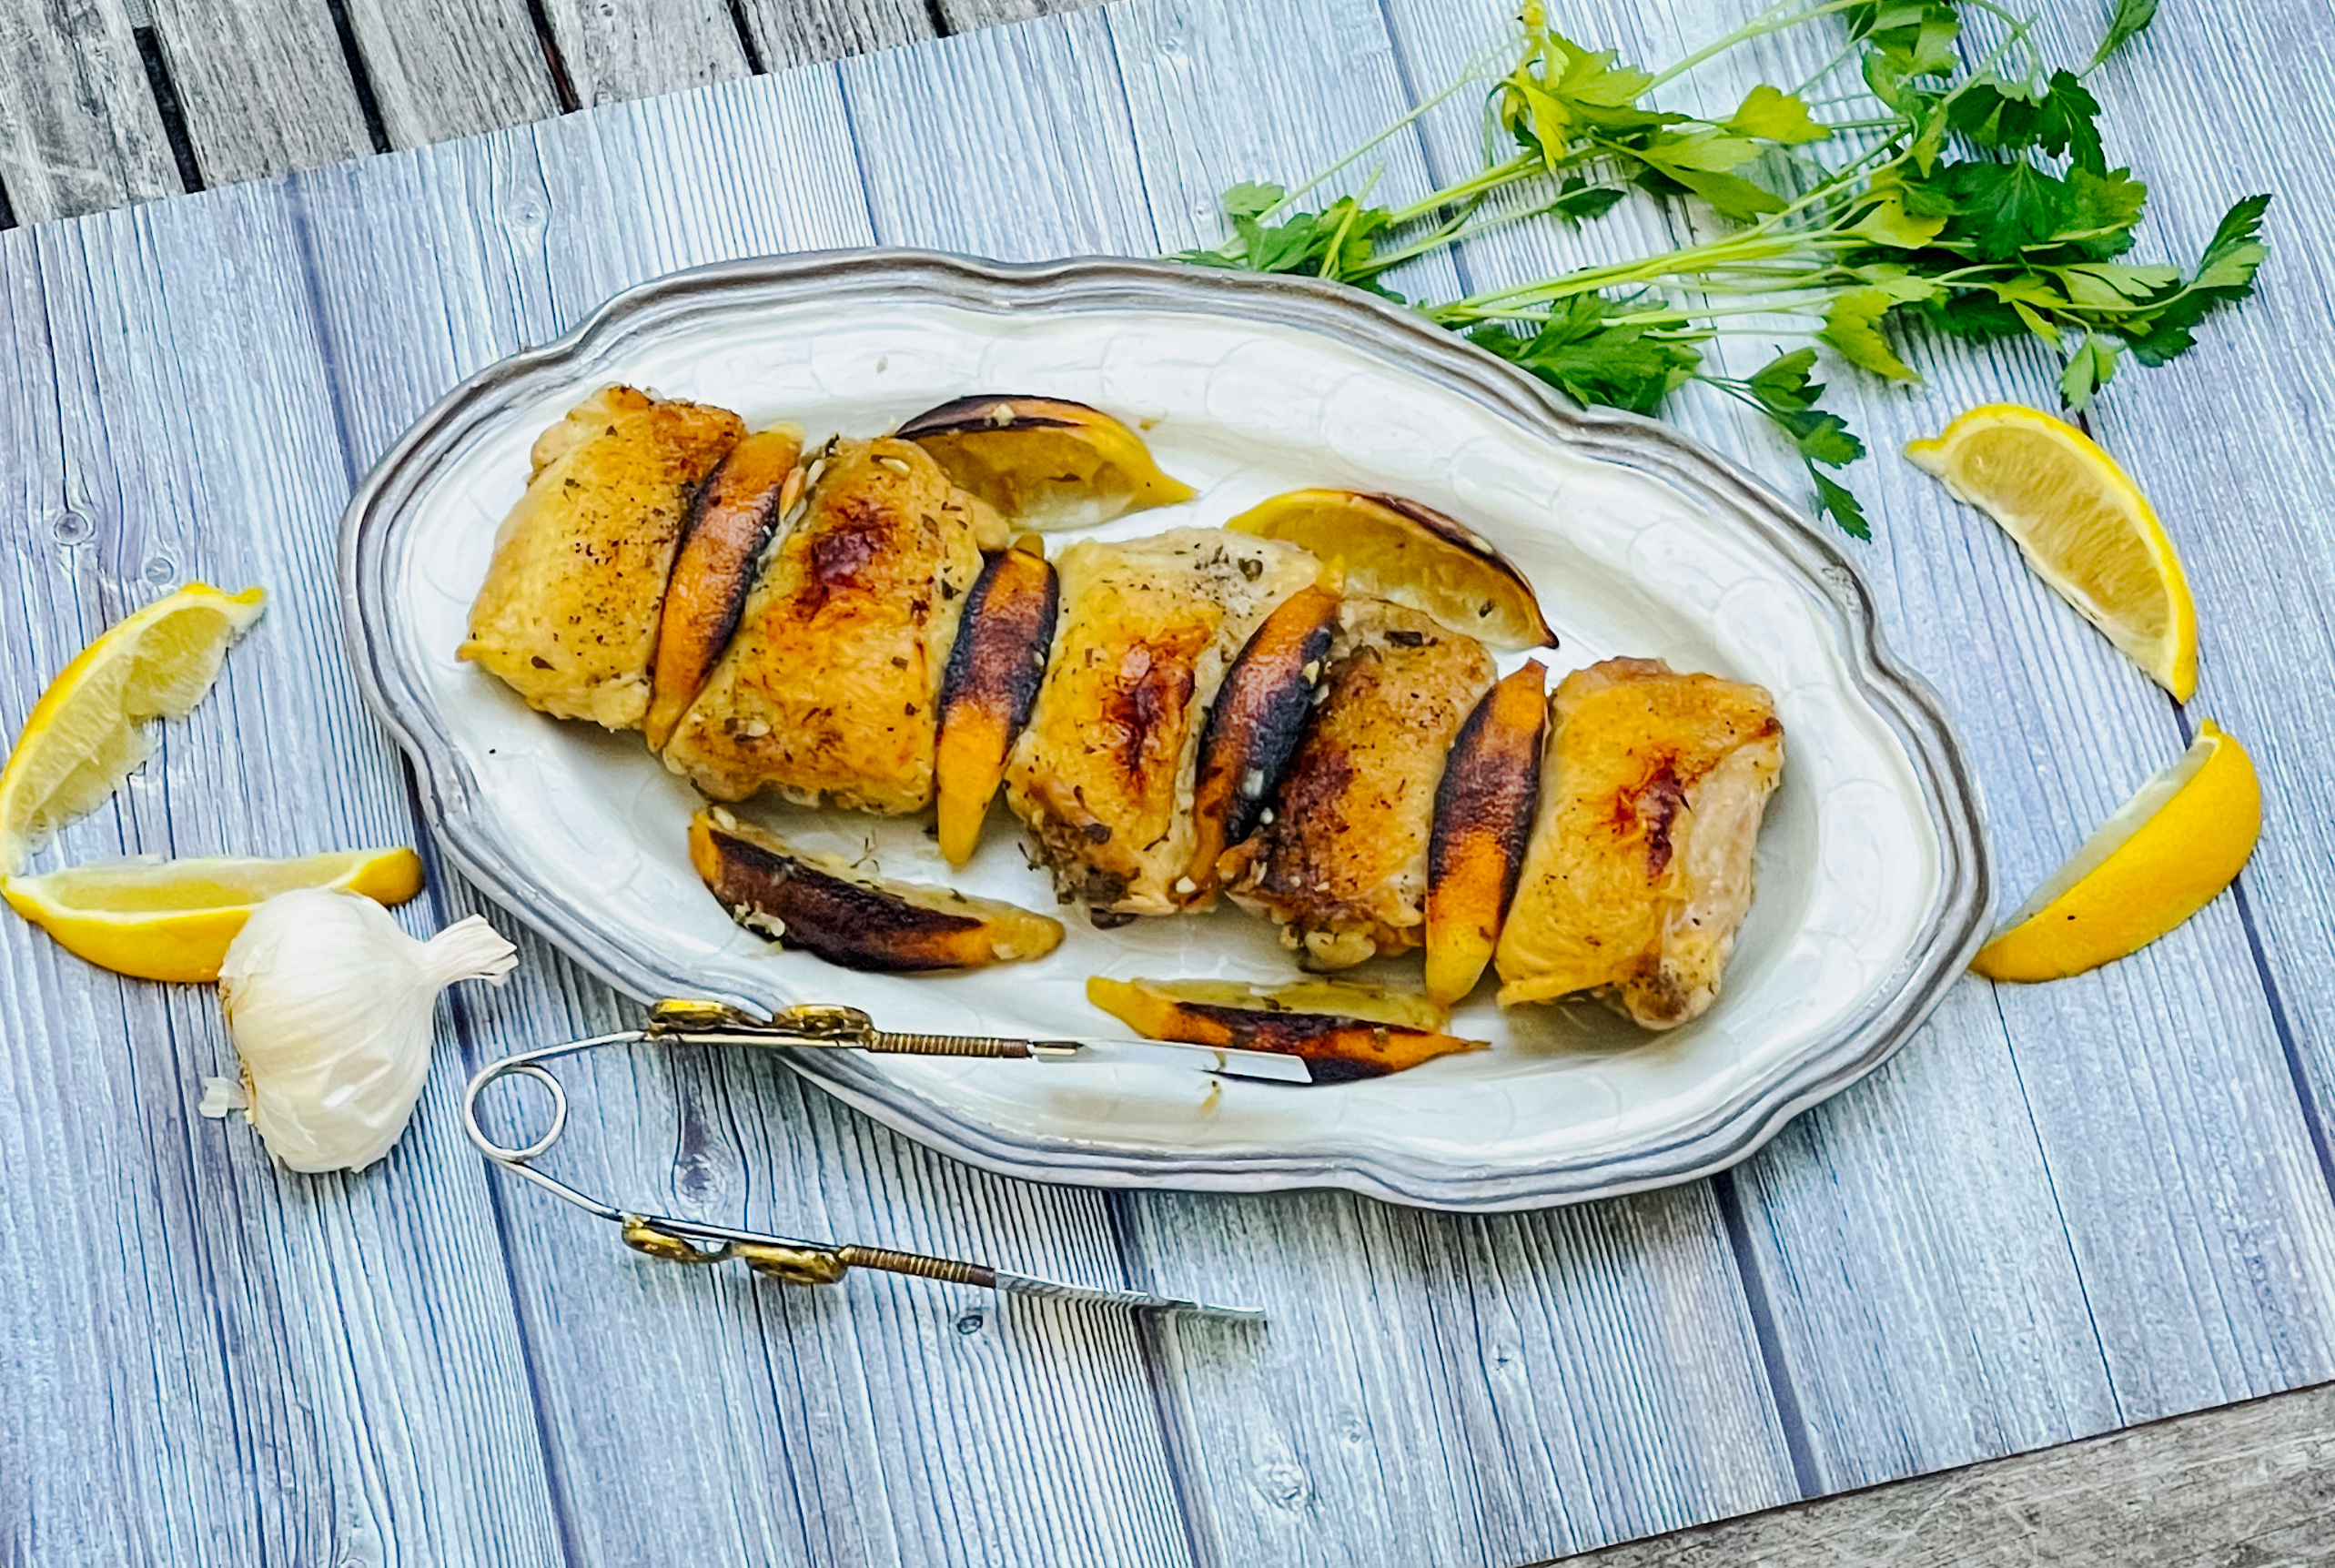
Definitely add this recipe to your favorites. The steps are so simple, and it is basically a one-pot dish. The chicken is dressed with delicious sauce. The wine becomes infused with savory garlic, lemon zest, and its juices. The addition of oregano and thyme gives this delicious sauce even more flavor. These ingredients give the chicken a delicate, but flavorful sauce that makes it one-dish perfection. This dish is good for any weeknight meal, or for entertaining guests.

This recipe is courtesy of Ina Garten and will make 4 portions for a family, or for leftovers.

Ingredients for Lemon Chicken Breasts:

1/4 cup good olive oil
3 tablespoons minced garlic (9 cloves)
1/3 cup dry white wine
1 tablespoon grated lemon zest (2 lemons)
2 tablespoons freshly squeezed lemon juice
1½ teaspoons dried oregano
1 teaspoon minced fresh thyme leaves
Kosher salt and freshly ground black pepper
4 boneless chicken breasts, skin on (6 to 8 ounces each) (I used chicken thighs, bone in, skin on)
1 lemon

Preheat oven to 350 degrees.

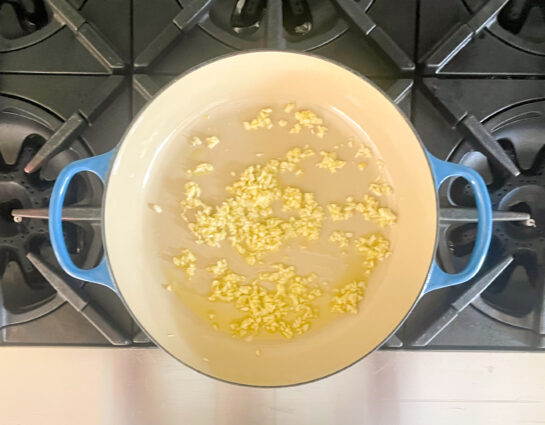
Warm the olive oil in a small saucepan over medium-low heat, add the garlic, and cook for just 1 minute but don’t allow the garlic to turn brown.

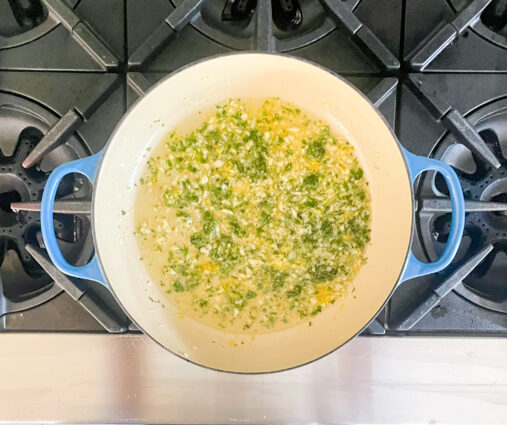
Off the heat, add the white wine, lemon zest, lemon juice, oregano, thyme, and 1 teaspoon salt and pour into a 9 × 12-inch baking dish.

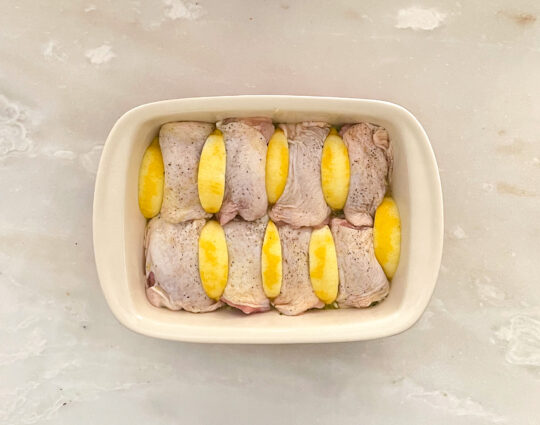
Pat the chicken breasts dry and place them skin side up over the sauce.

Brush the chicken breasts with olive oil and sprinkle them liberally with salt and pepper.

Cut the lemon in 8 wedges and tuck it among the pieces of chicken.

Bake for 30 to 40 minutes, depending on the size of the chicken breasts, until the chicken is done and the skin is lightly browned.

If the chicken isn’t browned enough, put it under the broiler for 2 minutes.

Cover the pan tightly with aluminum foil and allow to rest for 10 minutes.

Sprinkle with salt and serve hot with the pan juices.

It’s that simple!
signature

[recaptcha]


It’s easy to see why the 4th of July is the most celebrated holiday of the summer.  There is plenty of food and drinks, and best of all, fireworks! There are so many things to do, that you’re pretty much guaranteed to have a good time. One of the best things is that it is a long weekend, which gives you some time to get away and explore other places. You can book a small trip, catch a plane to see a friend or family in another city, go to the beach or just do a staycation (my husband’s favorite).

For me, it is both the beginning of summer and the end. I love the holiday, but I also know that now that the 4th is here, the summer flies by, and the next thing you know, you are celebrating Labor Day, wondering where the time went. And, as you get older, the time seems to speed by even faster and summer becomes just a memory that we hold close in the depths of winter.

If you enjoy staying at home and having a barbecue, there are so many menu possibilities. It is almost as much of a food holiday as Thanksgiving! What would the 4th of July be without hamburgers, hot dogs, grilled chicken, steak, potato salad, or corn on the cob? Add on some bruschetta, guacamole, tomato and mozzarella, chips, salsa, and a nice cold pasta salad, and you have a perfect holiday.

Maybe your town has a parade you can watch. It is always fun to go and share the celebration with your neighbors. Floats, music, dancing, and candy make a parade festive and fun. 

More than anything, fireworks make this holiday so memorable. Independence Day is not complete without red, white and blue explosions in the sky. Fireworks were first set off in Philadelphia, Pennsylvania on July 4th, 1777. Since then this tradition has become a staple in our country and the day is not complete without the sounds and sights of the beautiful explosions. If you do not get a chance to go see them in person, you can always watch them on TV.

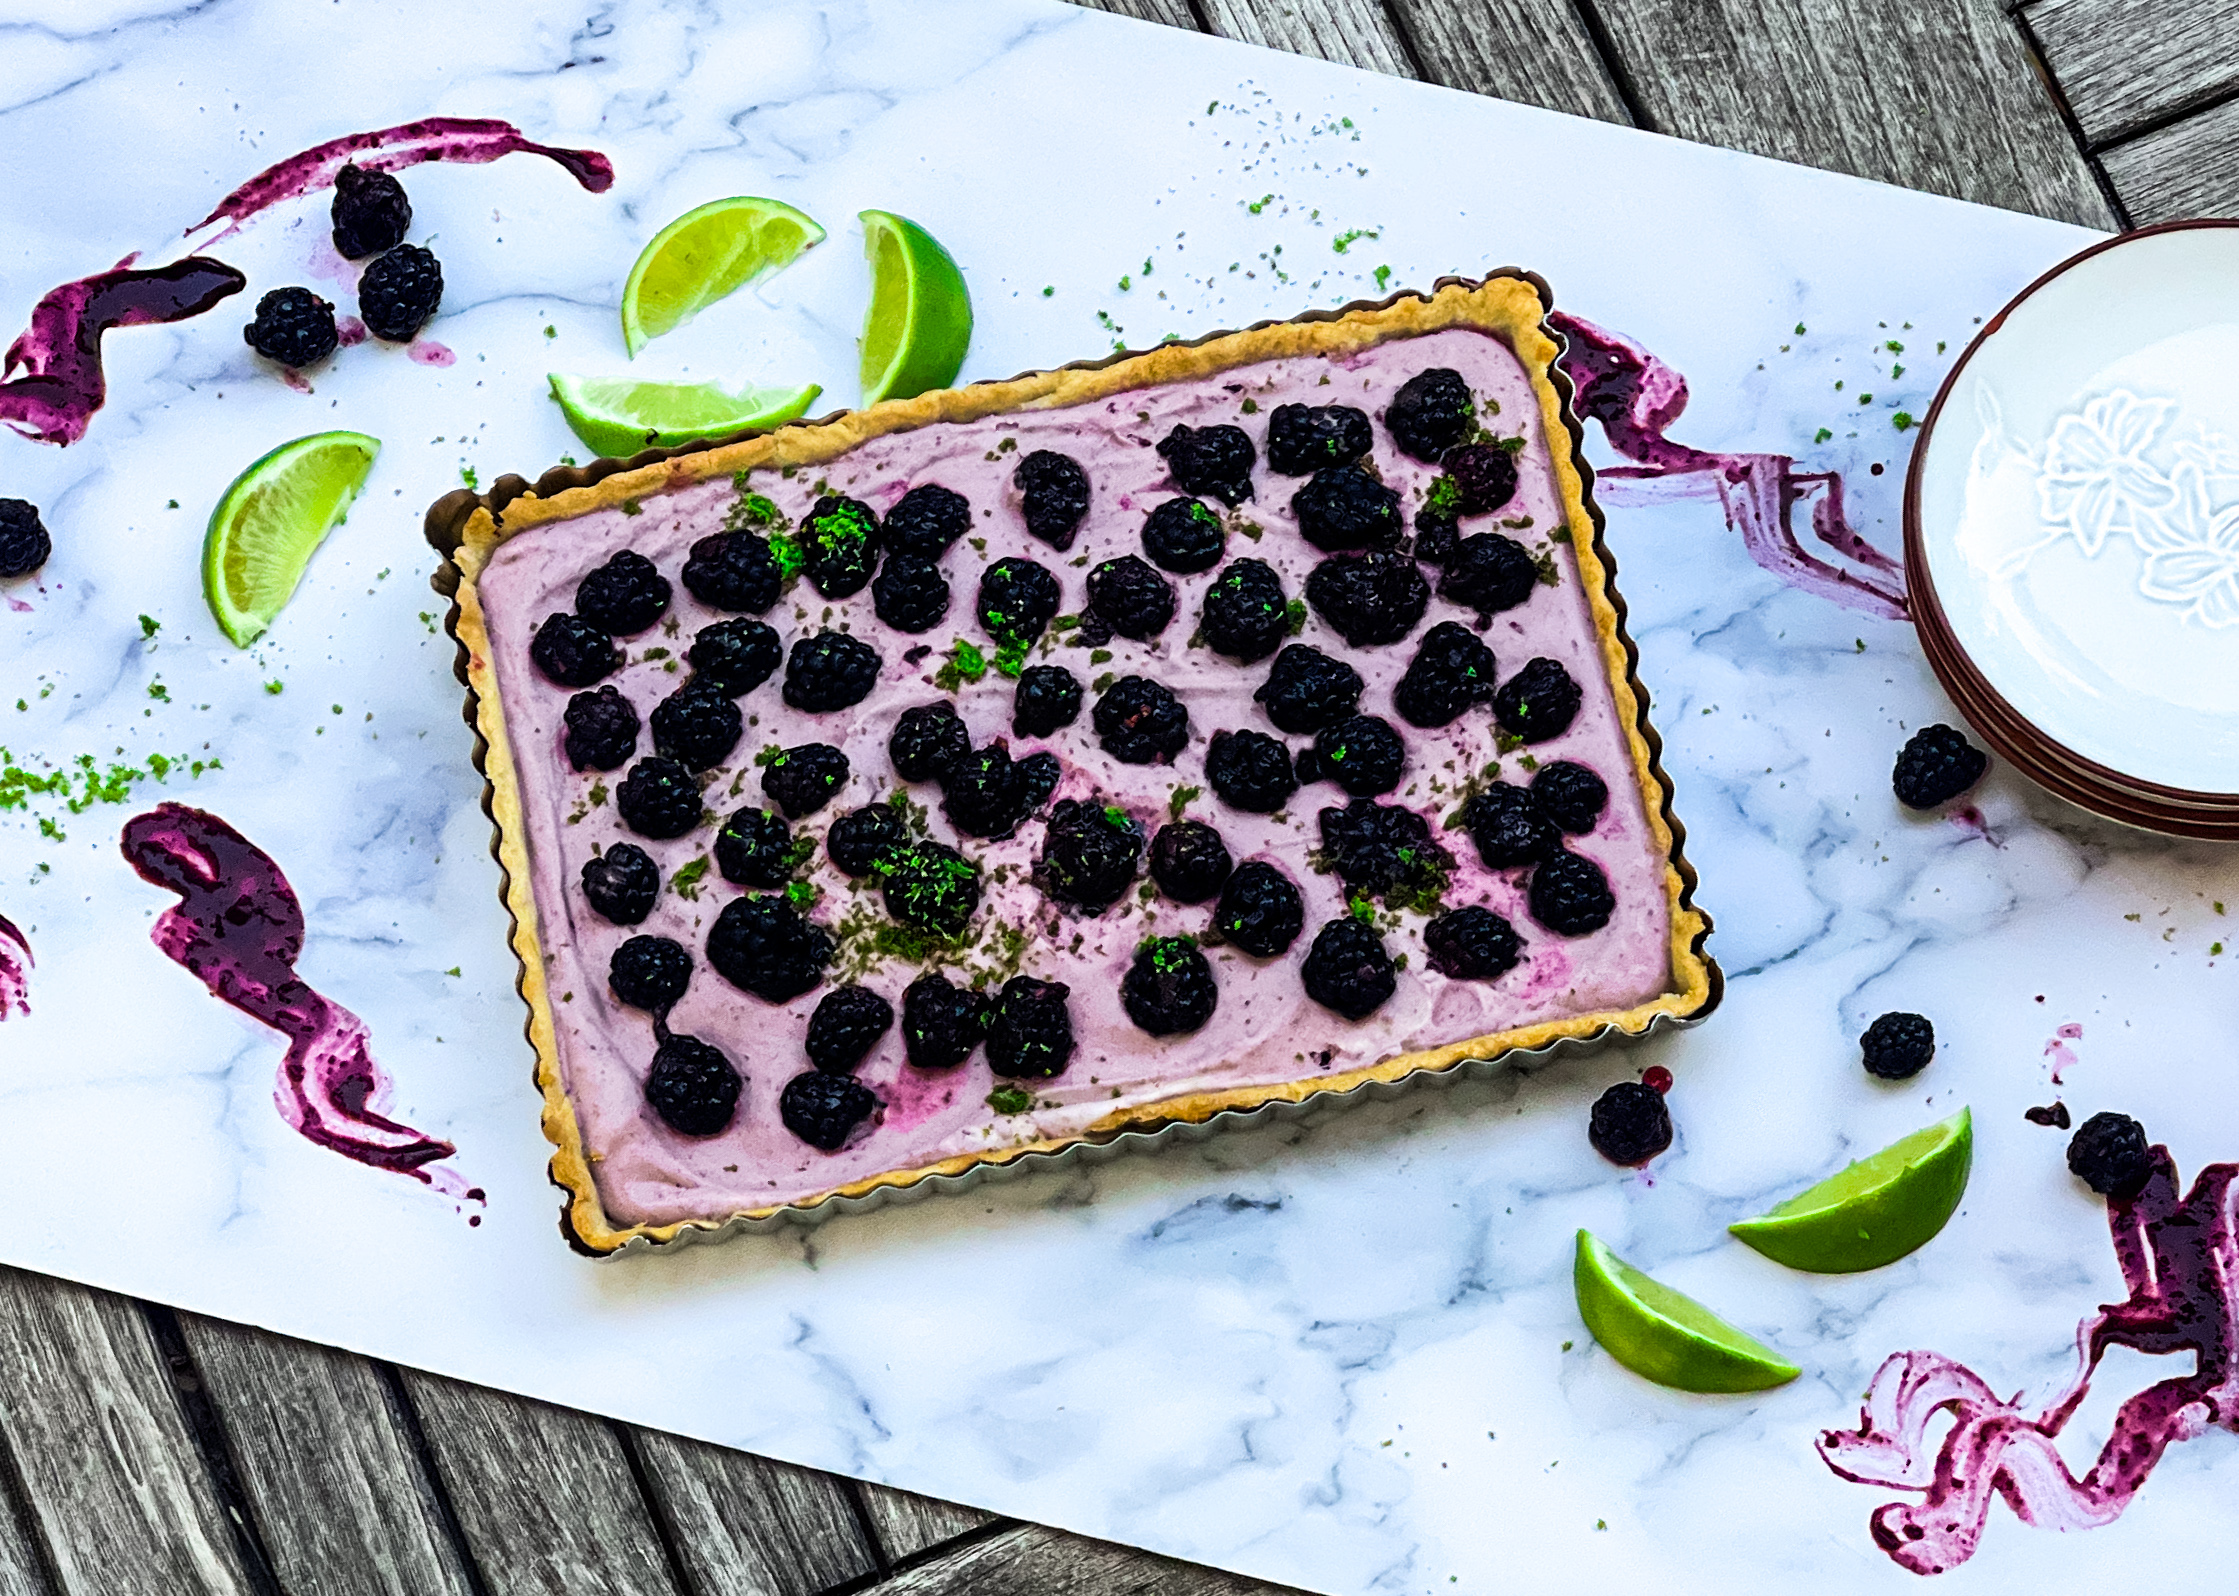
If you are planning to host family and friends, this dessert is the perfect end to any wonderful celebration. It is so simple to prepare, yet it is packed with scrumptious fruit, making a beautiful addition to any meal. The Mascarpone cheese is mixed with sweet, fresh blackberries and sugar, giving this treat delicious flavor. It is housed in a delicate pie crust that is baked to a deep golden brown and is the perfect base for the delicate berries. This is a delightful dessert to bring to any 4th of July celebration.

This recipe is courtesy of Country Living and will serve a gathering of 10 to 12 people, ready to enjoy a lovely holiday meal. 

 Ingredients for Blackberry Tart:

2 refrigerated rolled pie crusts
3 (6-ounce) containers blackberries, divided
3/4 cup confectioners’ sugar, divided
3 tablespoons lime juice, divided, plus zest for garnish
1 lb. mascarpone, at room temperature
1 1/2 tablespoon chopped fresh mint, plus more for garnish

Preheat oven to 425°F.

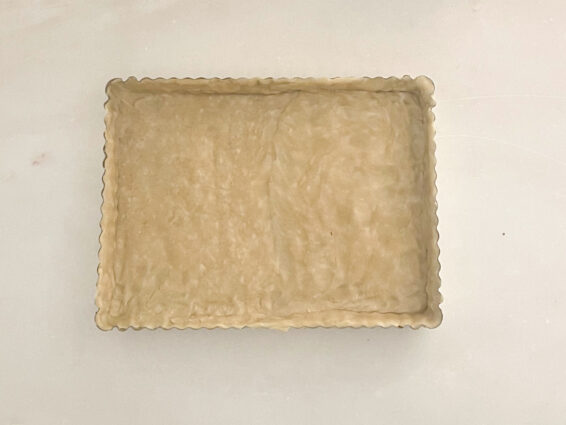
Fit pie crusts in the bottom and up sides of an 8- by 11-inch tart pan with removable bottom; trim excess.

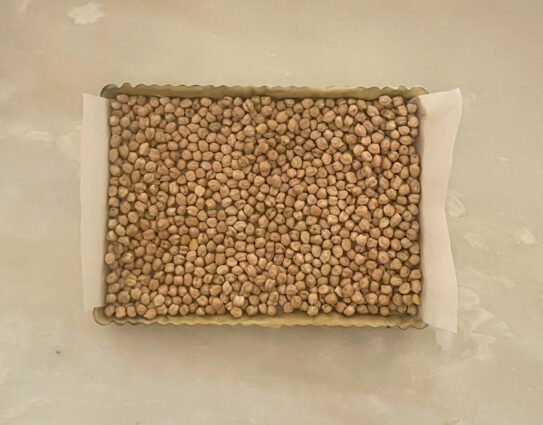
Place on a rimmed baking sheet and prick bottom with a fork. Line with parchment, leaving a 2-inch overhang; fill with dried beans.

Bake until beginning to brown around edges, 12 to 15 minutes.

Lift parchment to remove beans.

Bake until bottom is light golden brown, 4 to 5 minutes; cool.

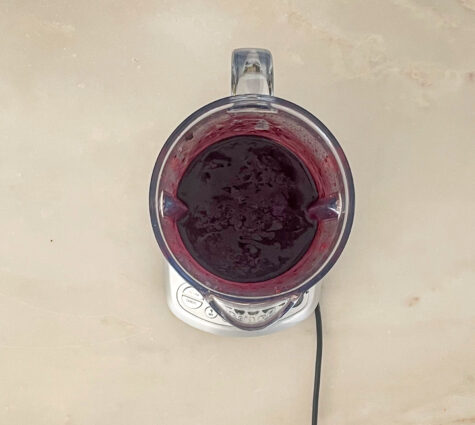
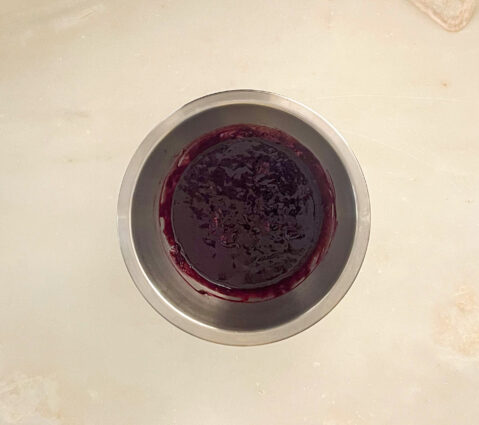
Puree 1 container berries, 2 tablespoons sugar, and 1/2 tablespoon lime juice.

Strain through a fine mesh sieve; discard seeds.

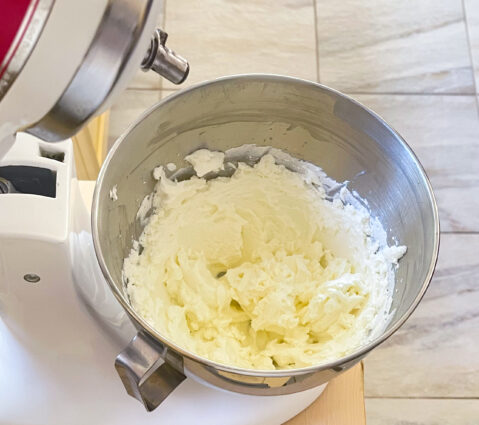
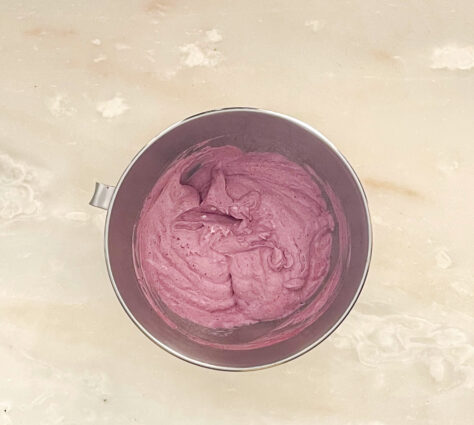
Whisk together mascarpone and 1/2 cup sugar with an electric mixer on medium speed until stiff peaks form.

Fold in blackberry puree.

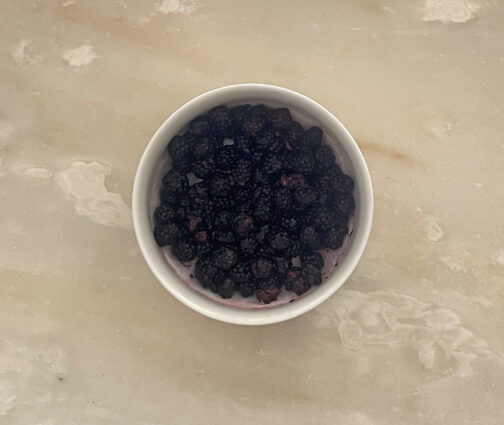
Toss together mint, remaining 2 containers berries, 2 tablespoons sugar, and 1/2 tablespoon lime juice in a bowl; let sit 5 minutes.

Spread mascarpone mixture in crust.

Top with berries and juices.

Sprinkle with lime zest and mint.

(oops, couldn’t find any mint, it was wonderful anyway)

Serve immediately.

It’s that simple!
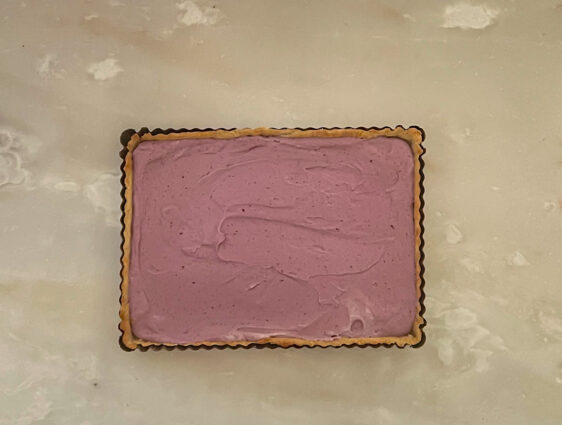
Hope you have a wonderful 4th of July!


signature

[recaptcha]


Now that summer is here, keeping organized might not be on your list of things to do– and that’s okay! The kids are out of school, so you might have unscheduled days, more spontaneity, and a more relaxed approach to daily life. We seem to have a collective sigh of relief when school lets out. At least for a while. I always thought of the Fall and Winter as a roller coaster. Then summer comes and you finally get off the roller coaster and slow down to really begin to enjoy the time you have.

For some reason, summer and keeping organized just do not seem to go together. Being organized and more strictly scheduled are not in our plans for the beautiful days ahead. But maybe, just maybe we can do both this year. Let’s explore some ways that organization and summer can be accomplished.

Prioritize. What are the most important goals you want to achieve? Is it making more time with your kids? Summer trips? Hanging out with friends and family? Maybe even getting some little projects done. Go for it! Make a small list for yourself and check off your tasks as you do them. You will feel a sense of accomplishment, and it’ll make you want to keep going.

Stay organized by keeping similar items together.  Use baskets or dedicated shelves if you have to. For example, create a space for the things you need to bring to the beach. Use a shelf to store towels where you can easily find them in a hurry. Keep a basket with items you need for the beach such as sunscreen, hats, bug spray, and magazines easily available and ready to go when you need them.

Do a few items on your list at a time. Focus a little bit each day on maintaining the state of the areas you worked on the previous day. When you can, make sure that you put the items you use back in the space you allowed. Put things away as soon as you are finished using them. Before you go to bed, take a turn to see if everything is in its place, and it will make the next day a little easier.

Create a calendar similar to the one you use in the winter to keep track of activities, camp, playdates, and trips. This way you can easily see what your days are going to be like and maybe try to set up some “me” time. A little downtime in your schedule can benefit everyone. Take a look at your list and see if you can cross off some things to create some breathing room. This will give you some well-earned time to relax, and it will be the most important part of your day. 

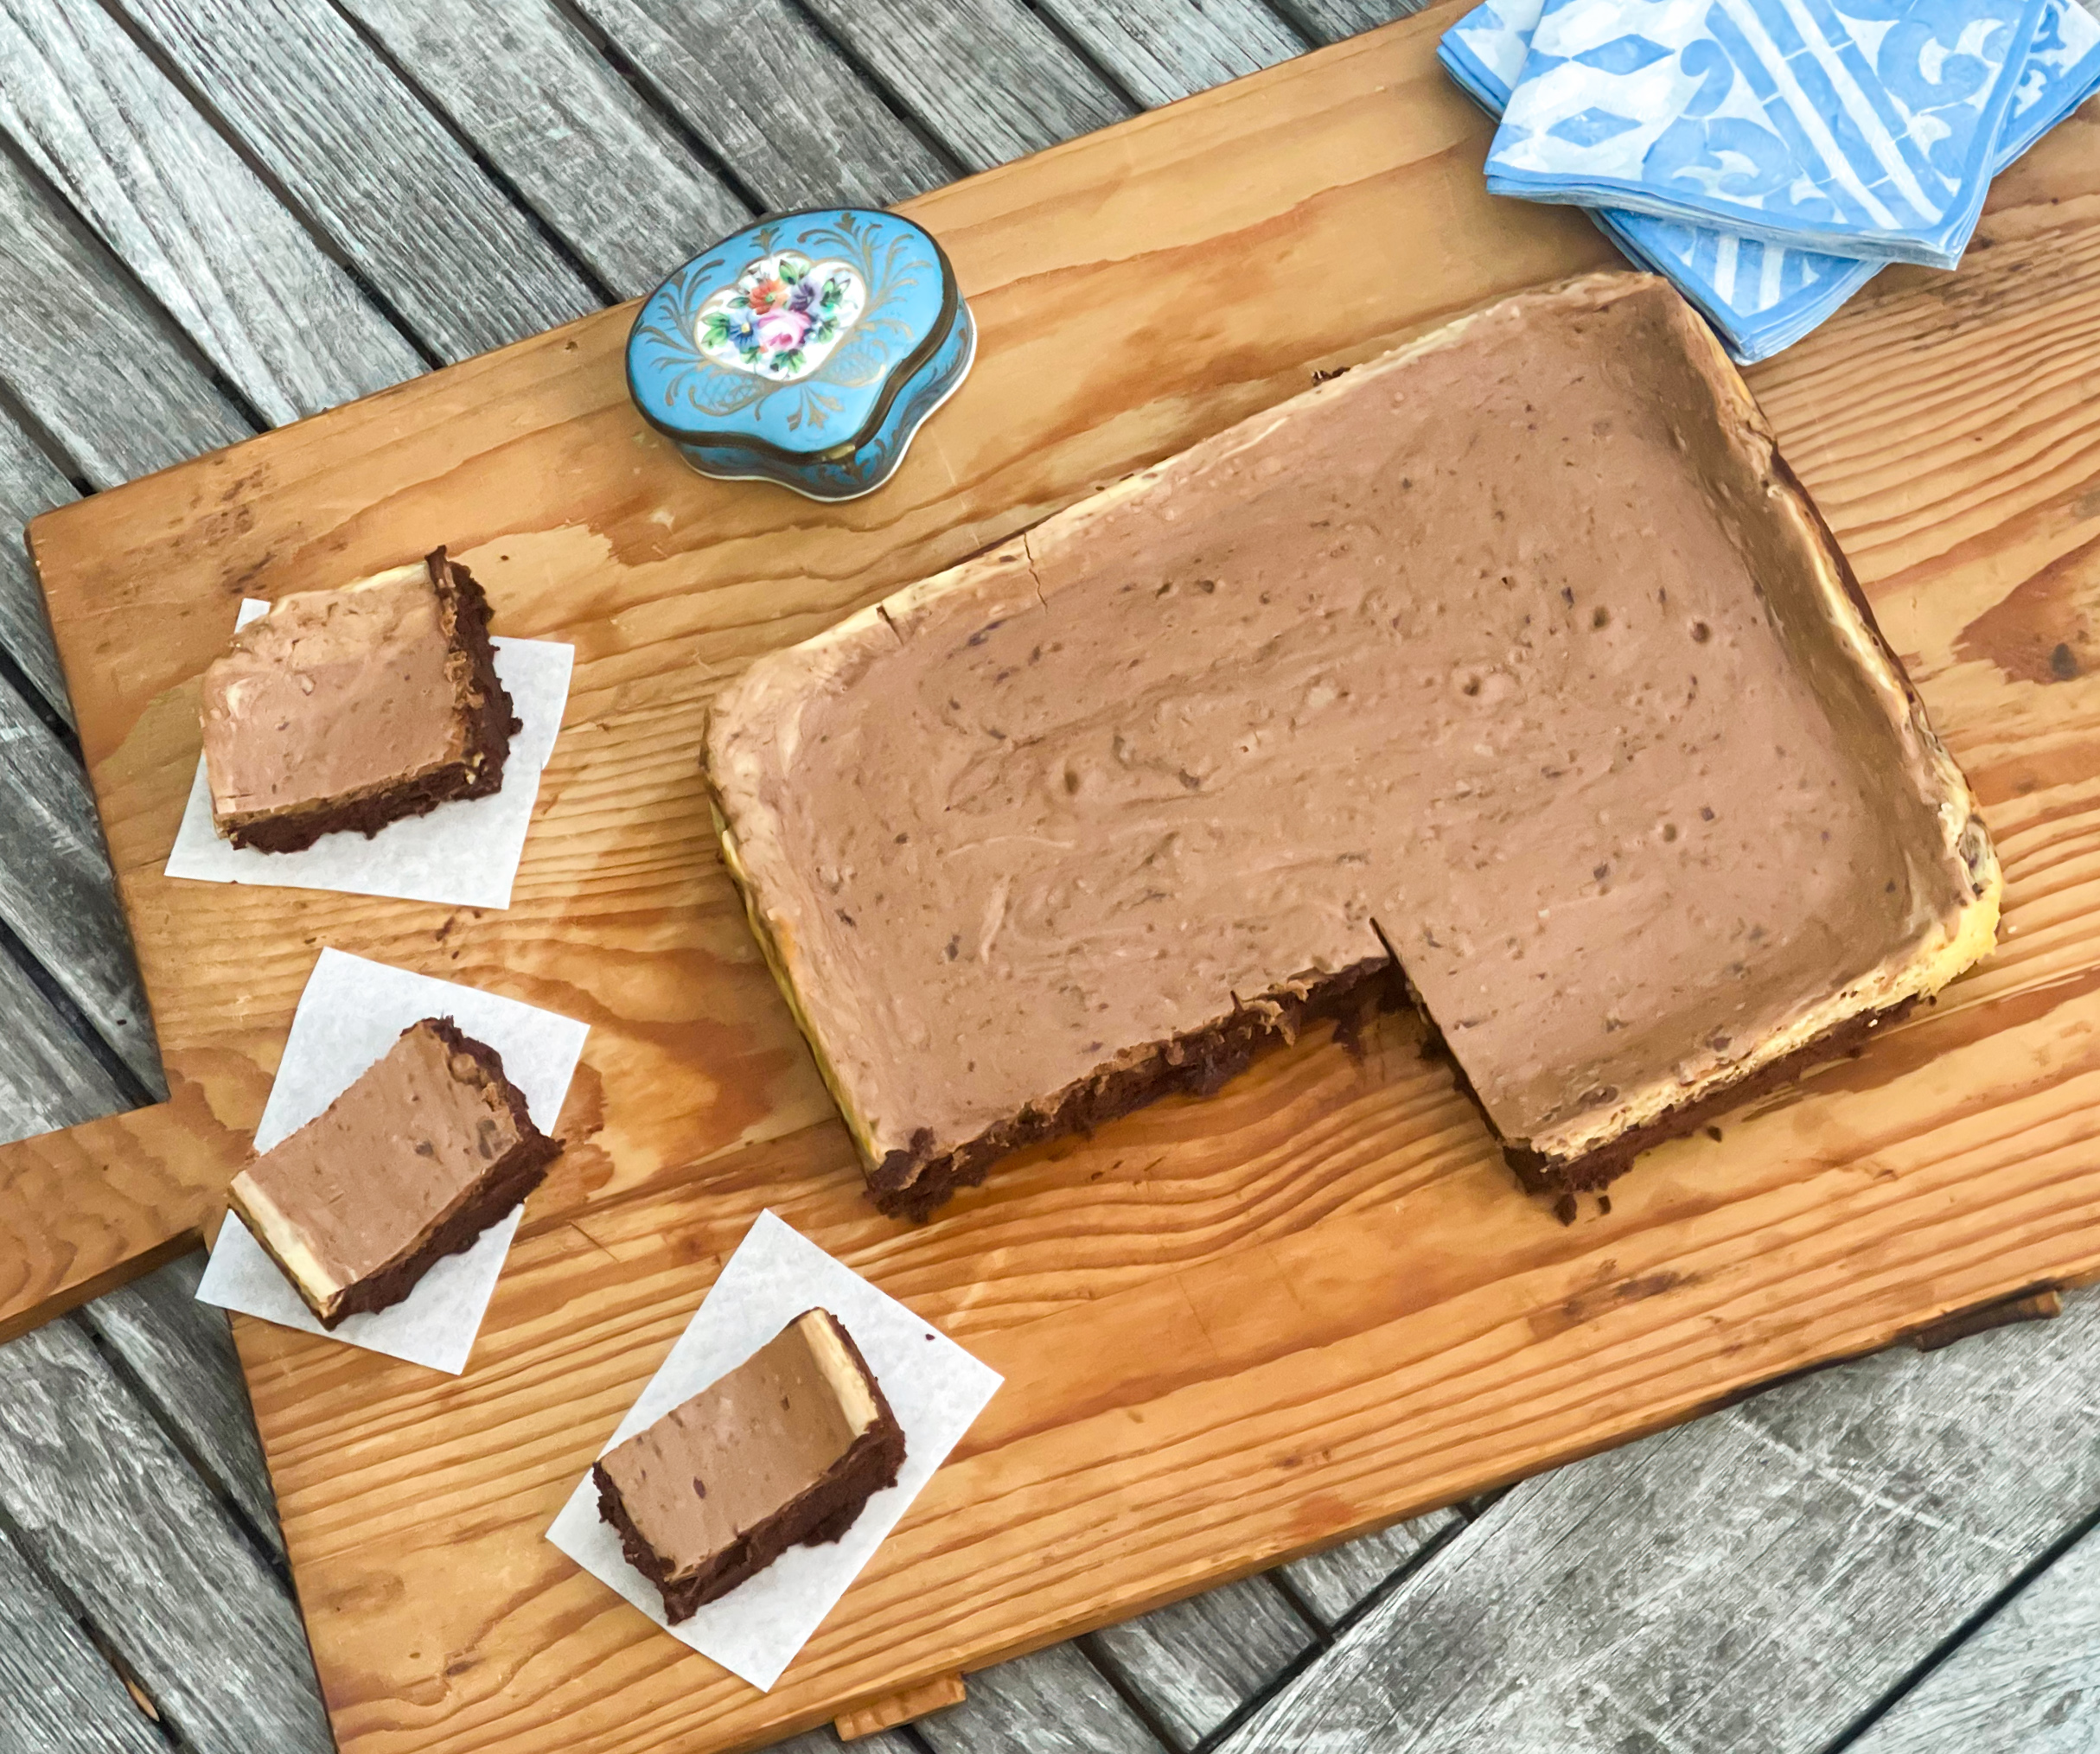
If you do find some free time, you may want to make these delicious brownies. They are so easy to make, and you probably already have all the ingredients in your pantry! The cream cheese ensures that these treats will be moist and delicious. The chocolate chips and cocoa powder adds chocolatey goodness to each bite. They have a creamy, buttery flavor that is enhanced by the sweetness of the two sugars and eggs. Perfect for a snack or to take to the beach or have as a delightful breakfast treat. Make these treats and your family will love you for it.

This recipe is courtesy of Southern Living and will make 10 to 12 brownies– so be sure to double it for all the folks who will want seconds.

Ingredients for Cream Cheese Brownies

1/2 cup unsalted butter
2 cups chocolate chips
3/4 cups brown sugar
 3/4 cup + 1/3 cup granulated sugar, divided
5 eggs, divided
2 1/2 teaspoons vanilla, divided
1/2 + 1/8 teaspoon kosher salt, divided
1/2 cup unsweetened cocoa powder
1/2 cup all-purpose flour
8 ounces cream cheese, room temperature

Preheat oven to 325°F.

Grease a metal 9- x 13-inch baking pan and set aside.

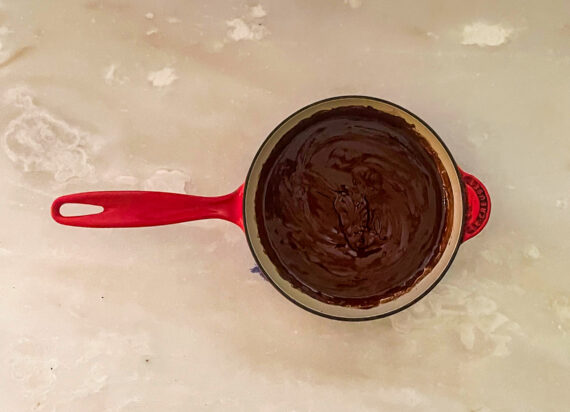
In a medium saucepan, melt butter until bubbling but not brown.

Turn off heat, add chocolate chips, and stir to coat.

Let sit for 5 minutes. Stir again until the chocolate is completely melted and combined with the butter.

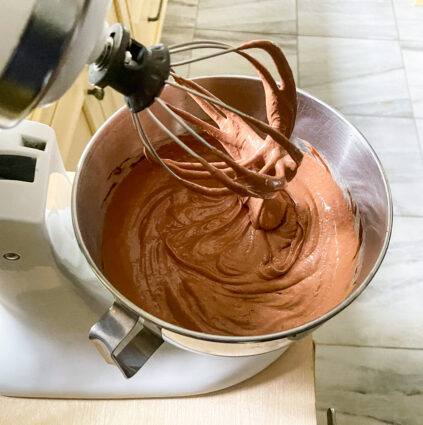
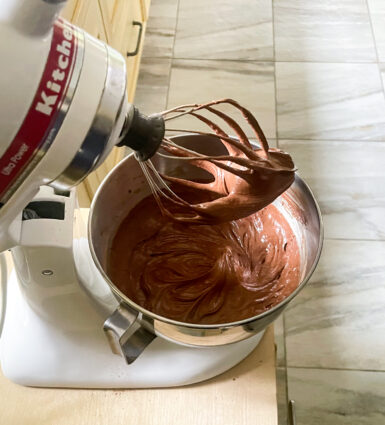
Transfer to a large mixing bowl and add, brown sugar, 3/4 cup granulated sugar, 4 eggs, and 2 tsp. vanilla.

Whisk until well combined.

Add 1/2 tsp. salt, cocoa powder, and flour and stir together until well combined.

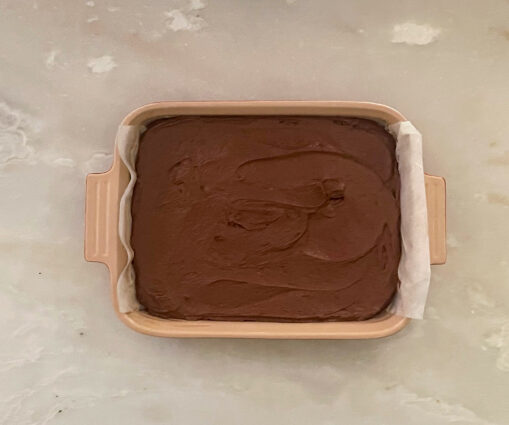
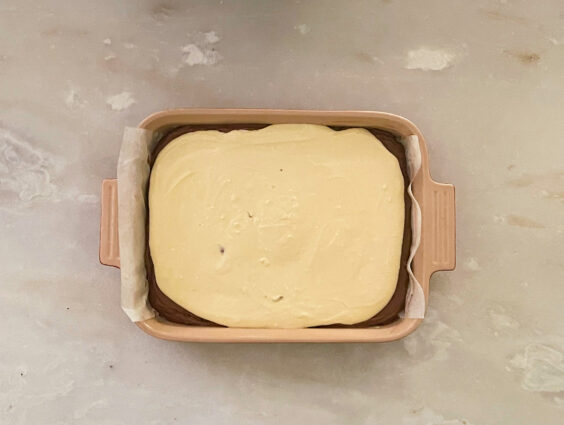
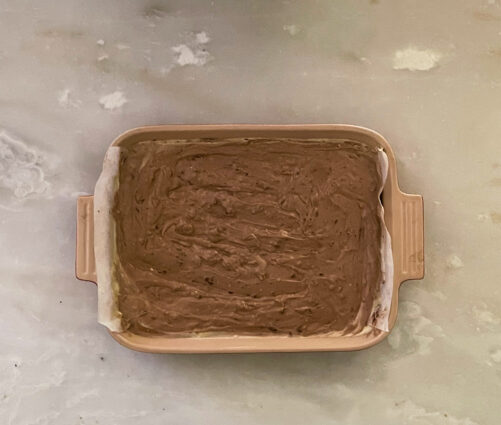
Pour into prepared baking pan.

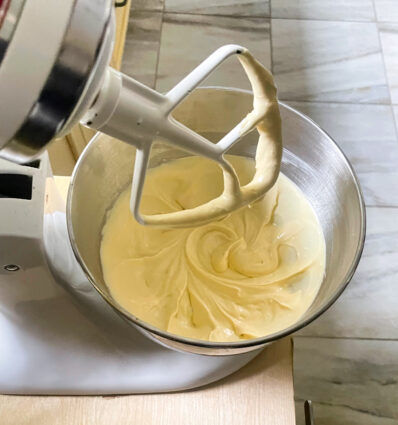
With a mixer, beat together cream cheese, 1/3 cup sugar, 1/2 tsp. vanilla, 1/8 tsp. salt, and 1 egg until well combined, about 3 minutes.

Spread over top of brownie batter. 

Using a knife, draw swirls across the surface of the cream cheese by running the tip of the knife about 1/2 inch deep into the brownie batter as you move it around.

(No swirls here, but just as good!)

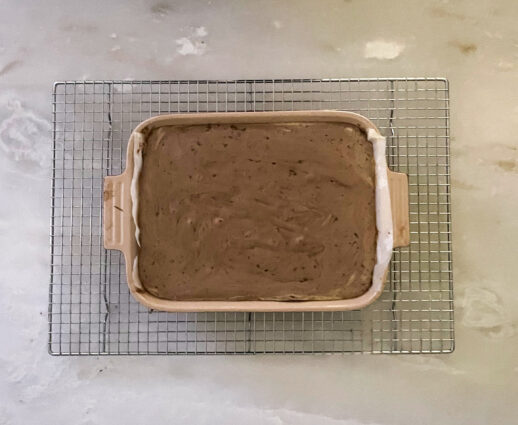
Bake until set, about 30-35 minutes.

Allow to cool completely before cutting.

It’s that simple!

signature

[recaptcha]